> ## Documentation Index
> Fetch the complete documentation index at: https://support.i.moneyforward.com/llms.txt
> Use this file to discover all available pages before exploring further.
# Canva
> Steps to integrate with Canva.
Integration with [Canva Enterprise](https://www.canva.com/enterprise/) is supported.
## Prerequisites
### How to Log In to Canva
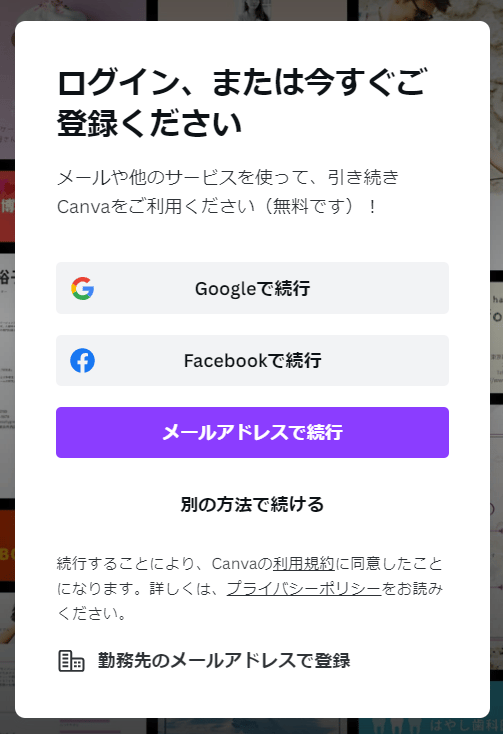
On the [Canva login page](https://www.canva.com/login/), select your preferred login method or enter your email address and password to log in.
 ### How to Obtain the Access Key
For reference, see also [Set up single sign-on (SSO) for Enterprise (external site)](https://www.canva.com/help/set-up-sso/).
1. Log in to Canva and click your account in the lower left > \[Settings].
### How to Obtain the Access Key
For reference, see also [Set up single sign-on (SSO) for Enterprise (external site)](https://www.canva.com/help/set-up-sso/).
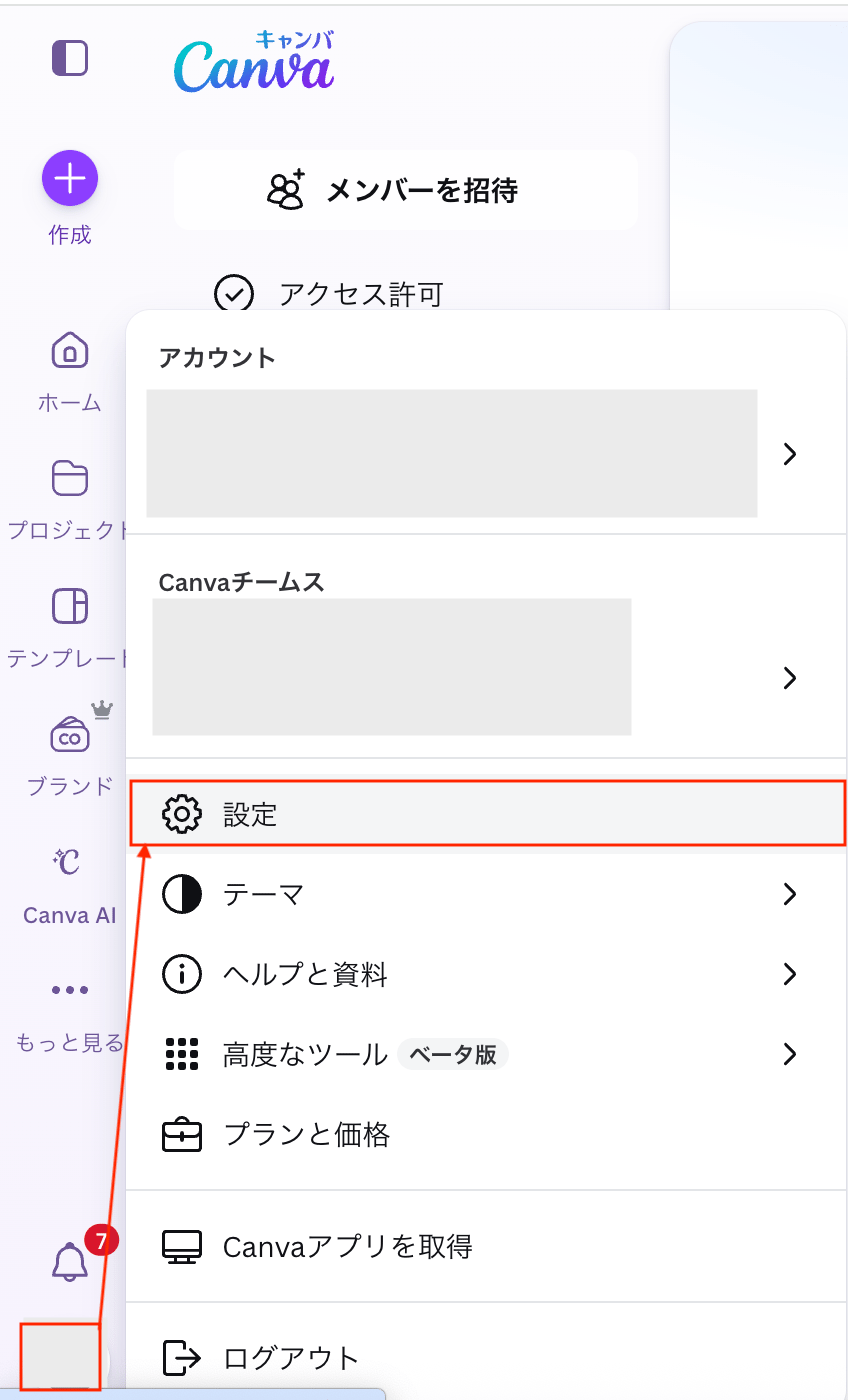
1. Log in to Canva and click your account in the lower left > \[Settings].
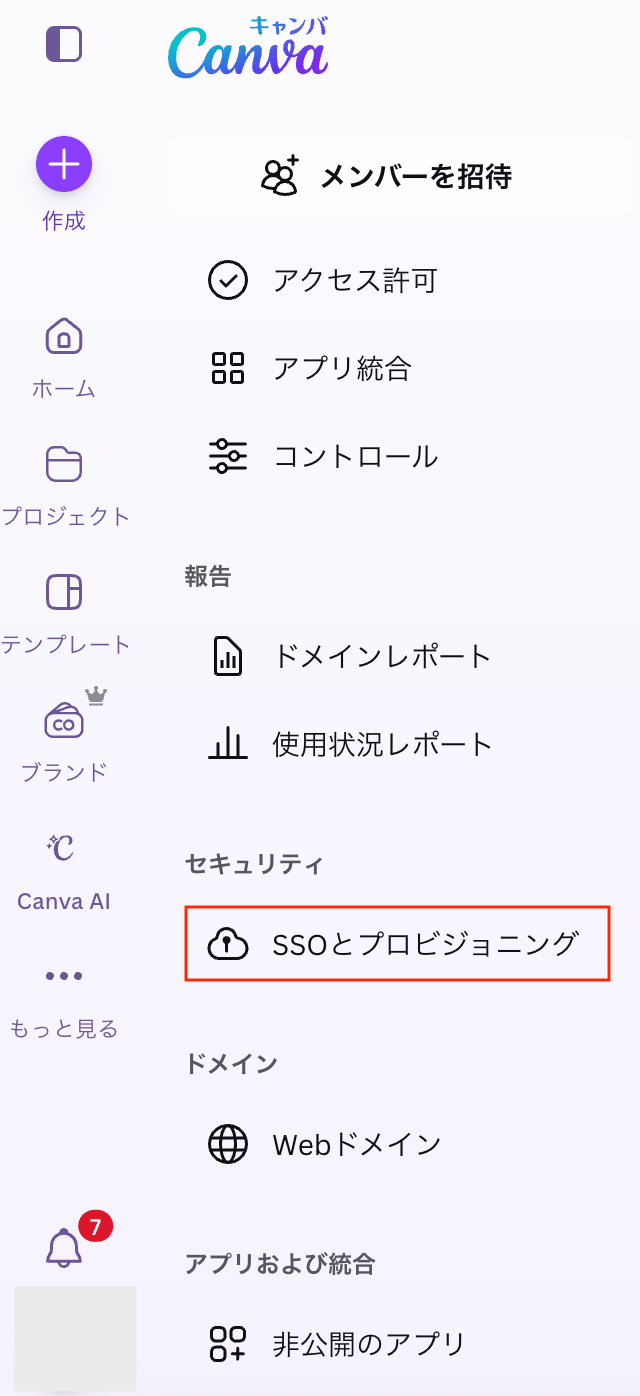
 2. Click \[SSO and Provisioning].
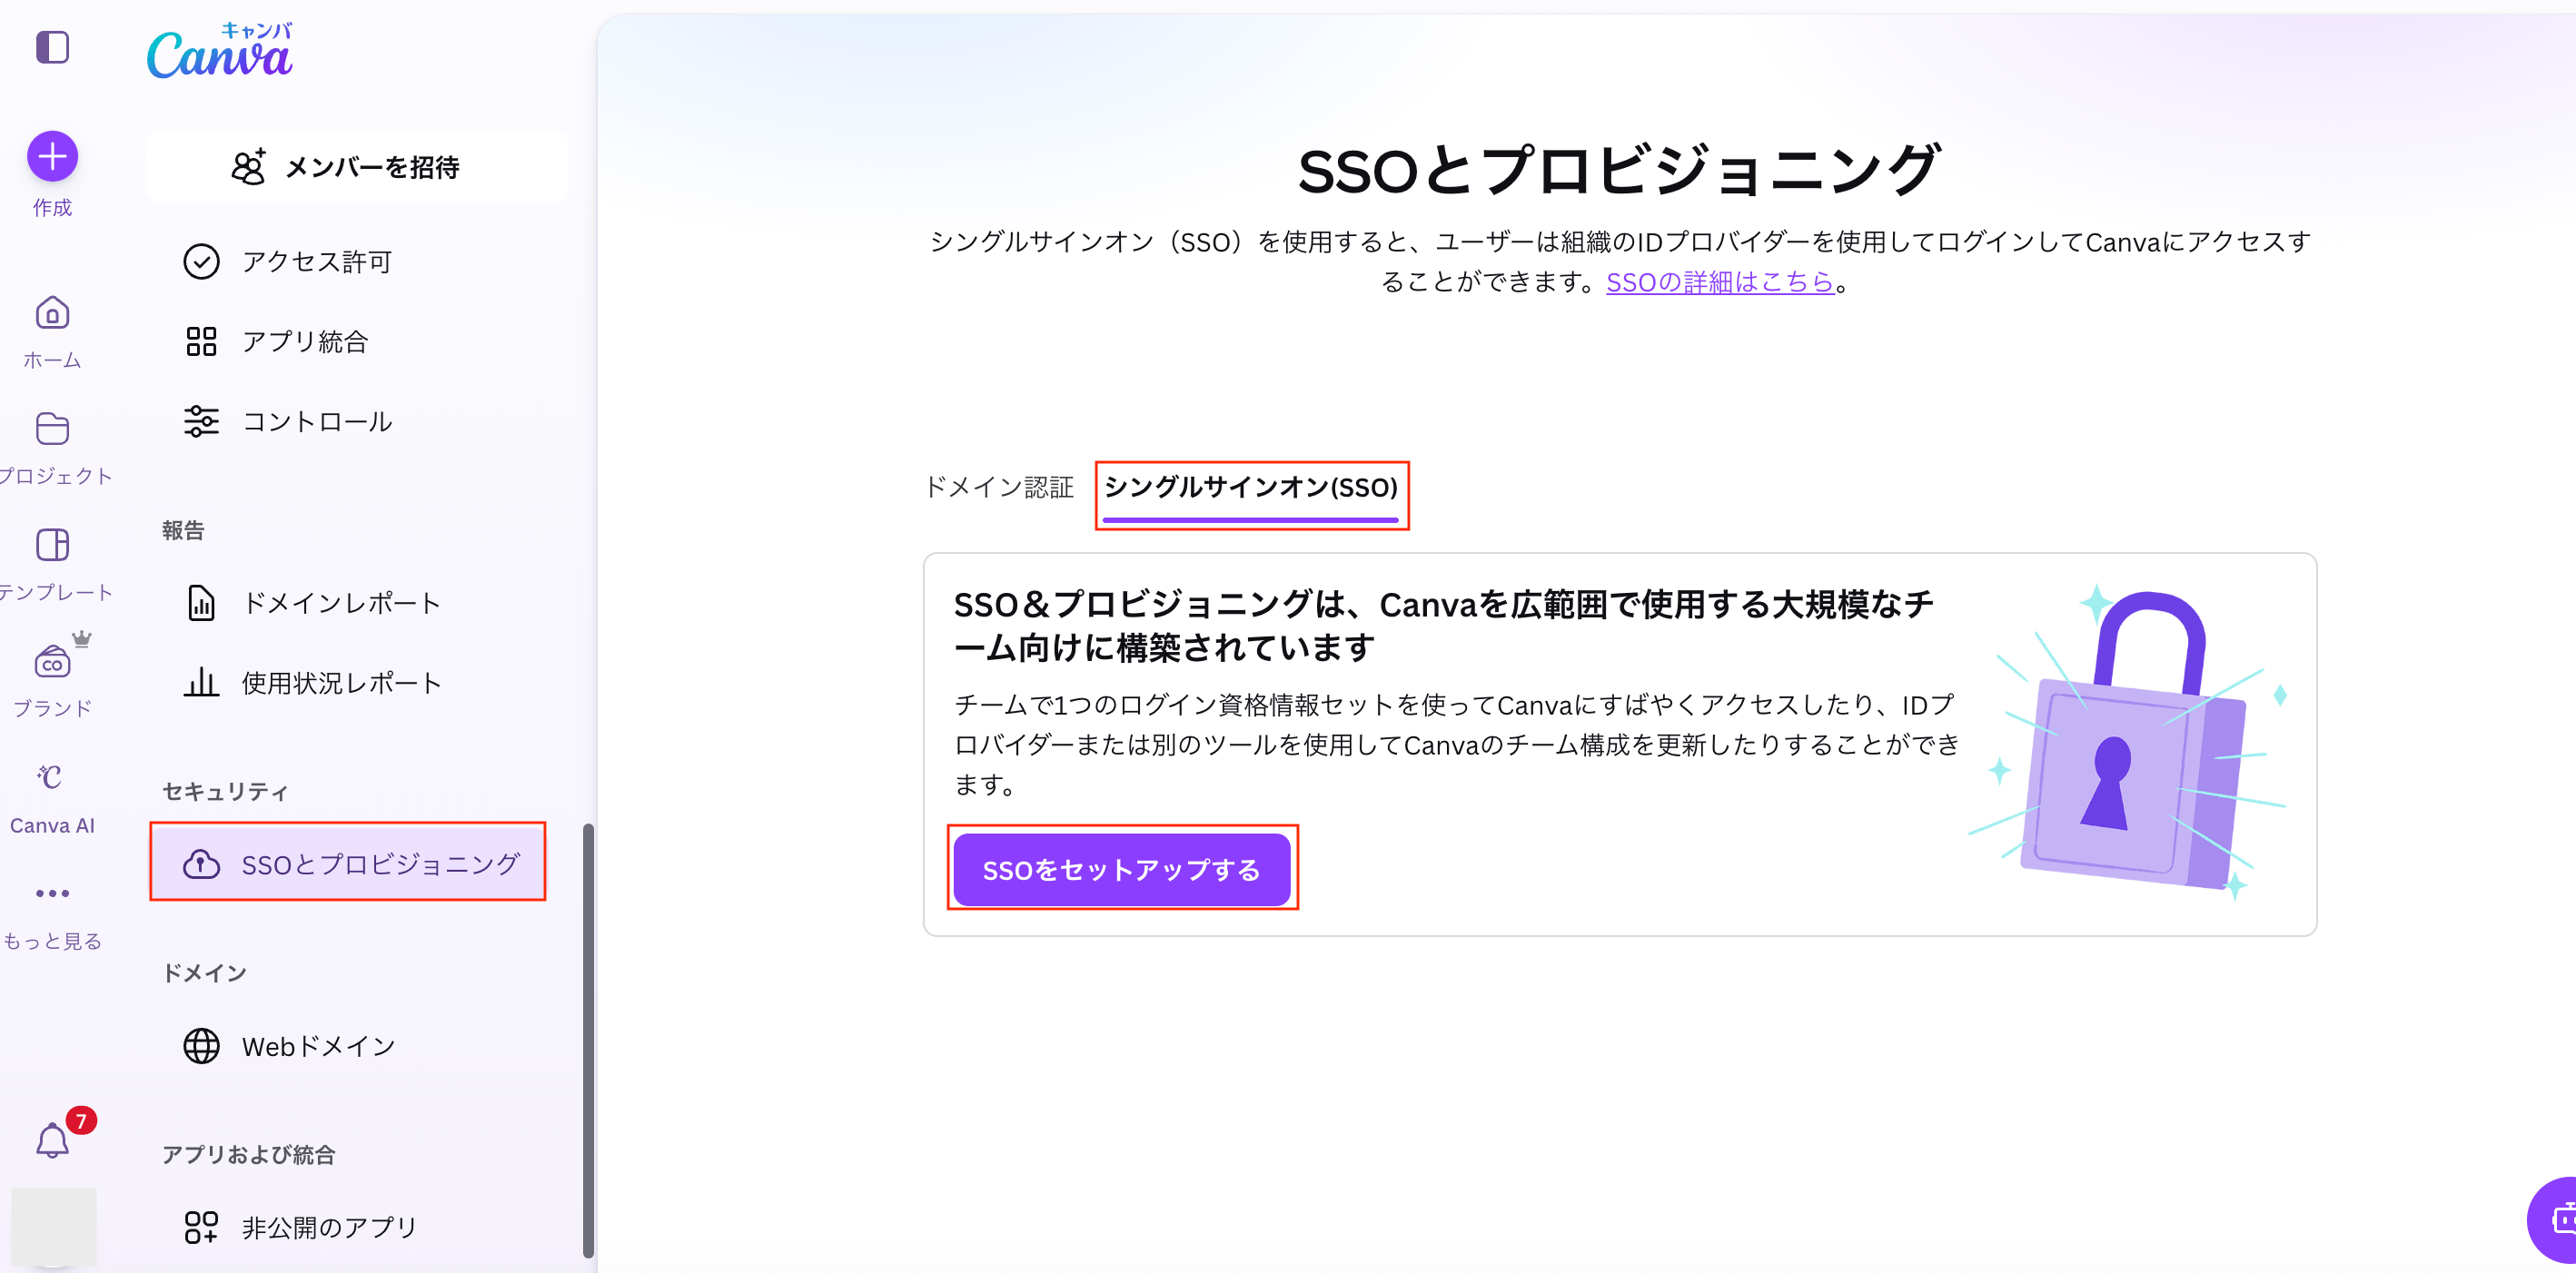
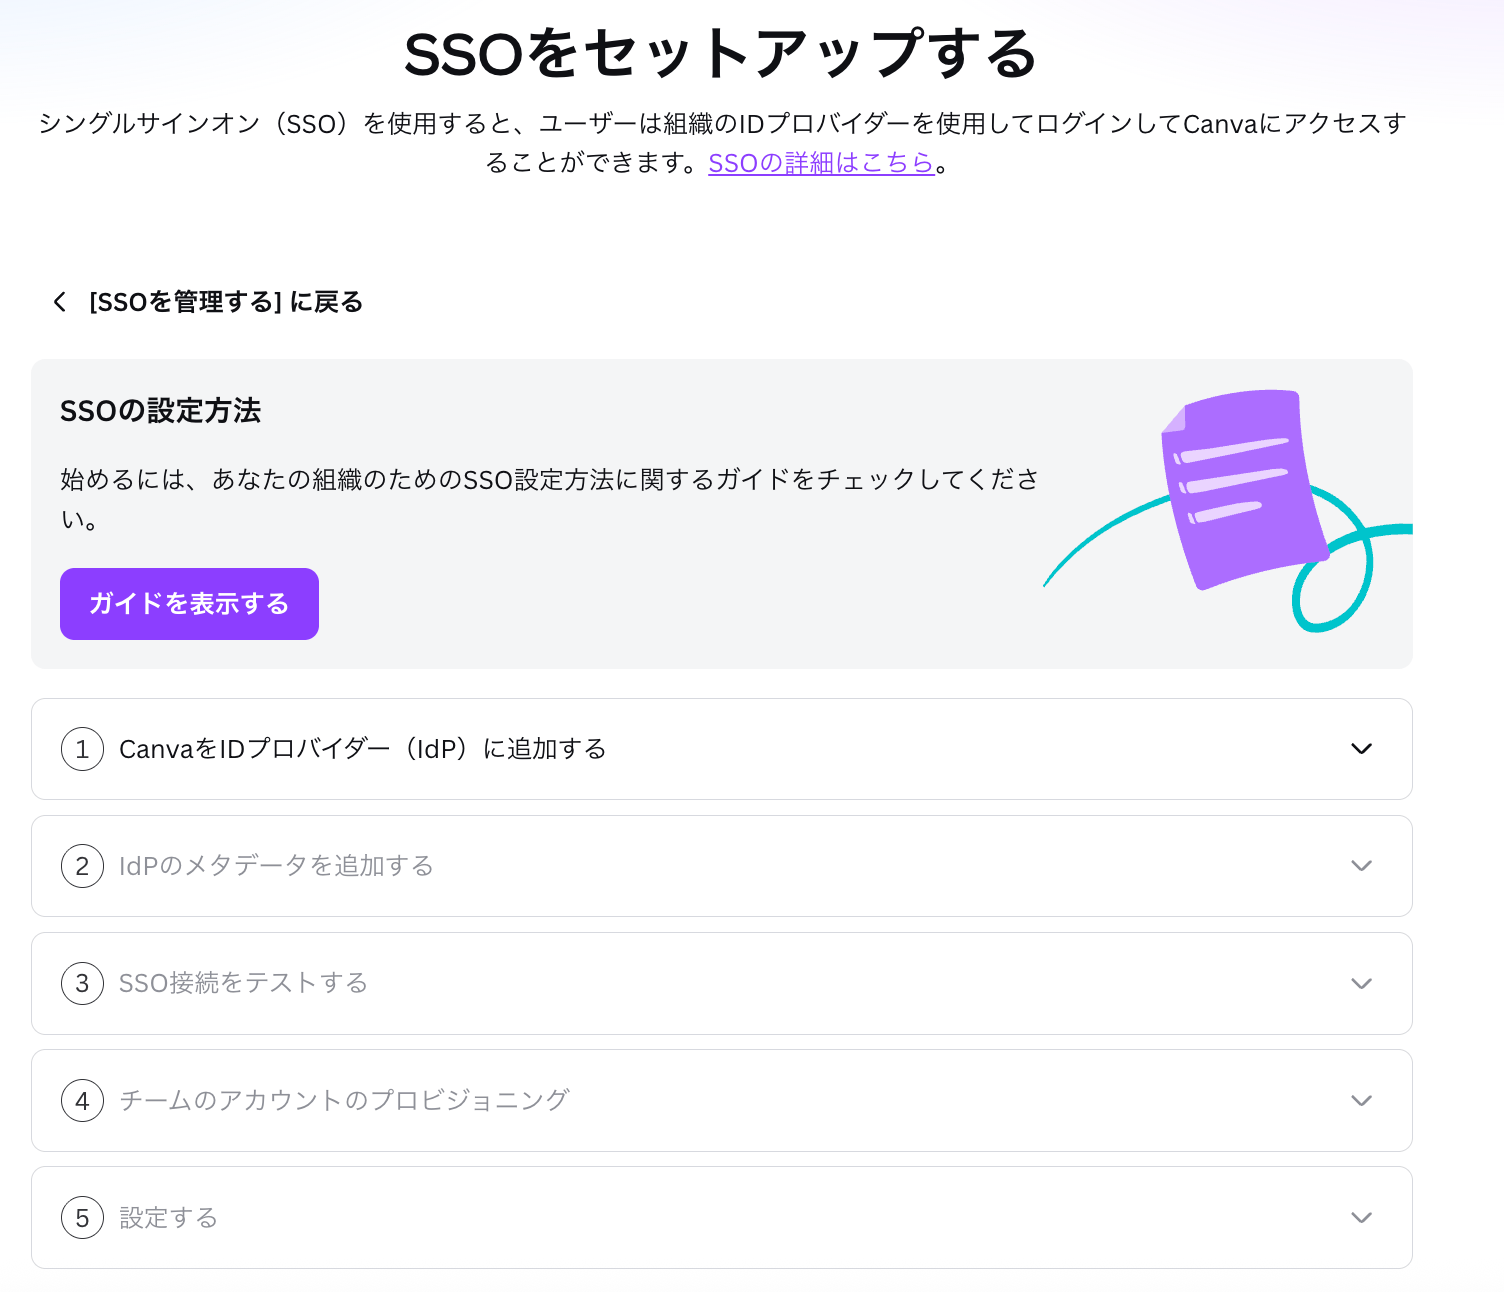
 3. On the "SSO and Provisioning" screen, go to the "Single Sign-On (SSO)" tab and click \[Set up SSO].
 4. Configure the "Set up SSO" screen. For configuration details, refer to [Set up single sign-on (SSO) for Enterprise (external site)](https://www.canva.com/help/set-up-sso/).
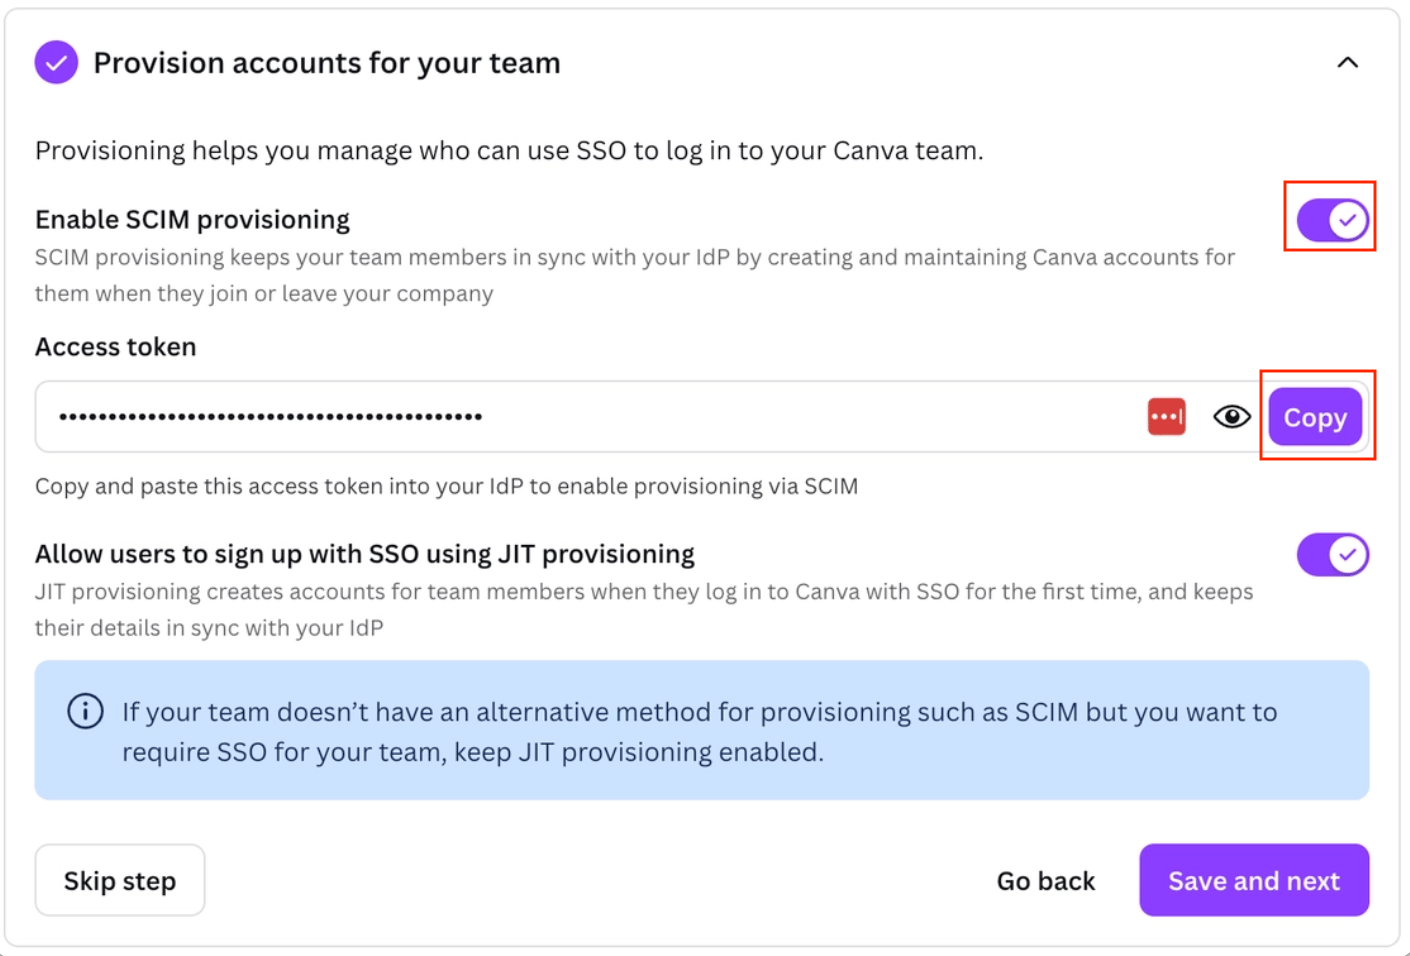
 5. Issue the access key on the "Provision accounts for your team" screen. Configure the settings as shown below and copy the access key.
 ## Integration Setup
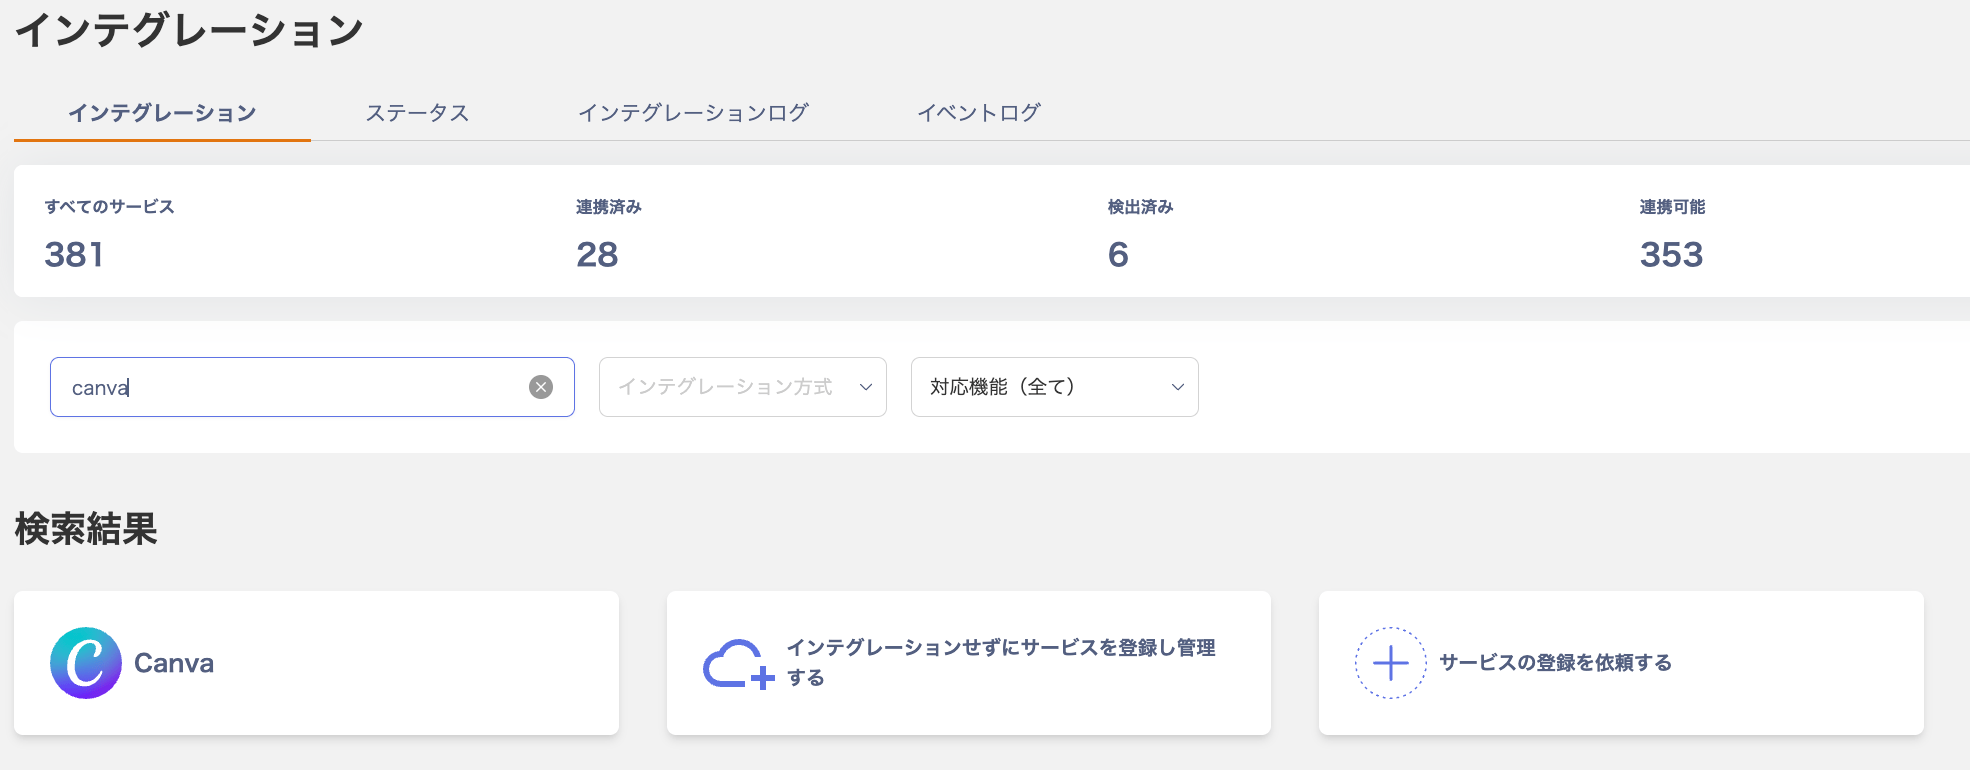
1. In the Admina integration screen, search for **Canva**.
## Integration Setup
1. In the Admina integration screen, search for **Canva**.
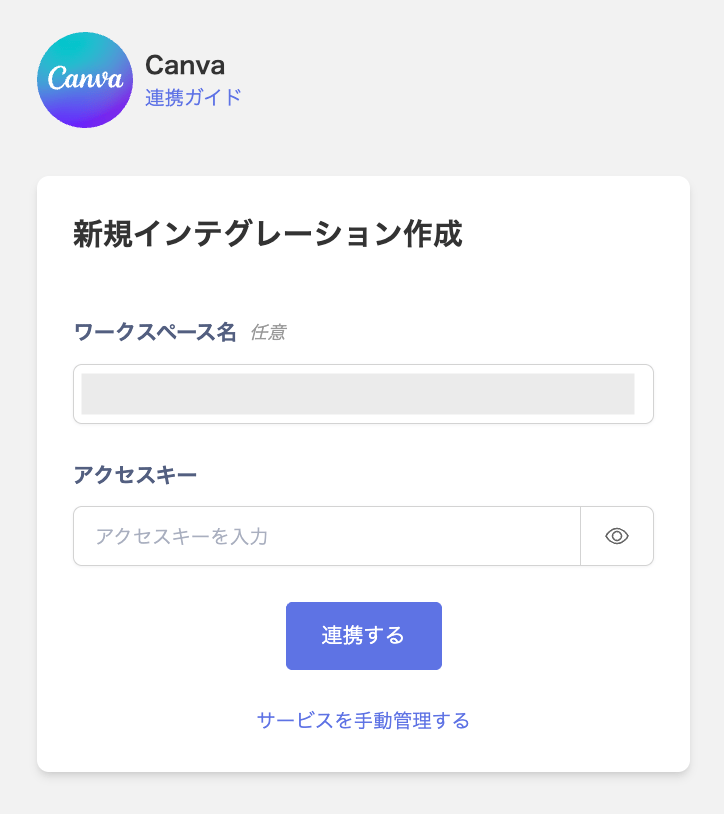
 2. Enter the **email address and password with administrator privileges**, along with the **workspace key obtained in the previous step**, then click **Connect**.
 3. Once the integration is successful, the registered user information will appear in the account list.
If the process does not complete successfully, click **Edit** from the Status tab on the integration screen and try connecting again.
If the issue persists, please contact us via chat.
3. Once the integration is successful, the registered user information will appear in the account list.
If the process does not complete successfully, click **Edit** from the Status tab on the integration screen and try connecting again.
If the issue persists, please contact us via chat.