> ## Documentation Index
> Fetch the complete documentation index at: https://support.i.moneyforward.com/llms.txt
> Use this file to discover all available pages before exploring further.
# Lark
> Steps to integrate with Lark.
An administrator account is required for the integration.
## Prerequisites
### How to Log In
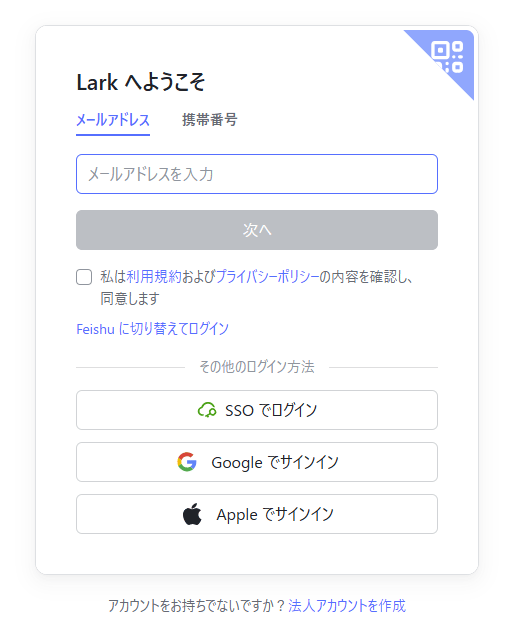
Go to the [Lark login page](https://open.larksuite.com/app) and enter your email address and password to log in.
 ### How to Obtain the Client ID and Client Secret
1. Click **Create Custom App**.
### How to Obtain the Client ID and Client Secret
1. Click **Create Custom App**.
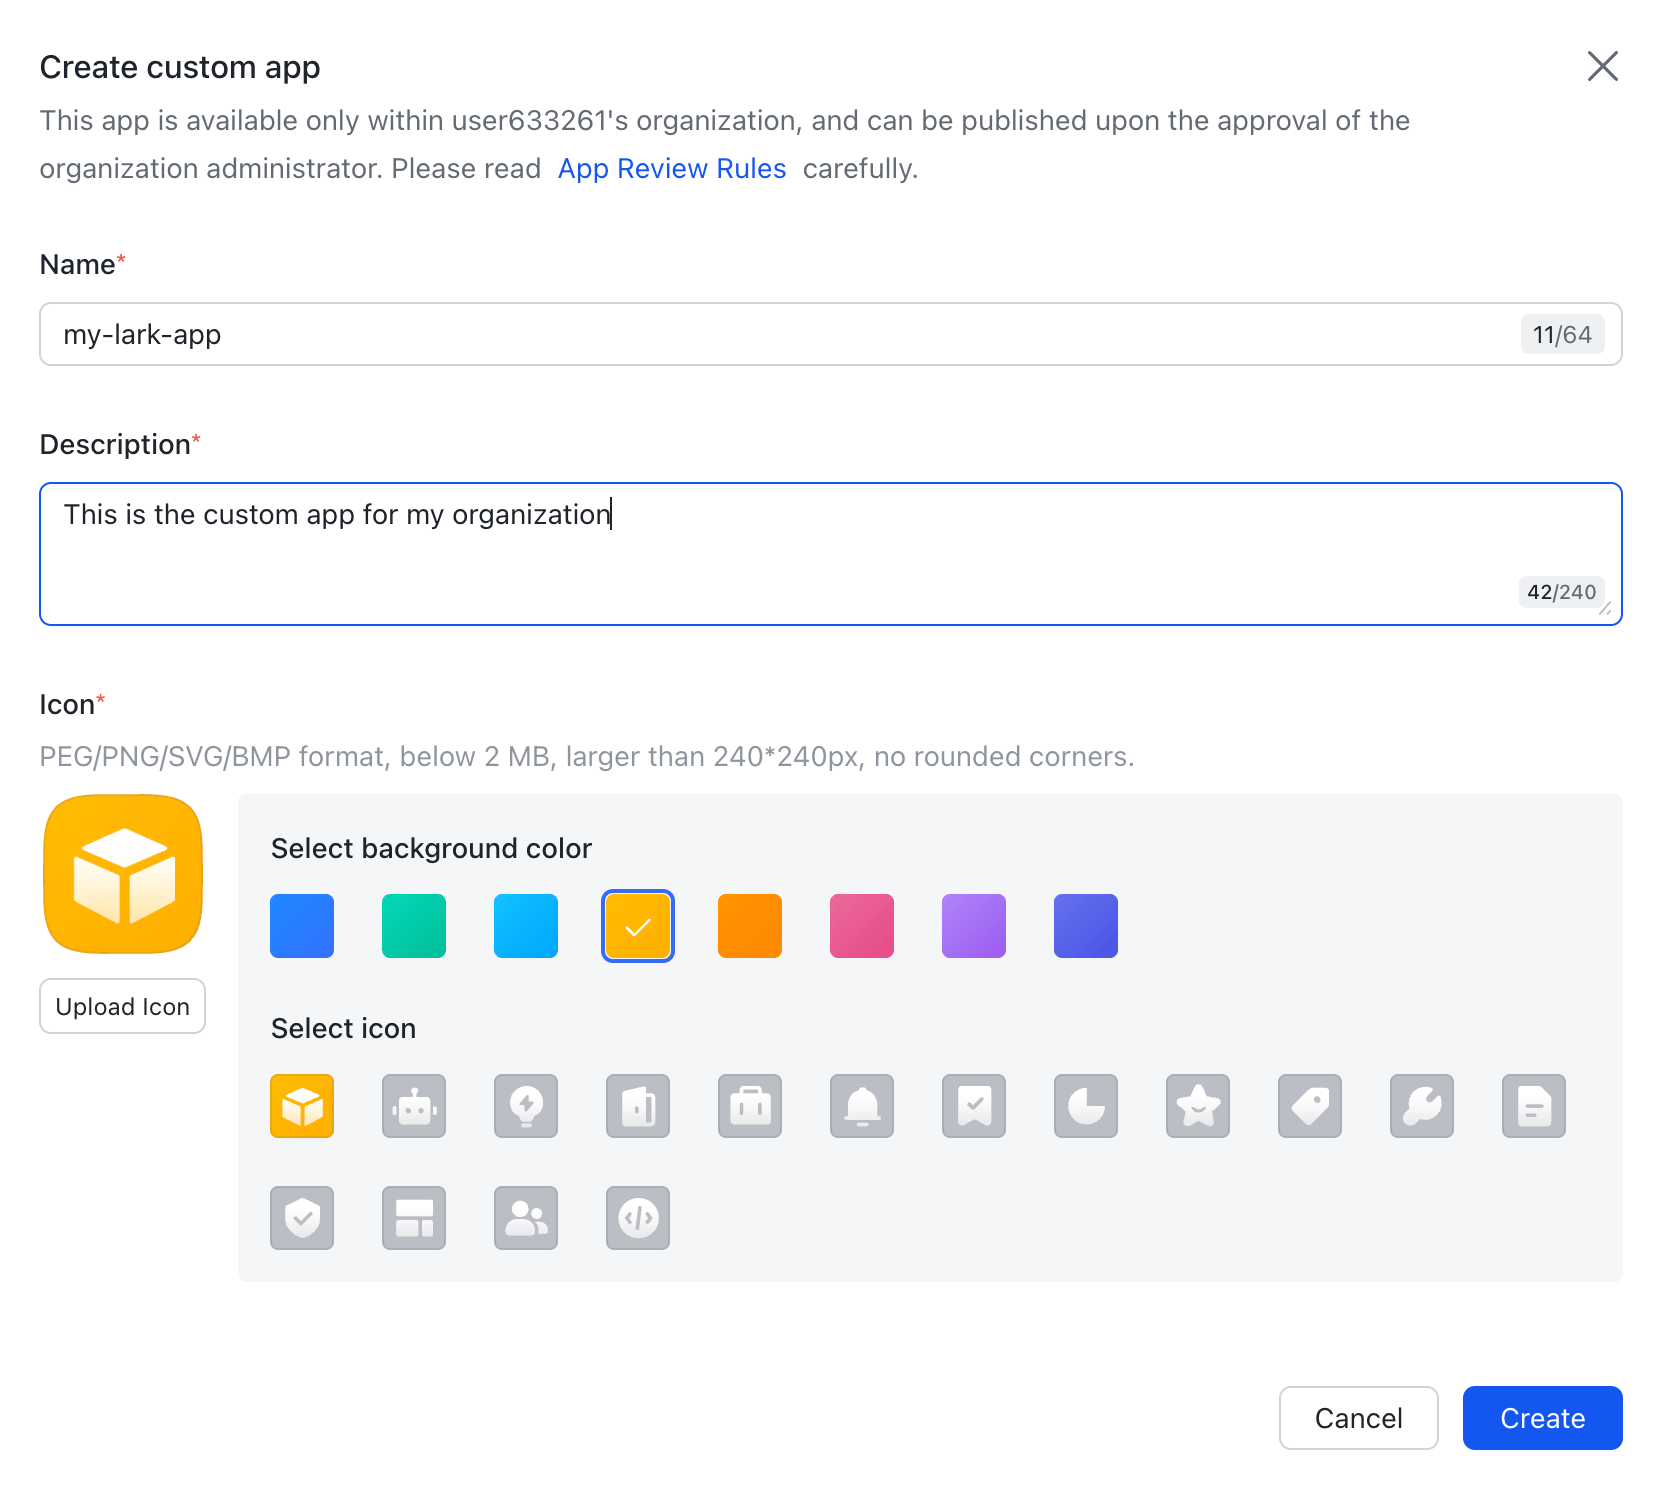
 2. Enter an app name, description, and icon, then click **Create**.
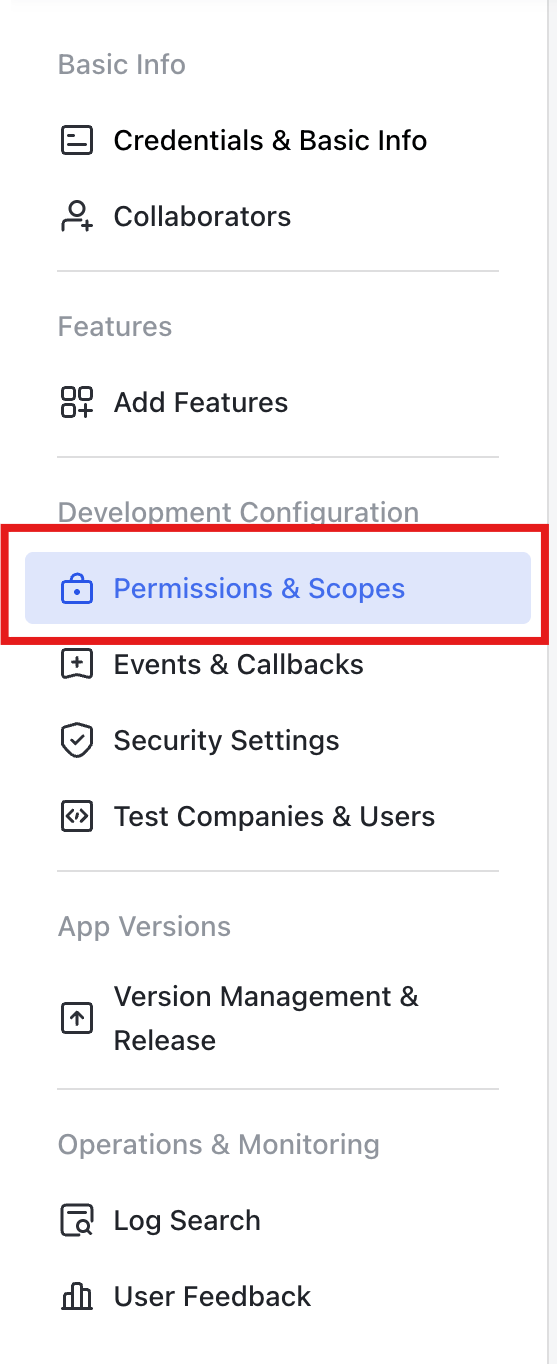
 3. Click **Permissions & Scopes** in the sidebar.
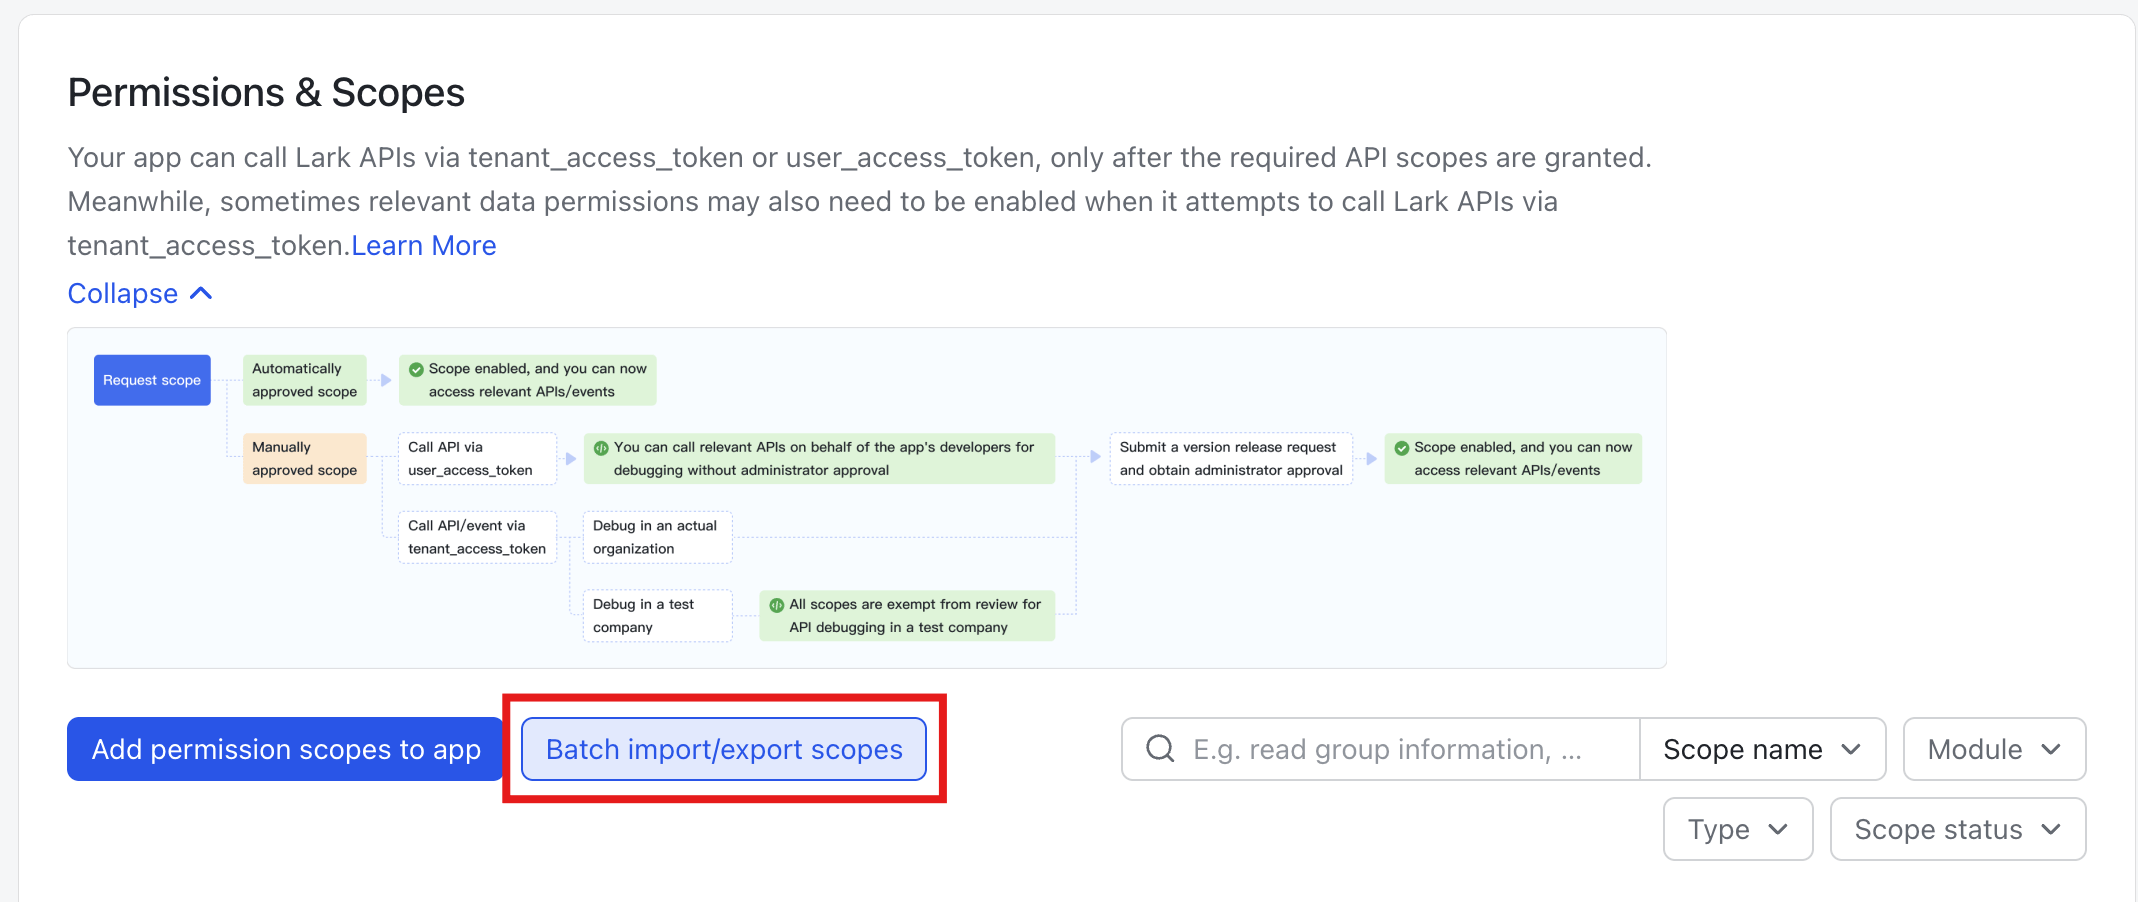
 4. Click **Batch import/export scopes**.
 5. Enter the following JSON to add the scopes.
```json theme={null}
{
"scopes": {
"tenant": [
"contact:contact",
"contact:contact.base:readonly",
"contact:department.base:readonly",
"contact:user.base:readonly",
"contact:user.department:readonly",
"contact:user.email:readonly",
"contact:user.id:readonly",
"tenant:tenant:readonly"
]
}
}
```
5. Enter the following JSON to add the scopes.
```json theme={null}
{
"scopes": {
"tenant": [
"contact:contact",
"contact:contact.base:readonly",
"contact:department.base:readonly",
"contact:user.base:readonly",
"contact:user.department:readonly",
"contact:user.email:readonly",
"contact:user.id:readonly",
"tenant:tenant:readonly"
]
}
}
```
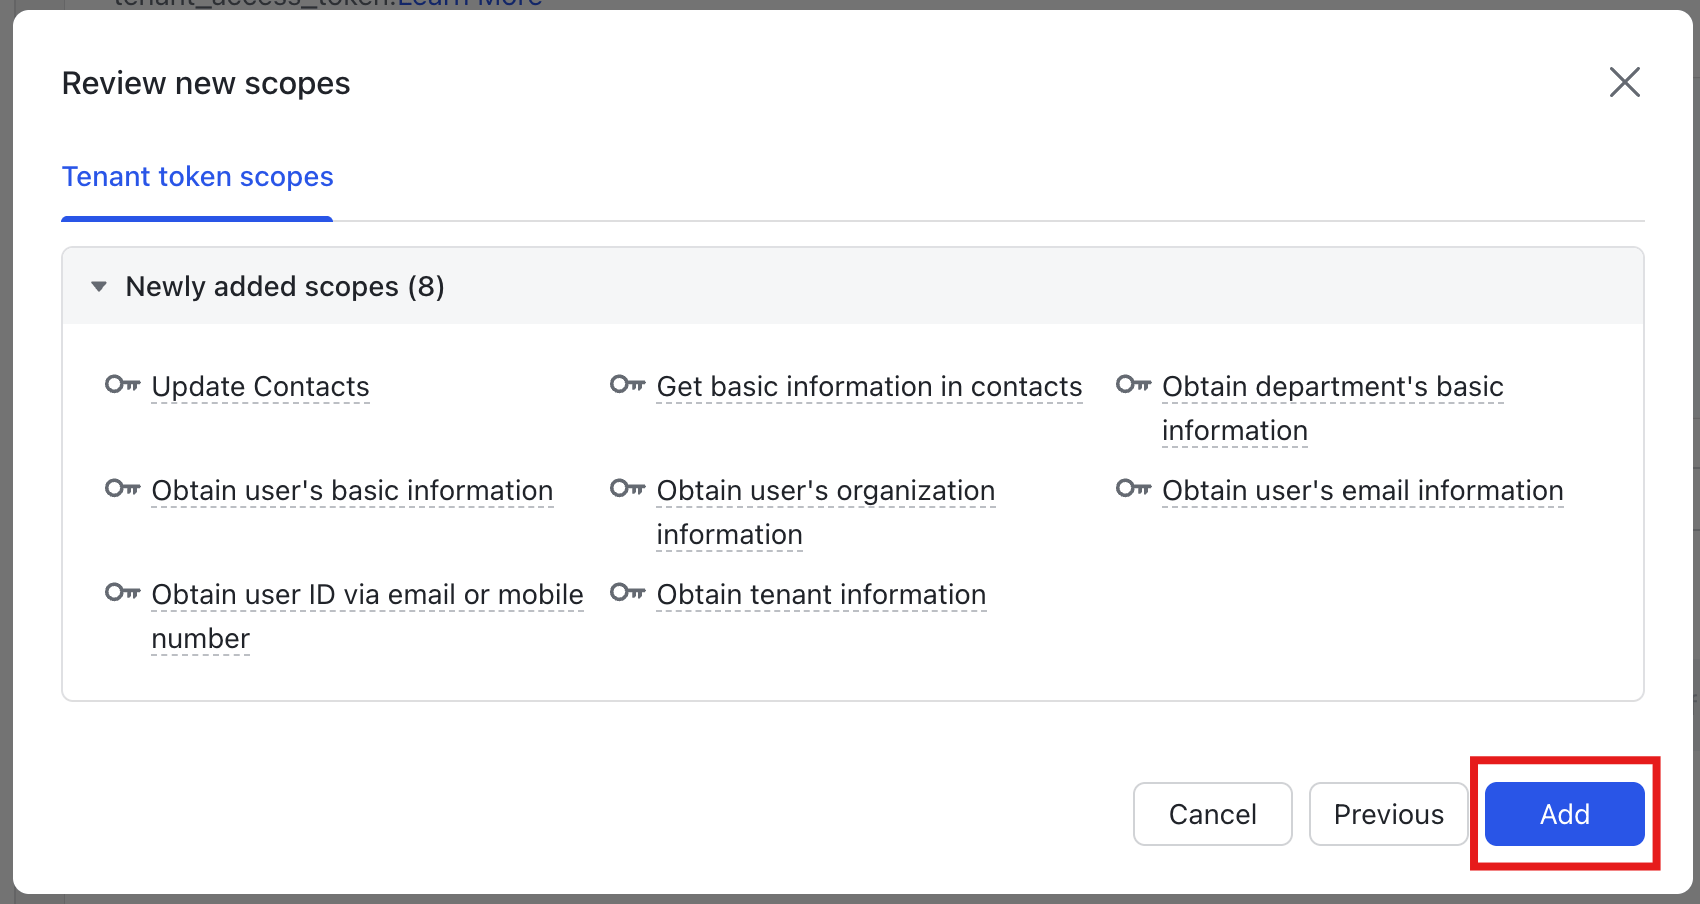
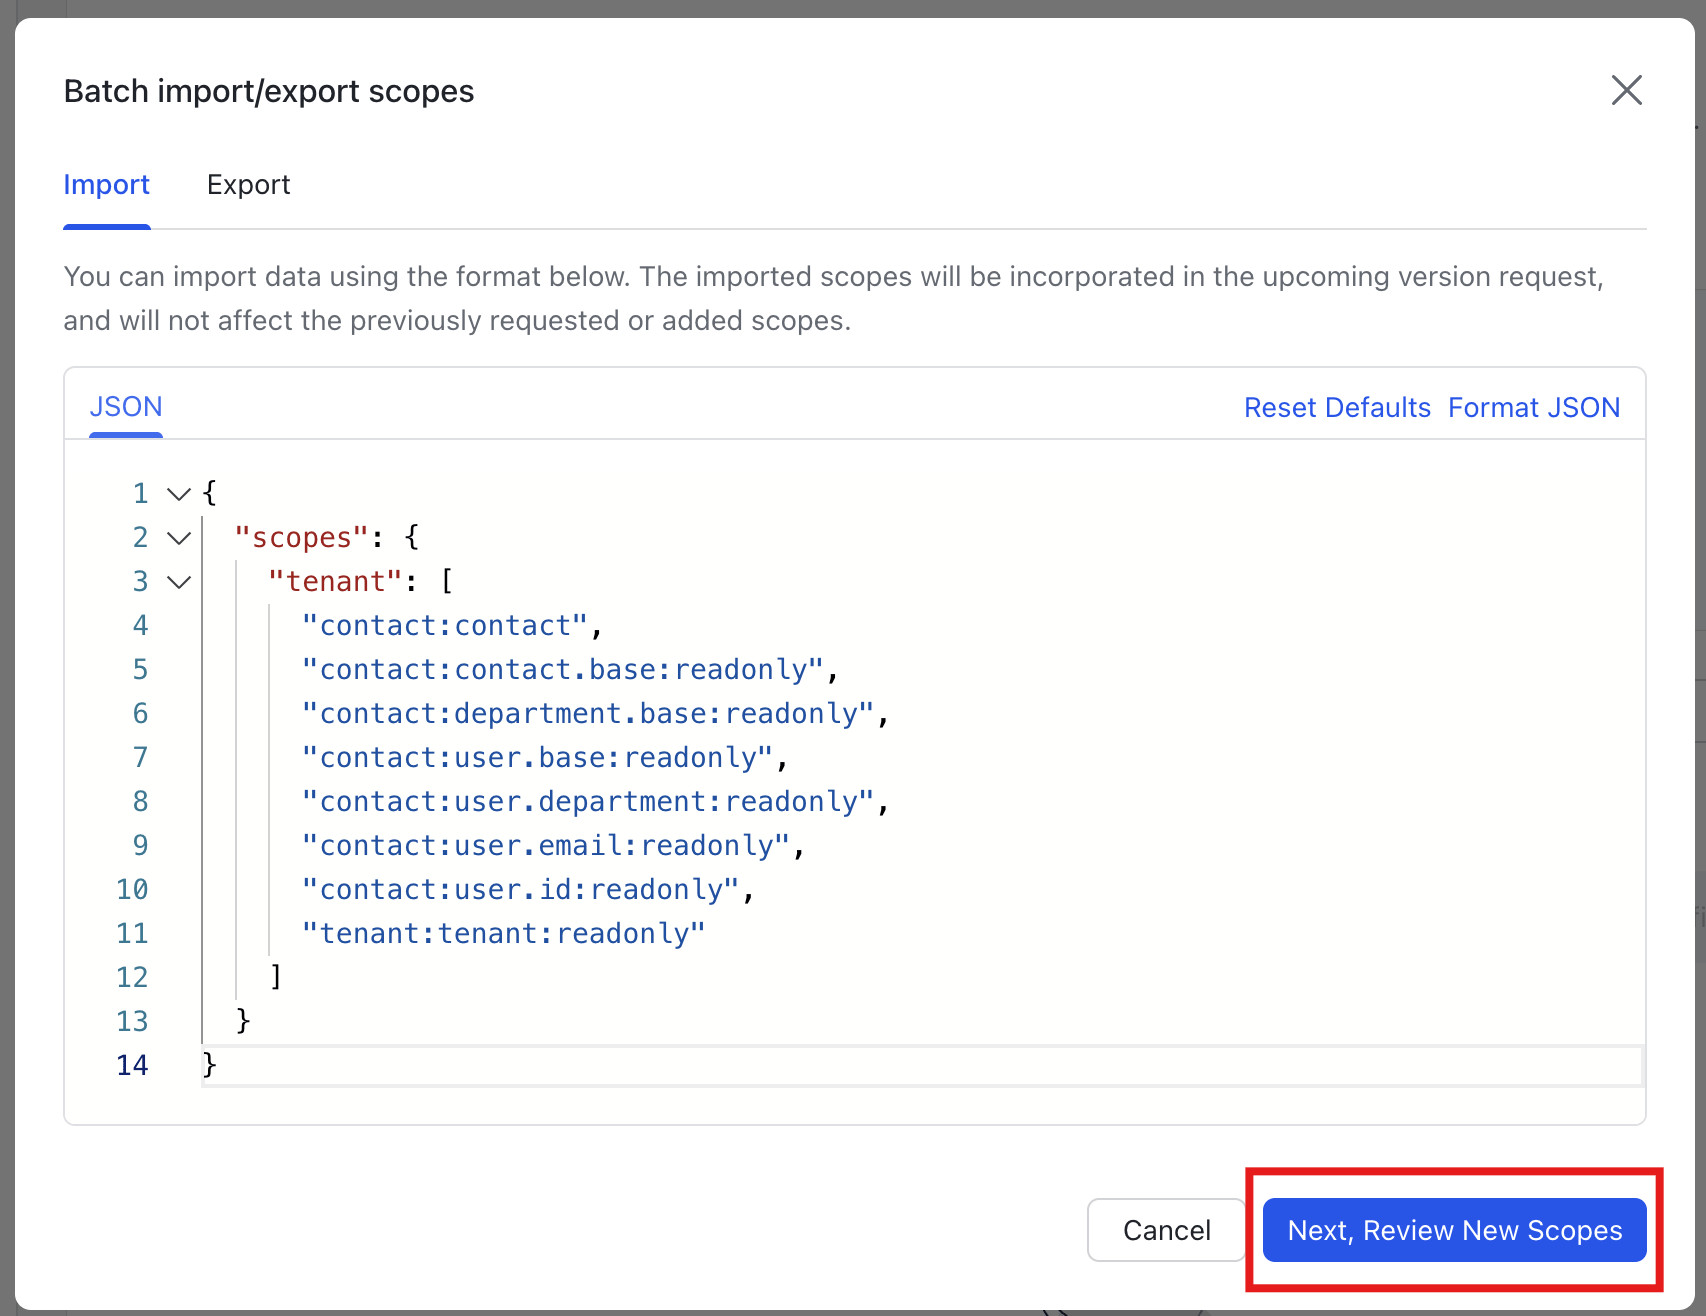 6. Confirm that the scopes were added.
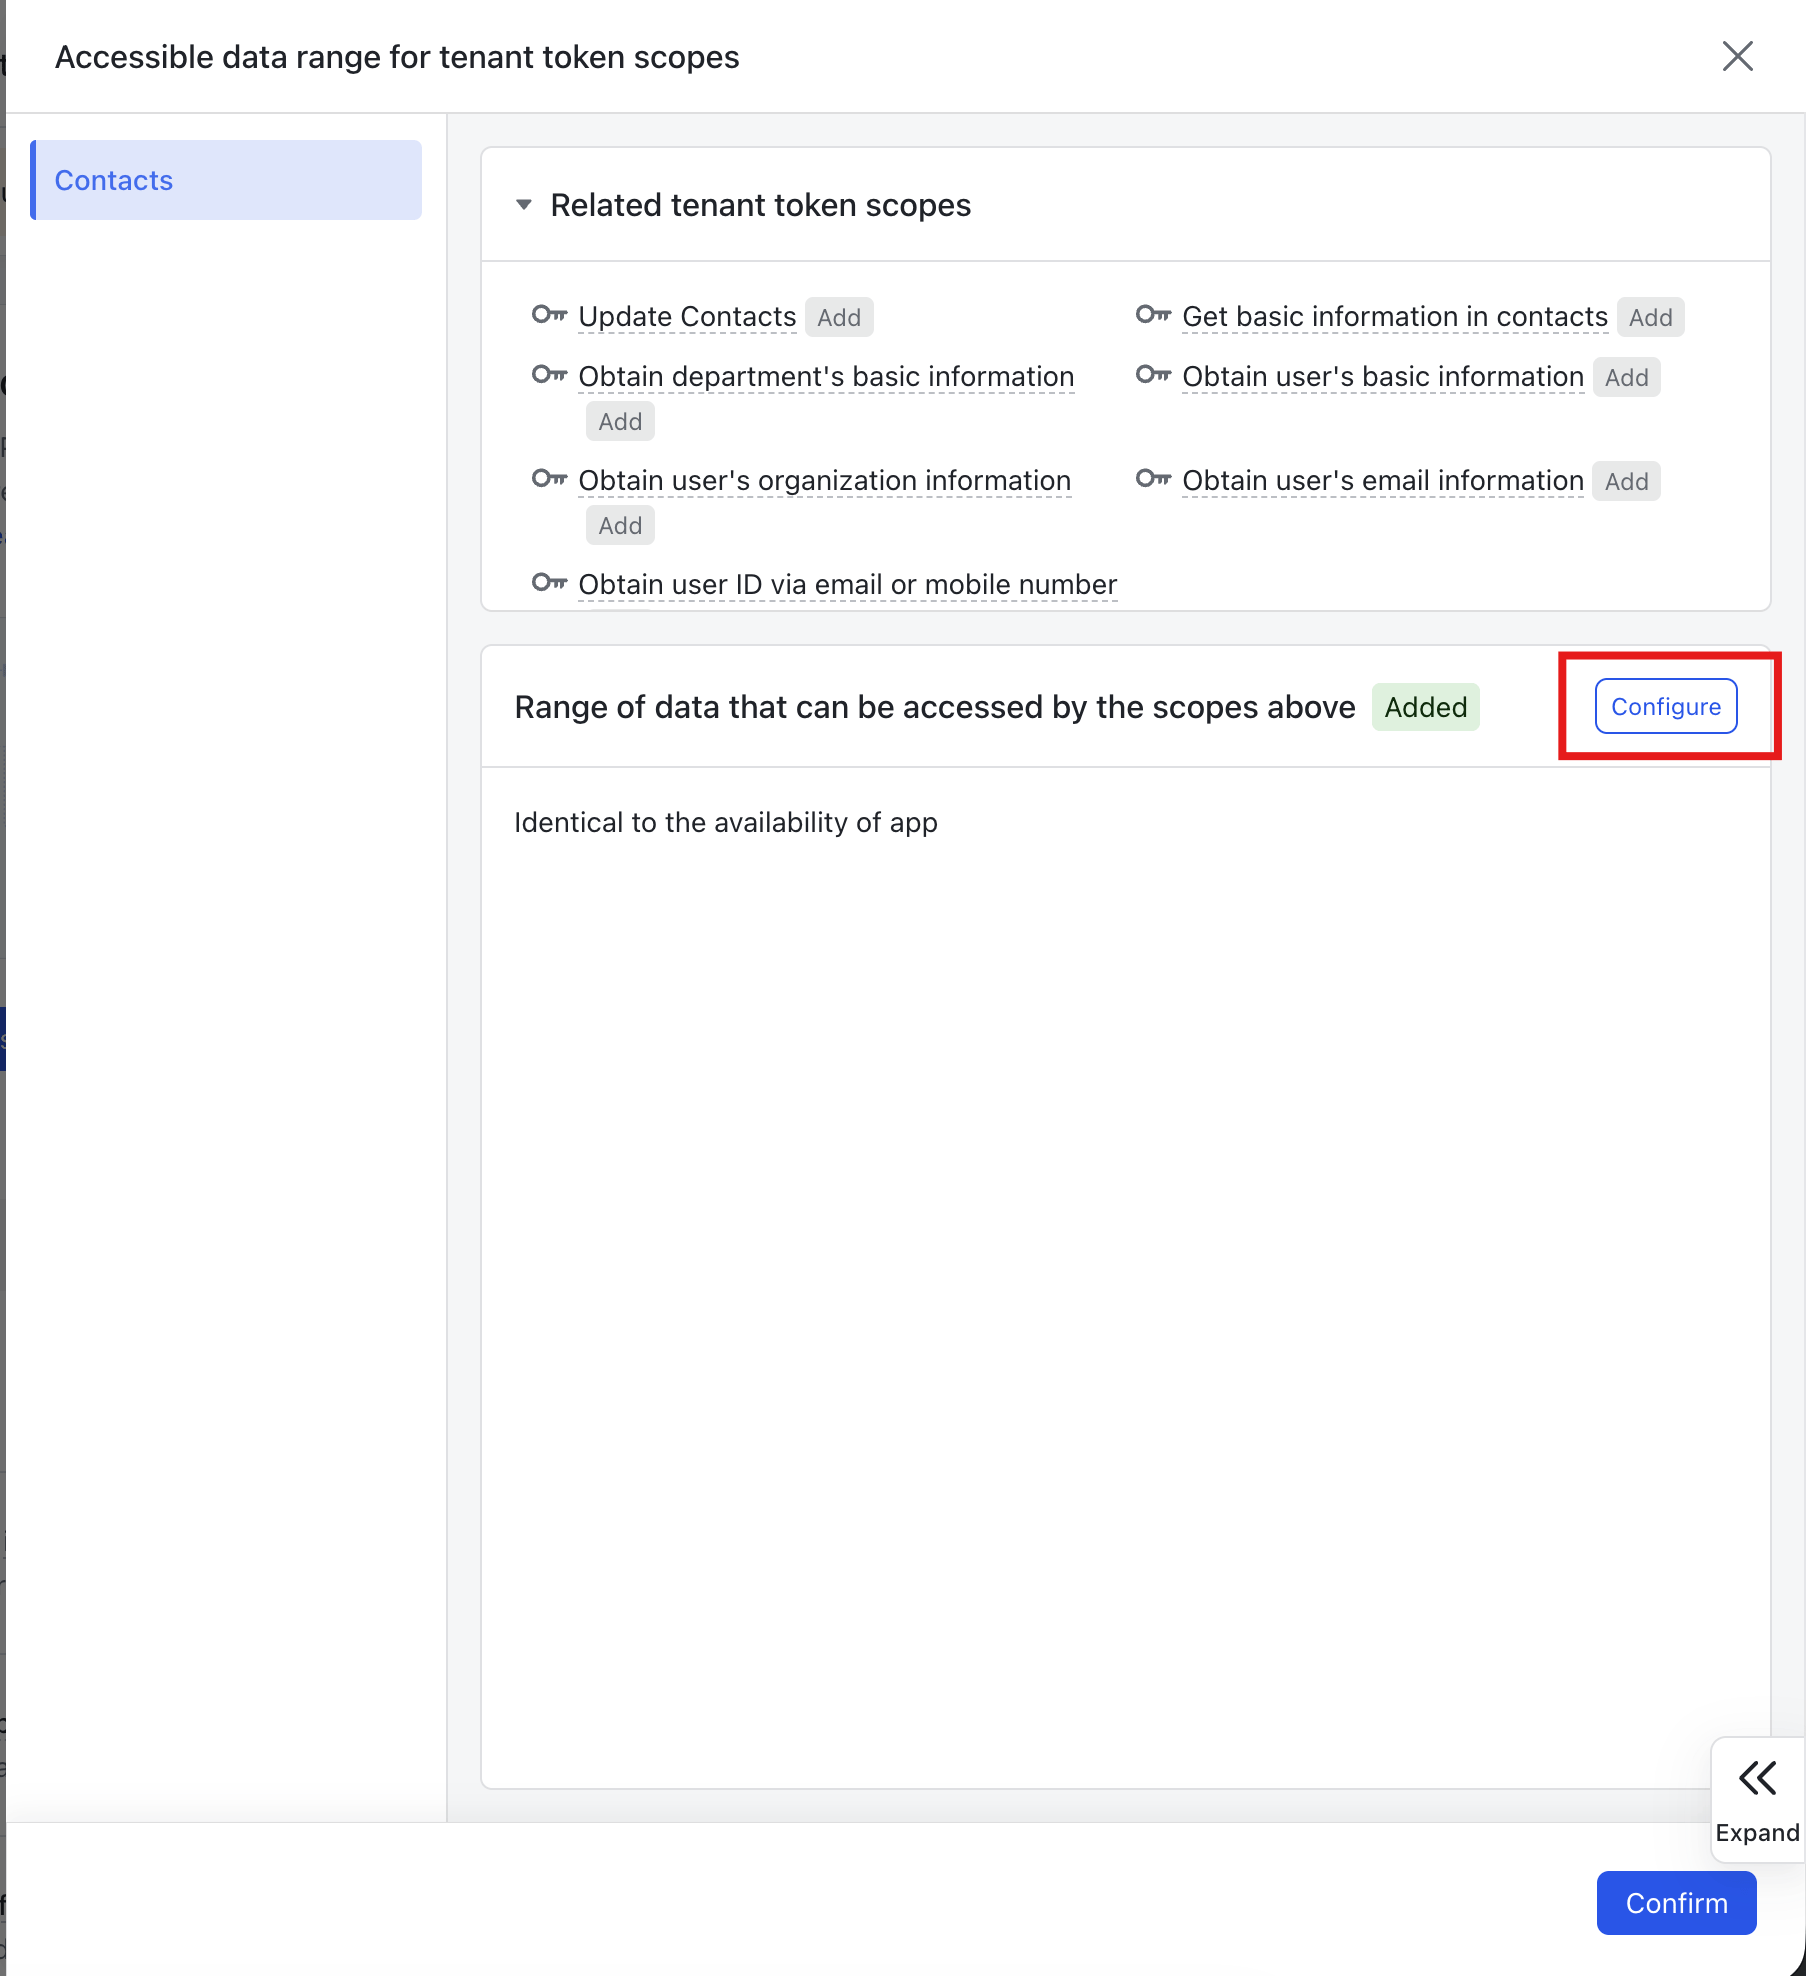
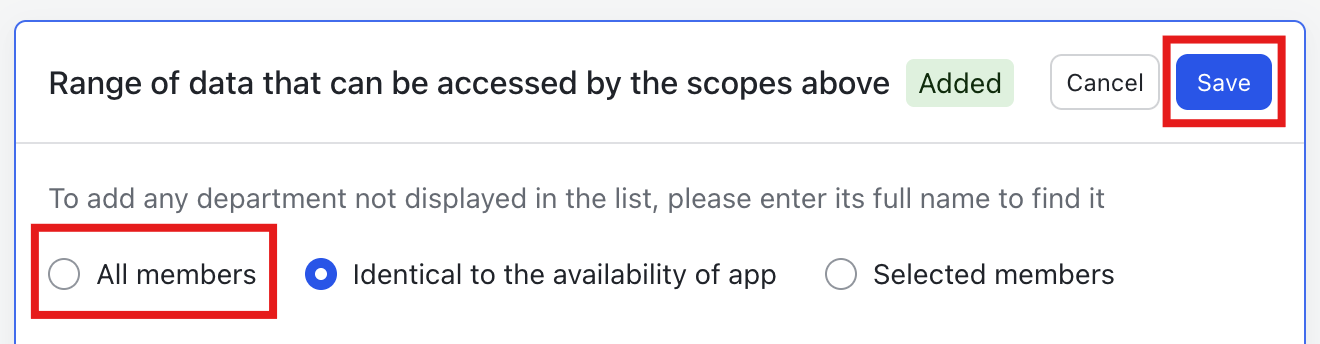
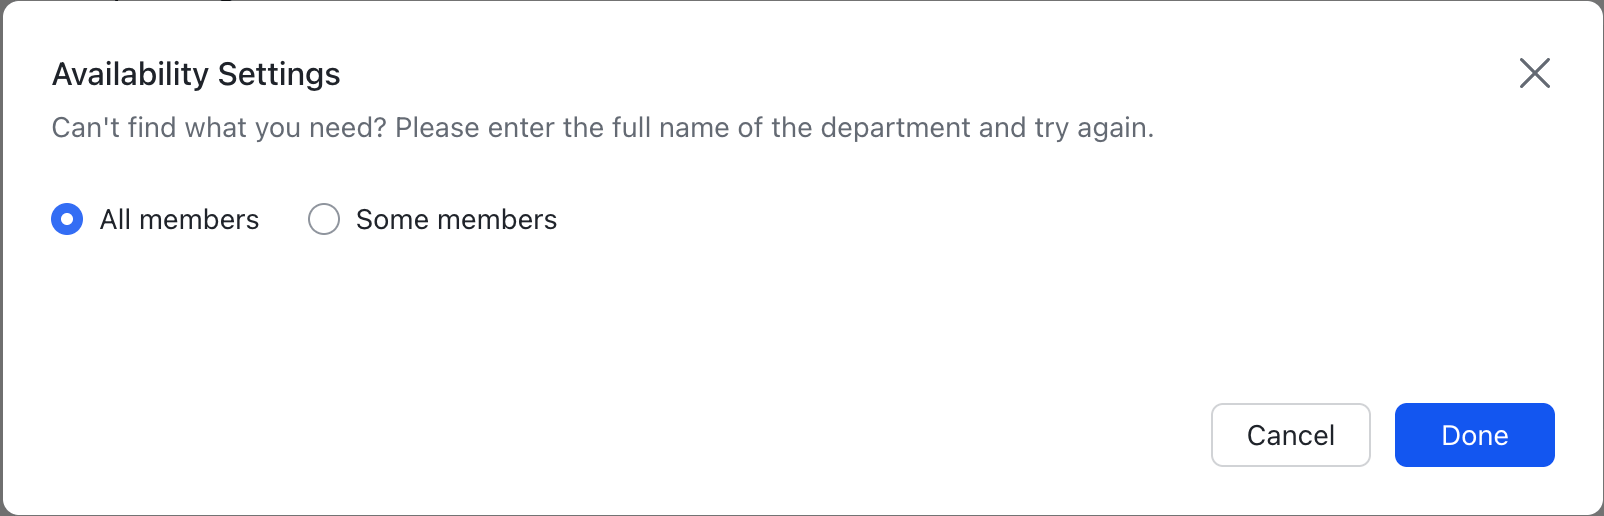
 7. Click **Configure** for the data scope, select **All members**, and save.
 8. Create a new version from **Version Management & Release**.
 9. Enter the app version information.
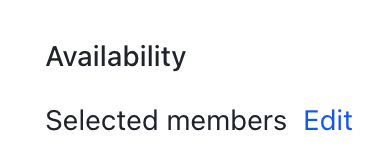 10. Set the availability scope to **All members**.
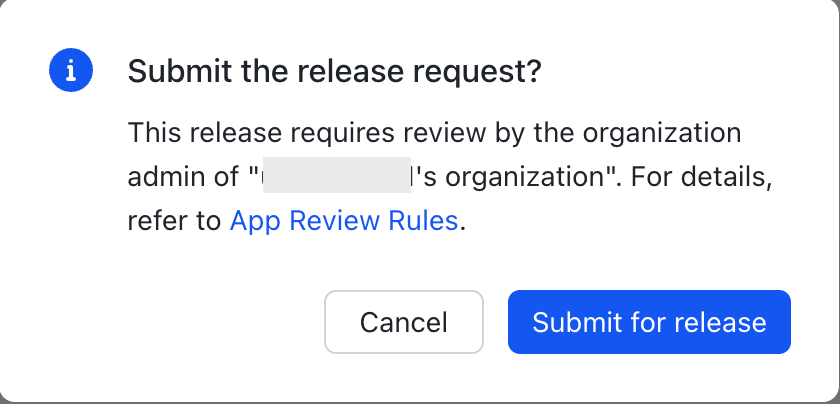
 11. Click **Submit for release**.
 12. Copy and save the **App ID** and **App Secret** from **Credentials & Basic Info**. These correspond to the **Client ID** and **Client Secret**, respectively.
 ## Integration Setup
1. In the integration screen, search for **Lark**.
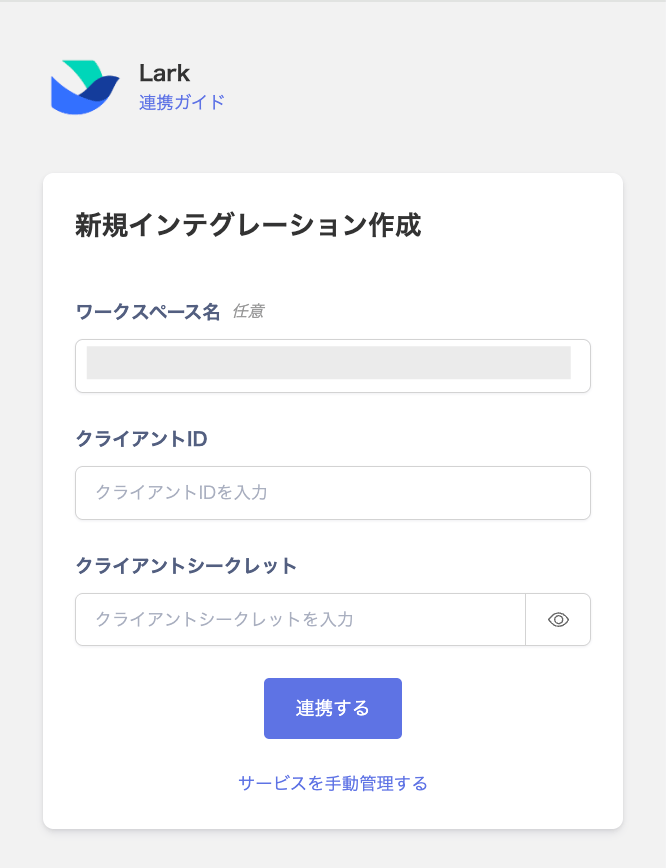
2. Enter the following values, then click **Connect**.
* **Workspace Key**: Any name (e.g., company name)
* **Client ID**: The **App ID** obtained in the previous step
* **Client Secret**: The **App Secret** obtained in the previous step
## Integration Setup
1. In the integration screen, search for **Lark**.
2. Enter the following values, then click **Connect**.
* **Workspace Key**: Any name (e.g., company name)
* **Client ID**: The **App ID** obtained in the previous step
* **Client Secret**: The **App Secret** obtained in the previous step
 3. Once the Lark integration is successful, the registered user information will appear in the account list. If the integration does not complete successfully, first try the steps in [Troubleshooting SaaS Integration Failures](/en/it-management/saas-management/93nahw45is-trouble). If the issue persists, check the [information to provide](/en/it-management/saas-management/93nahw45is-trouble#info-to-provide) and contact the [support desk](/en/contact-support).