> ## Documentation Index
> Fetch the complete documentation index at: https://support.i.moneyforward.com/llms.txt
> Use this file to discover all available pages before exploring further.
# Cisco Umbrella
> Cisco Umbrella integration guide: admin login, API key generation, and simple Admina setup
## Supported Features
Account Deletion Account Provisioning
## Advance Preparation
### How to Log In
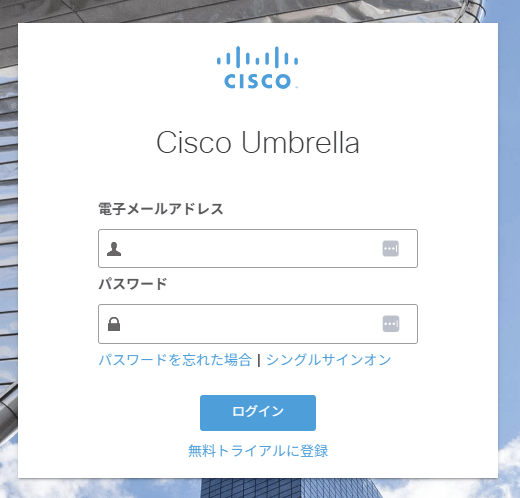
On [the Cisco Umbrella login page](https://dashboard.umbrella.com), enter **your email address** and **password** to **log in**.
 ### How to Check Your Client ID and Client Secret
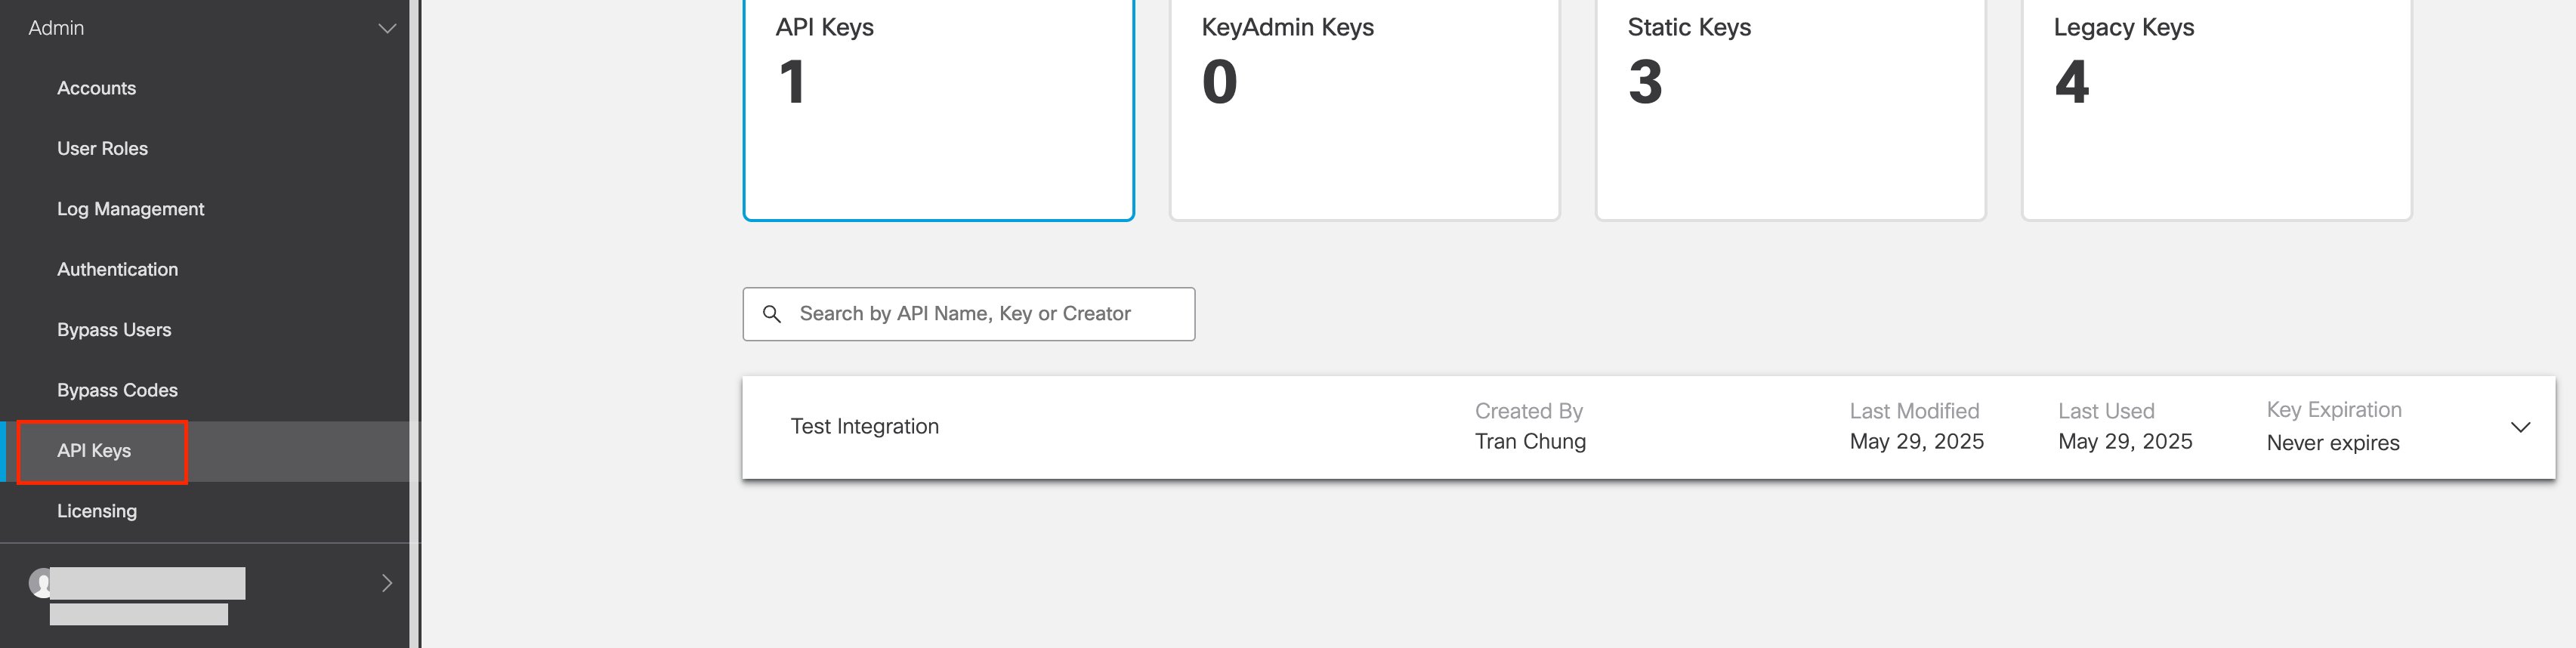
After logging in to **Cisco Umbrella**, click **Admin** > **API Keys** in the left menu.
### How to Check Your Client ID and Client Secret
After logging in to **Cisco Umbrella**, click **Admin** > **API Keys** in the left menu.
 Click **the plus sign** in the top right to add a new API key.
 Then, in the "**API Key Name**" field, enter the name of your new API key.
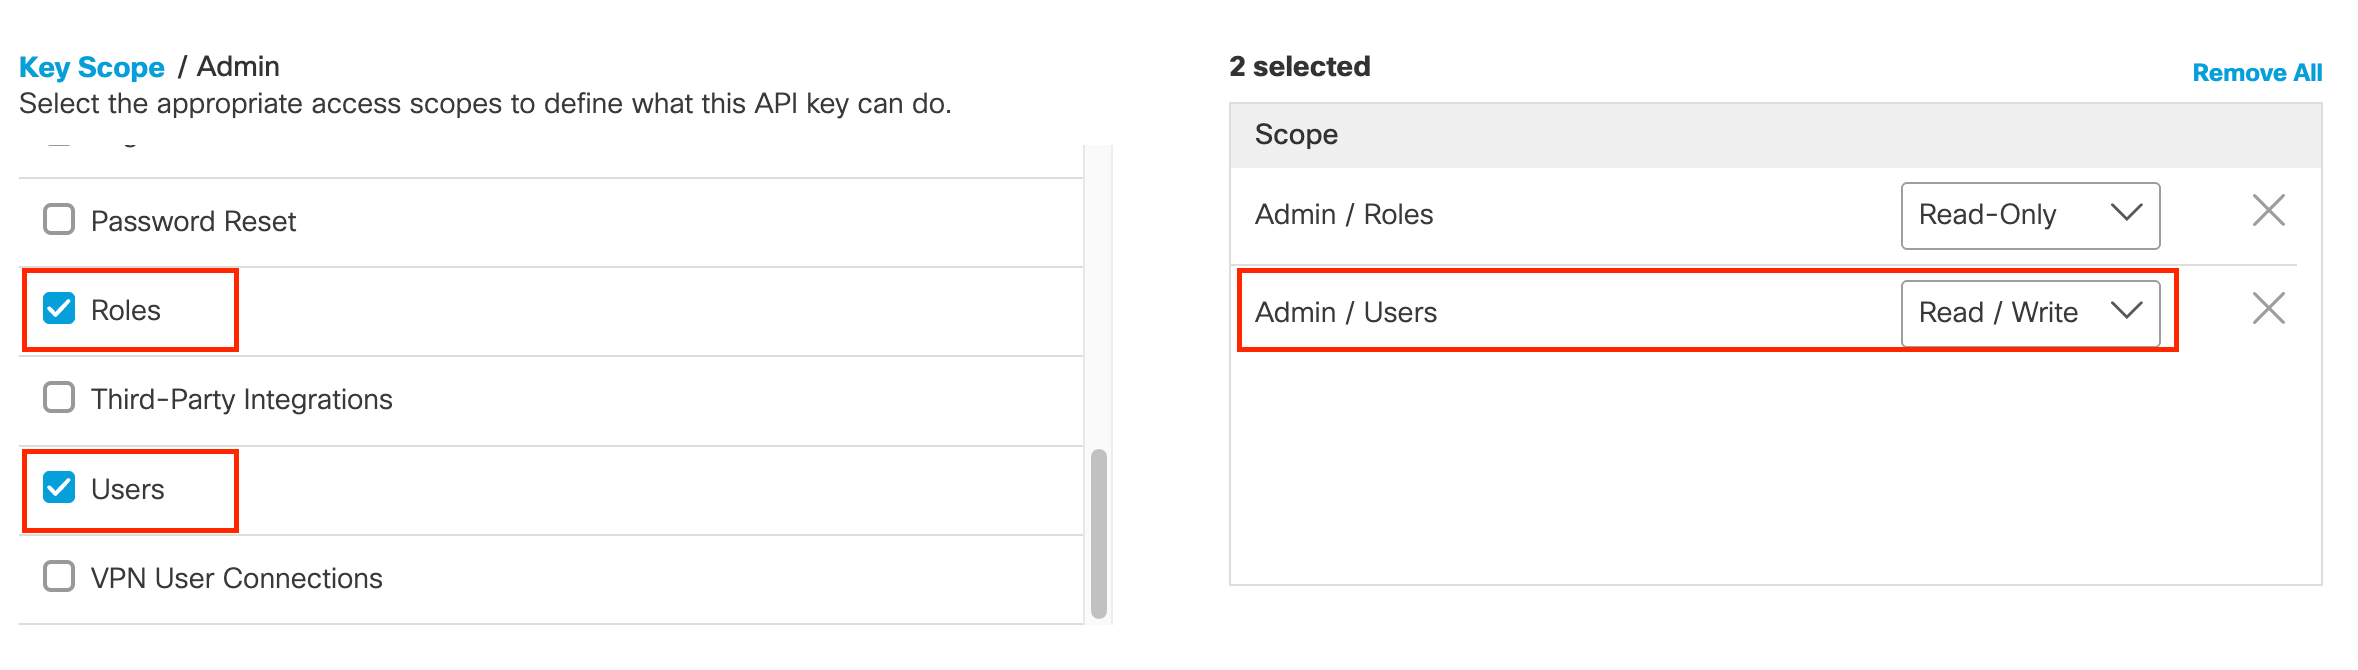
In the "**Key Scope**" list, check **Admin** > **Users・Roles**.
Then, in the "**API Key Name**" field, enter the name of your new API key.
In the "**Key Scope**" list, check **Admin** > **Users・Roles**.
 By default, **Admin/Users** is set to "**Read-Only**".
Change this to "**Read/Write**".
By default, **Admin/Users** is set to "**Read-Only**".
Change this to "**Read/Write**".
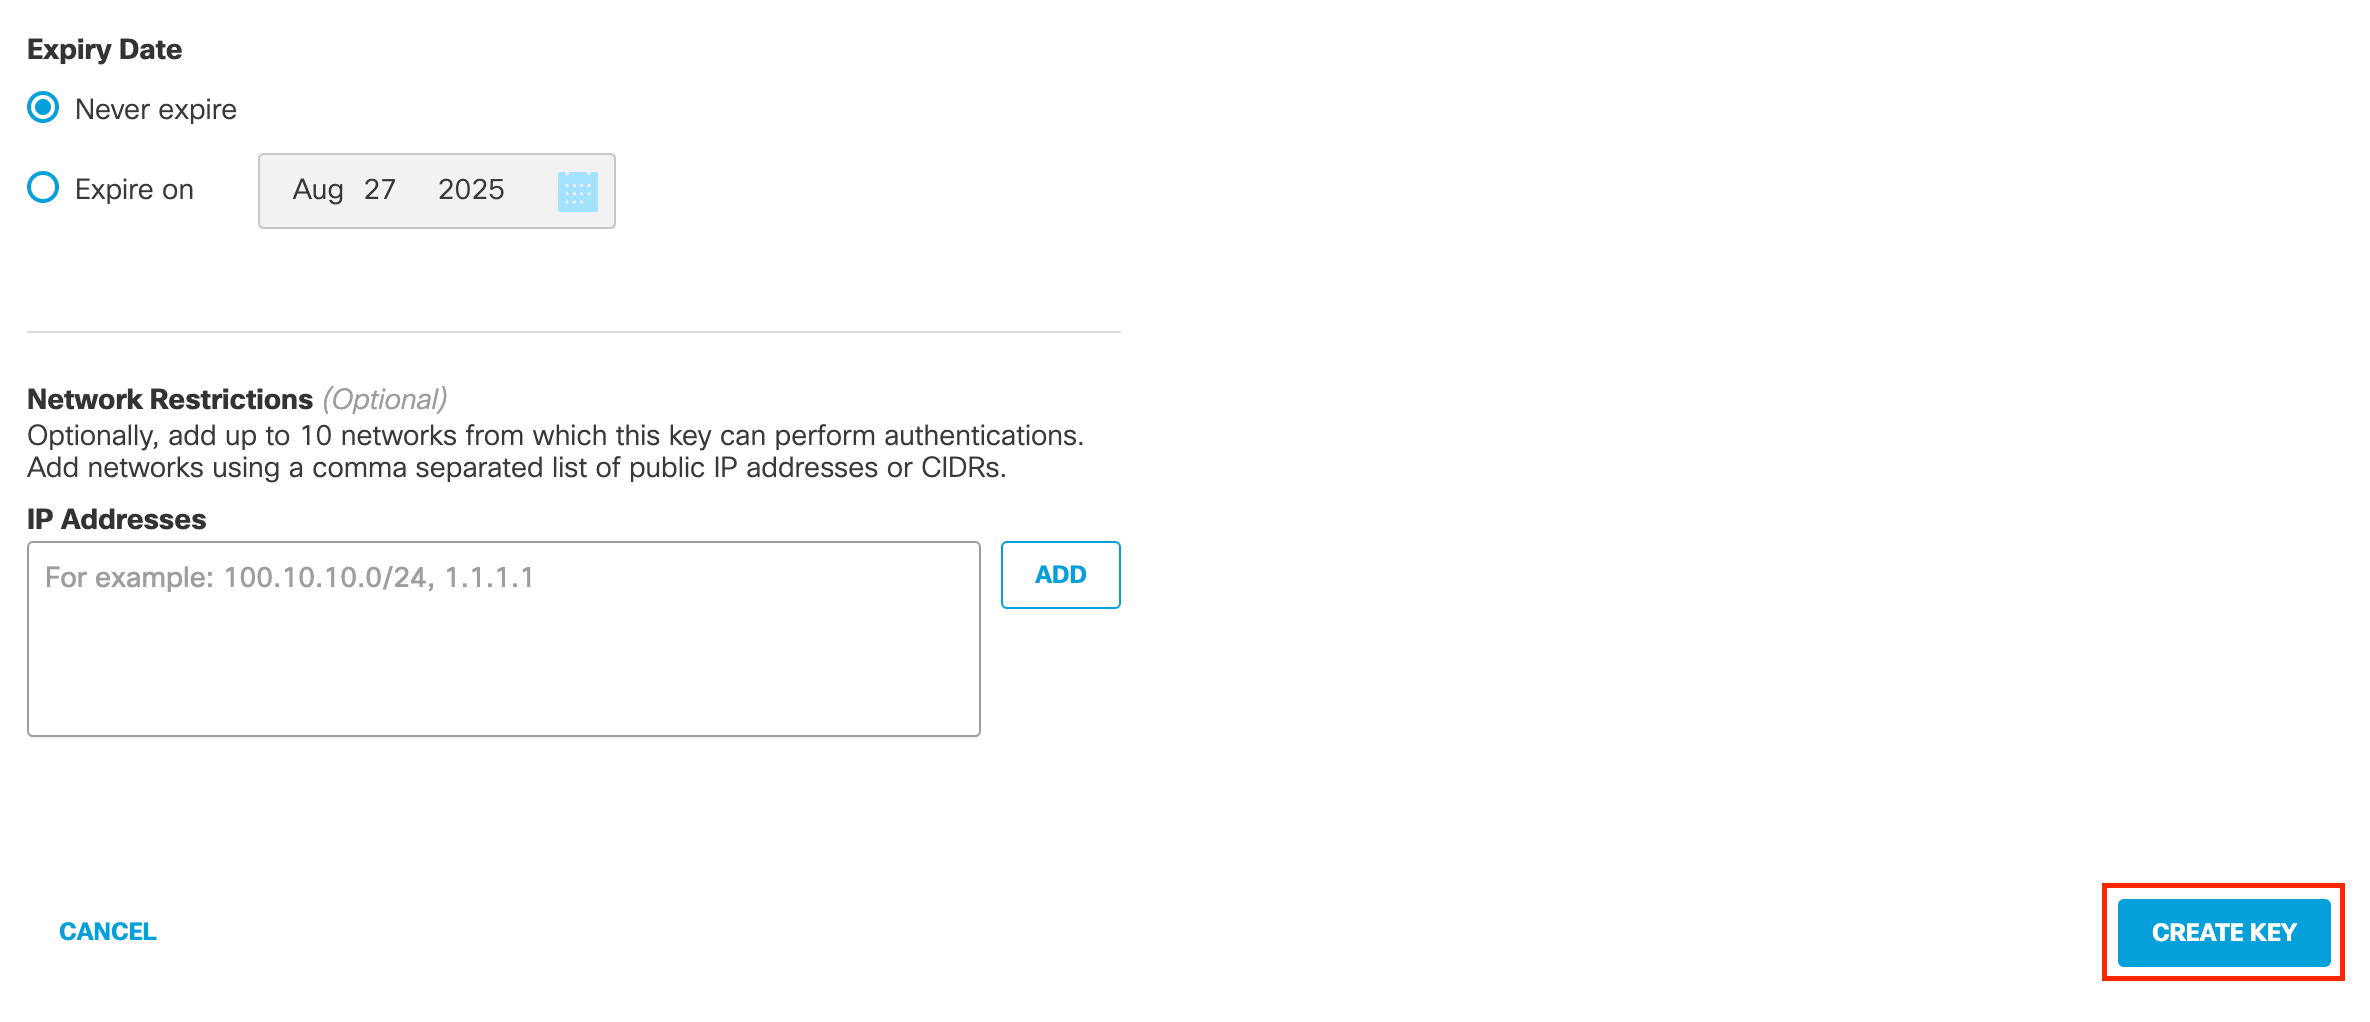
 Click "**CREATE KEY**" at the bottom of the page.
 Copy the displayed **API Key** and **Key Secret**.
**The API Key** is **your client ID** and **the Key Secret** is **your client secret**.
Your key secret will only be displayed to you once, so be sure to keep it safe as you won't be able to view it again once you leave the page.
Copy the displayed **API Key** and **Key Secret**.
**The API Key** is **your client ID** and **the Key Secret** is **your client secret**.
Your key secret will only be displayed to you once, so be sure to keep it safe as you won't be able to view it again once you leave the page.
 ## Setting up the Integration
In Admina, search for **Cisco Umbrella**.
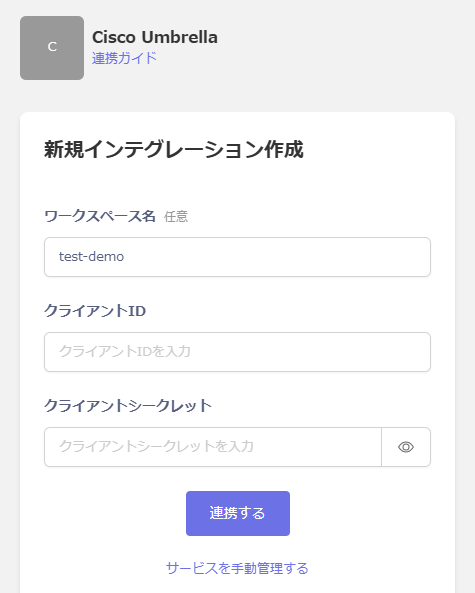
Enter the workspace name, **Client ID** (API Key) **and Client Secret** (Key Secret) obtained in the previous step, and click **Connect**.
## Setting up the Integration
In Admina, search for **Cisco Umbrella**.
Enter the workspace name, **Client ID** (API Key) **and Client Secret** (Key Secret) obtained in the previous step, and click **Connect**.
 If the connection is successful, the registered user information will be displayed in the account list.
If it doesn't complete successfully, **edit it** from the Status tab on the Integration screen and try the integration again.
If the issue is not resolved, please contact us via chat.
If the connection is successful, the registered user information will be displayed in the account list.
If it doesn't complete successfully, **edit it** from the Status tab on the Integration screen and try the integration again.
If the issue is not resolved, please contact us via chat.