> ## Documentation Index
> Fetch the complete documentation index at: https://support.i.moneyforward.com/llms.txt
> Use this file to discover all available pages before exploring further.
# Xero
> Xeroとの連携方法です。マネーフォワードAdminaからXeroへの、管理者のログインから、連携方法まで一連の手順を解説します。
## インテグレーションのセットアップ
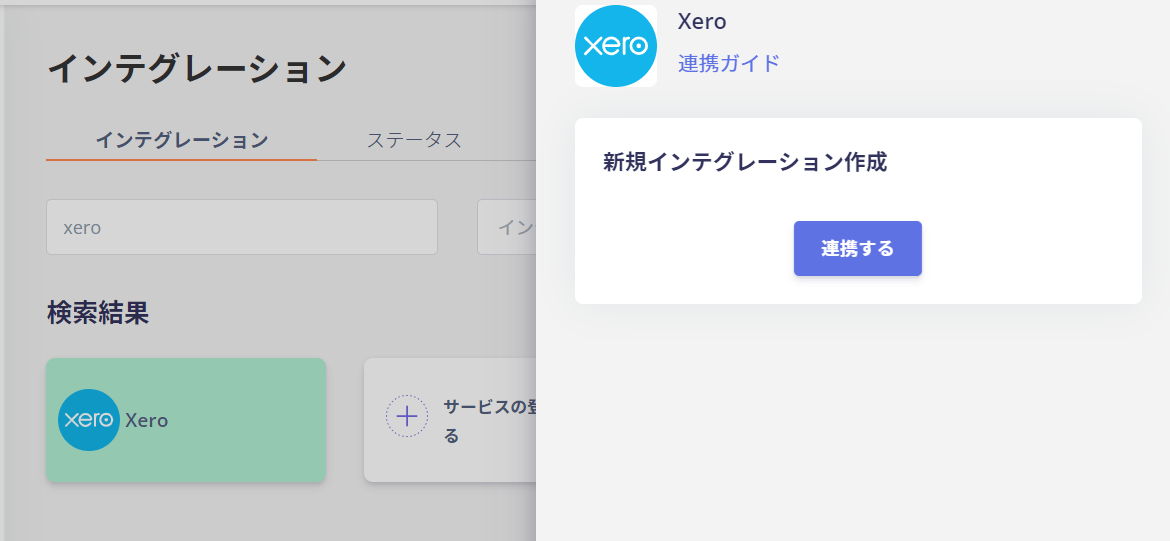
インテグレーション画面にて、**Xero**で検索し、**連携する**をクリックします。
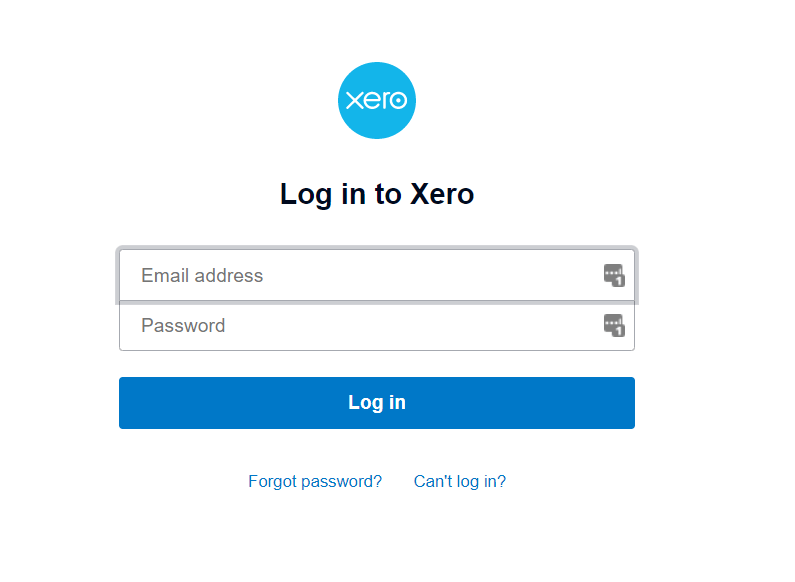
 Xeroのログイン画面に移動するので、メールアドレス・パスワード等を入力し、ログインします。
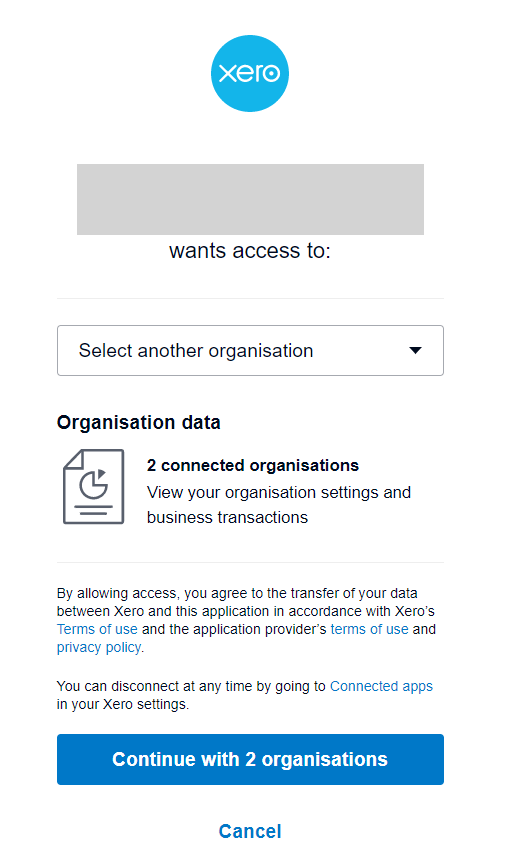
 次に、許諾画面が出ます。連携するワークスペースを選択し、Continue with \*\* organisations をクリックします。
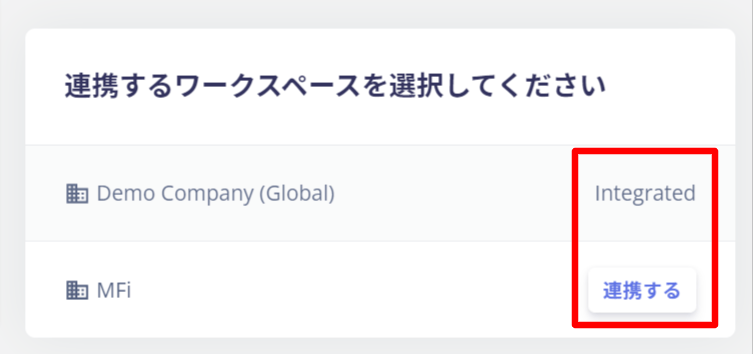
 複数ワークスペースをお持ちの場合は、以下のようにマネーフォワードAdminaでもワークスペース選択の画面が出るので、連携するワークスペース選択をします。
 Xeroとの連携に成功すると、アカウント一覧に登録済みのユーザー情報が表示されます。
正常に完了しない場合は、インテグレーション画面のステータスタブから**編集**し、再度連携をお試しください。
解決しない場合はチャットにてお問い合わせください。
Xeroの連携概要については[連携ページ](http://admina.moneyforward.com/jp/integrations/xero)をご覧ください。
Xeroとの連携に成功すると、アカウント一覧に登録済みのユーザー情報が表示されます。
正常に完了しない場合は、インテグレーション画面のステータスタブから**編集**し、再度連携をお試しください。
解決しない場合はチャットにてお問い合わせください。
Xeroの連携概要については[連携ページ](http://admina.moneyforward.com/jp/integrations/xero)をご覧ください。