> ## Documentation Index
> Fetch the complete documentation index at: https://support.i.moneyforward.com/llms.txt
> Use this file to discover all available pages before exploring further.

# TimeCrowd

> TimeCrowdとの連携方法です。

## サポートする機能

<Badge color="blue">アカウント無効化</Badge>

## 事前準備

### TimeCrowdへのログイン方法

[ログインページ](https://timecrowd.net/users/sign_in)にて、メールアドレス・パスワードを入力しログインします。
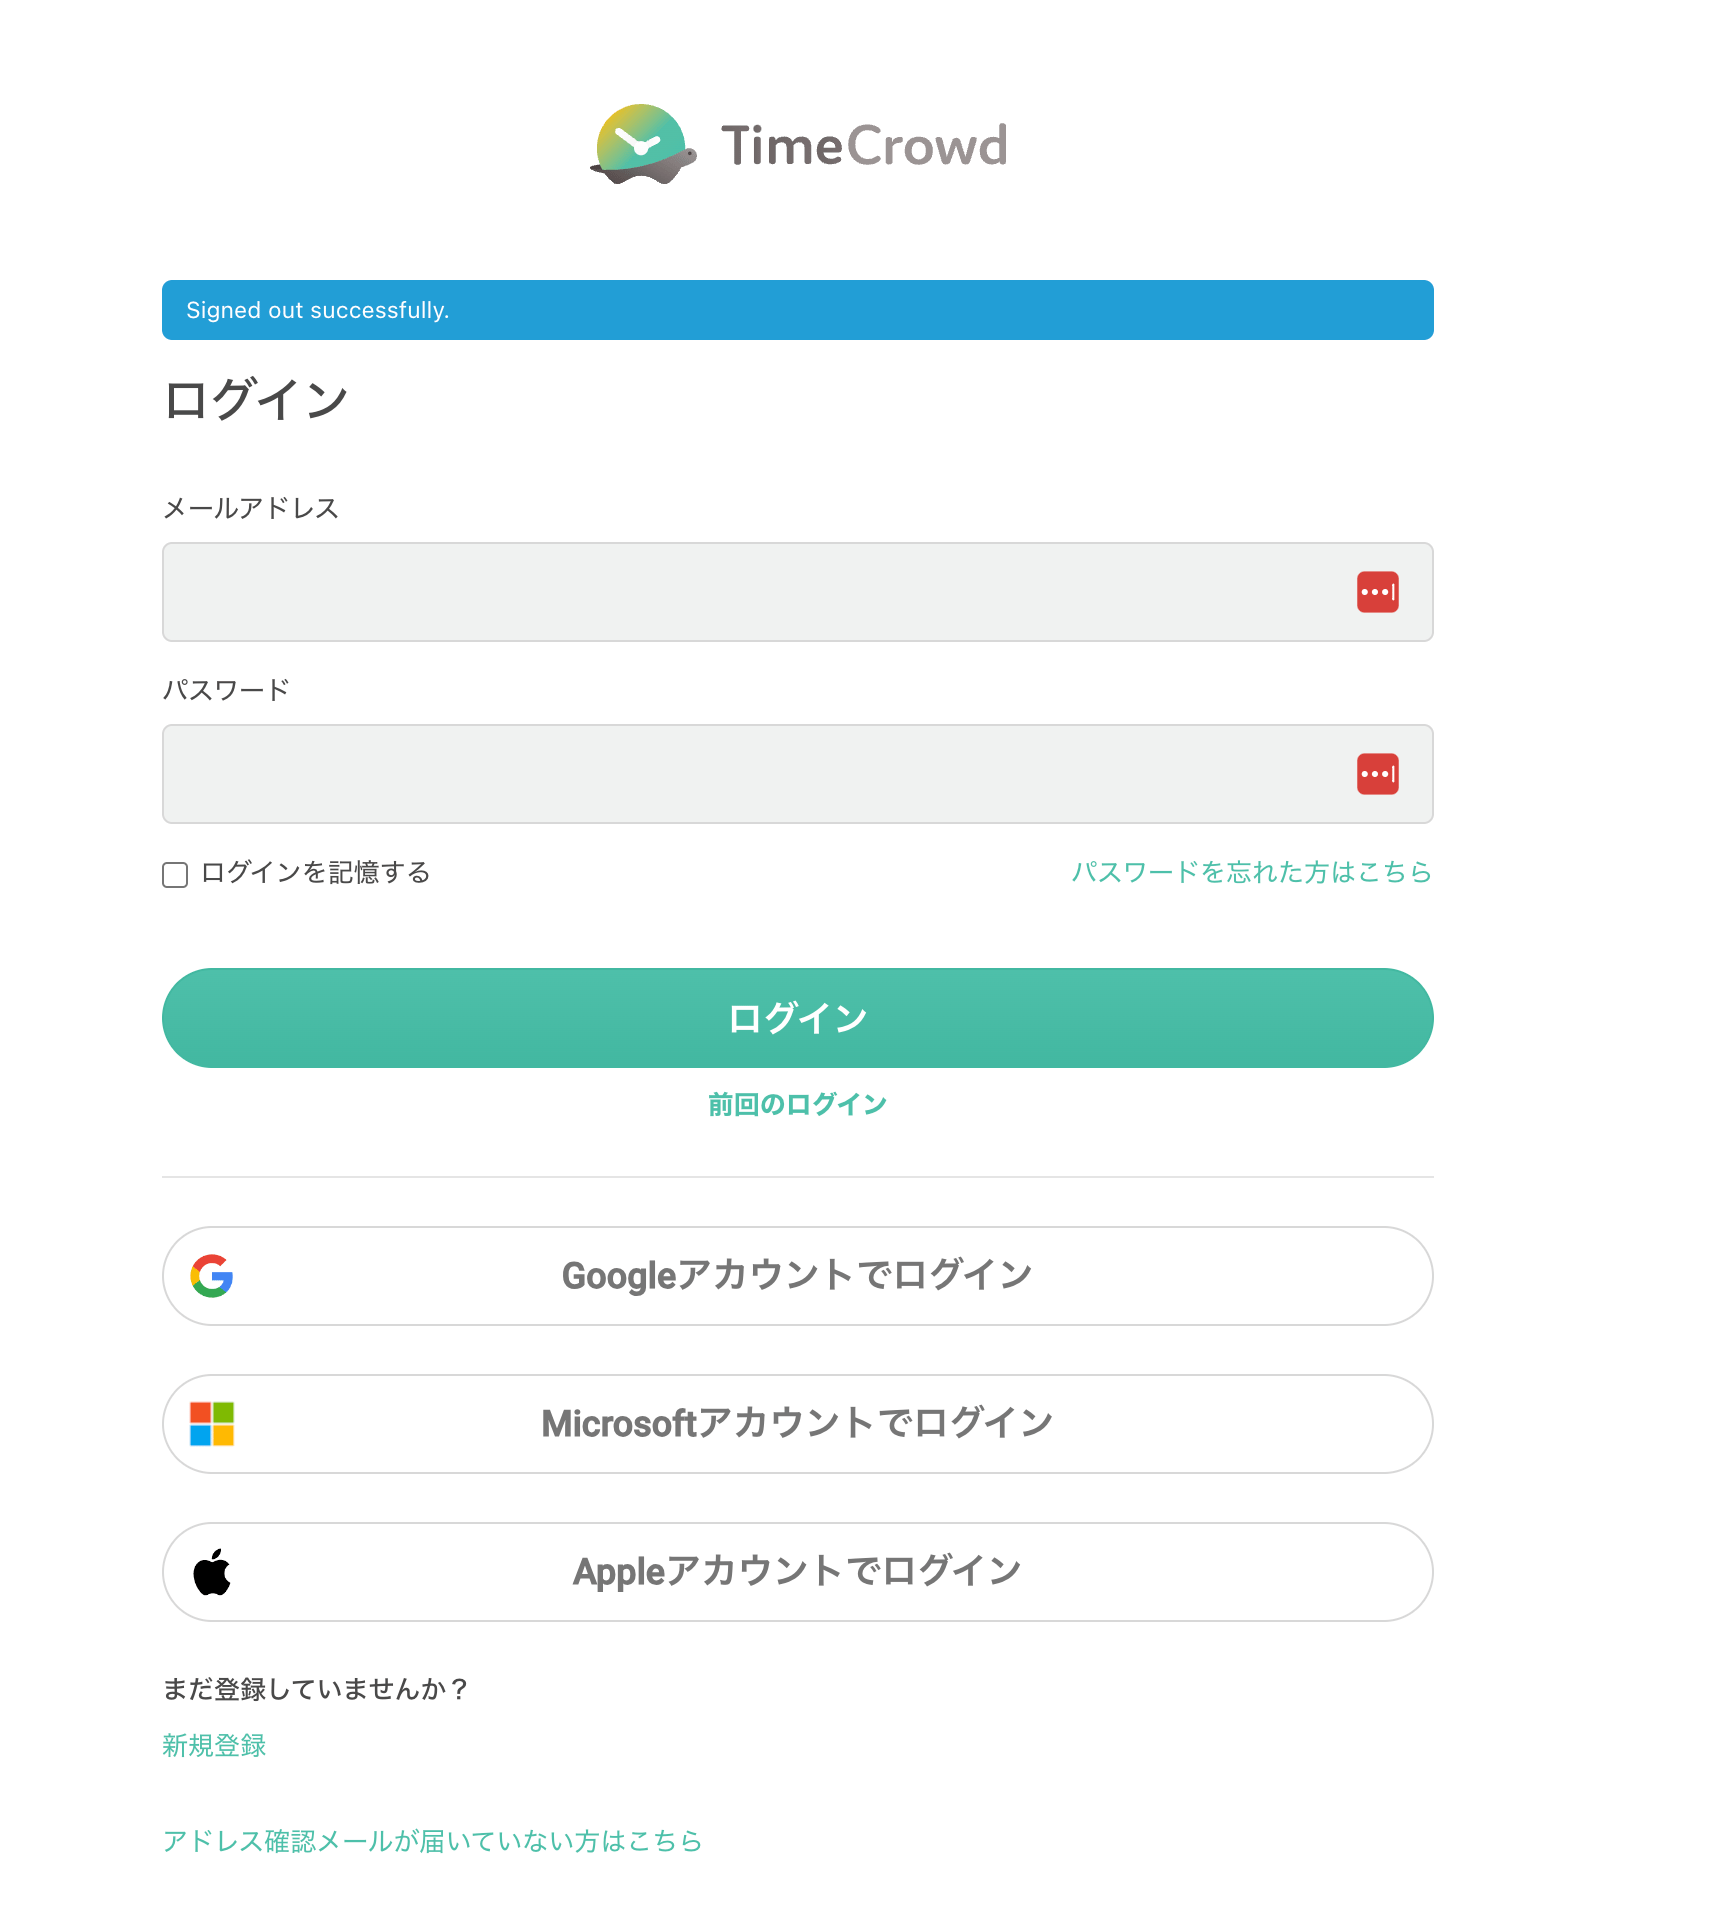
<img src="https://mintcdn.com/moneyforwardi/sBonQ3jiLBZfmNUI/images/integrations/0thykp0zzb/1728006051112-image.png?fit=max&auto=format&n=sBonQ3jiLBZfmNUI&q=85&s=1315e6415e062a78749823be9e1fc1d7" alt="TimeCrowdログインページ" width="1718" height="1906" data-path="images/integrations/0thykp0zzb/1728006051112-image.png" />

### アクセスキーの作成

連携用のOAuth AppsをTimeCrowd上で作成します。

1. TimeCrowdにログインした状態で、次のURLをクリックします。

   [https://timecrowd.net/oauth/applications](https://timecrowd.net/oauth/applications)

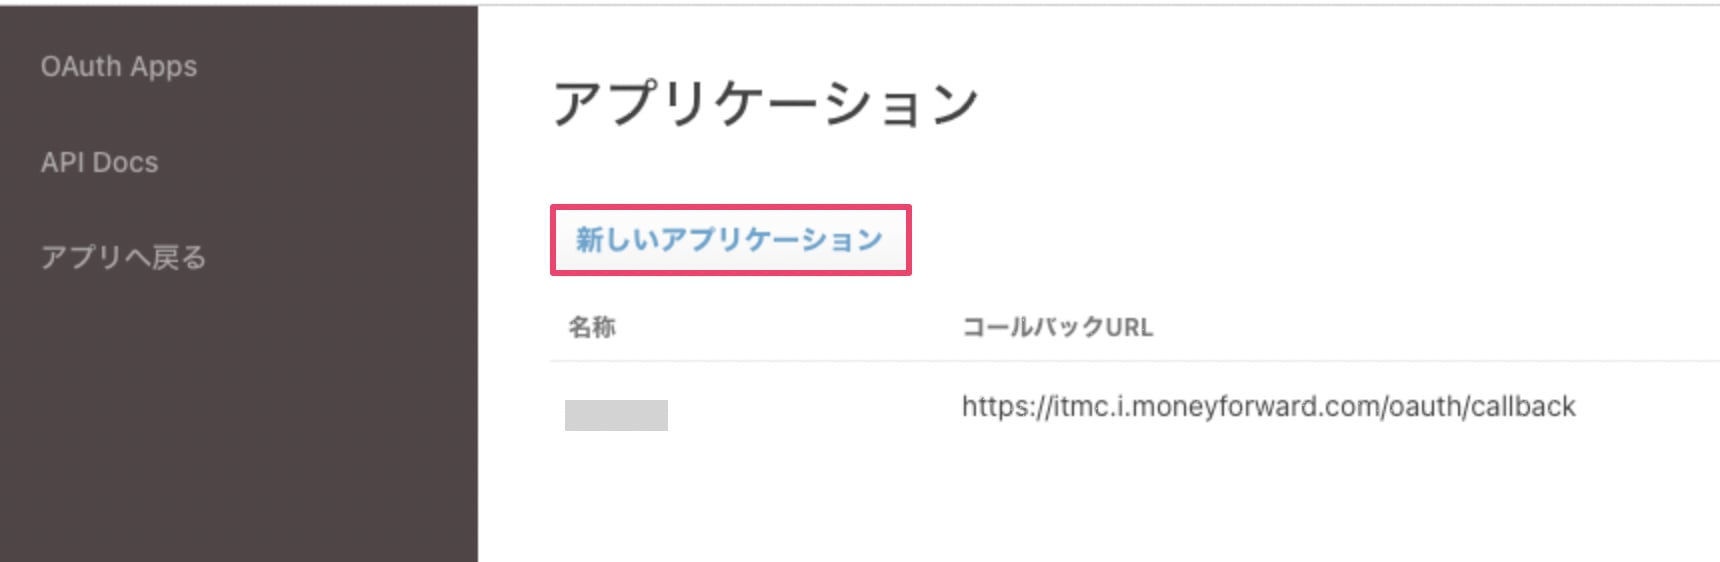
2. **新しいアプリケーション**をクリックします。

   <img src="https://mintcdn.com/moneyforwardi/5mVcwZ5Mh9A1Ays_/images/integrations/0thykp0zzb/1728021284116-image.png?fit=max&auto=format&n=5mVcwZ5Mh9A1Ays_&q=85&s=cdba08b98deecdbe2f07f47ebac82608" alt="新しいアプリケーションボタン" width="1720" height="562" data-path="images/integrations/0thykp0zzb/1728021284116-image.png" />

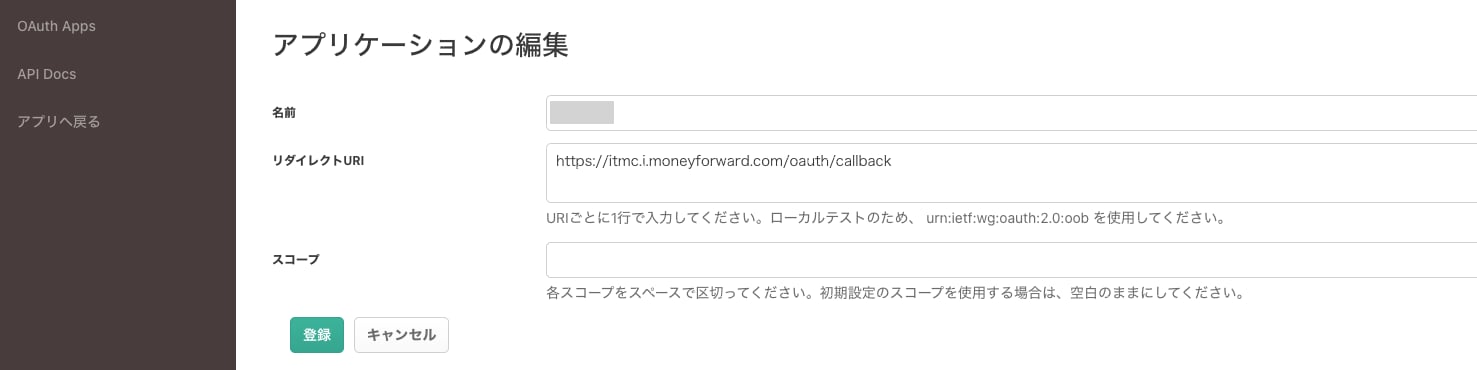
3. 次の画面が表示されるので、各項目を入力後、**Submit**をクリックします。

   | 項目         | 内容                                                                                                   |
   | ---------- | ---------------------------------------------------------------------------------------------------- |
   | 名前         | アプリケーションの名前です。任意の名前を入力してください。                                                                        |
   | リダイレクト URL | **[https://itmc.i.moneyforward.com/oauth/callback](https://itmc.i.moneyforward.com/oauth/callback)** |
   | Scopes     | 空欄                                                                                                   |

   <img src="https://mintcdn.com/moneyforwardi/5mVcwZ5Mh9A1Ays_/images/integrations/0thykp0zzb/1728021175119-image.png?fit=max&auto=format&n=5mVcwZ5Mh9A1Ays_&q=85&s=578362e3f036576d7293cf0c119c9f96" alt="アプリケーション設定画面" width="1477" height="370" data-path="images/integrations/0thykp0zzb/1728021175119-image.png" />

4. 次の画面が表示されるので、**New Token**をクリックします。

   <img src="https://mintcdn.com/moneyforwardi/5mVcwZ5Mh9A1Ays_/images/integrations/0thykp0zzb/1728007593834-image.png?fit=max&auto=format&n=5mVcwZ5Mh9A1Ays_&q=85&s=bb3ac8114c0449558cdf8f9227ca4933" alt="New Tokenボタン" width="2870" height="1086" data-path="images/integrations/0thykp0zzb/1728007593834-image.png" />

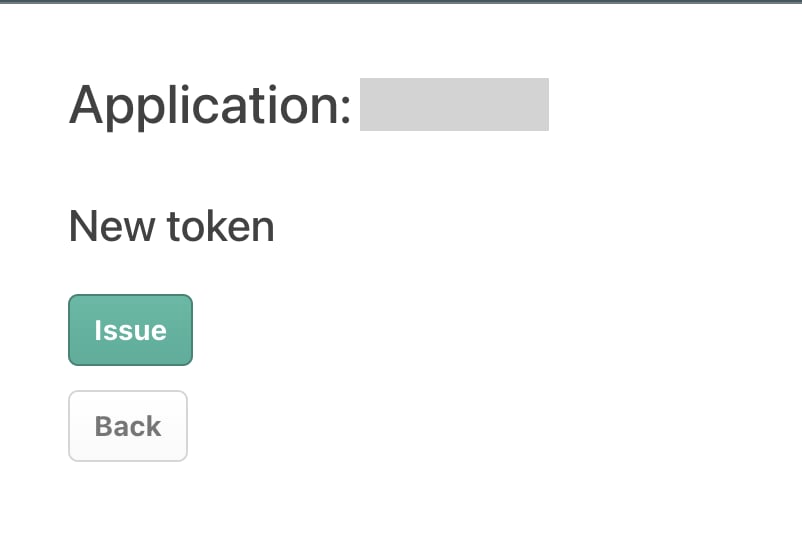
5. **Issue**をクリックします。

   <img src="https://mintcdn.com/moneyforwardi/5mVcwZ5Mh9A1Ays_/images/integrations/0thykp0zzb/1728007624490-image.png?fit=max&auto=format&n=5mVcwZ5Mh9A1Ays_&q=85&s=cd7f4c8444fc79d44511d907536f4906" alt="Issueボタン" width="802" height="538" data-path="images/integrations/0thykp0zzb/1728007624490-image.png" />

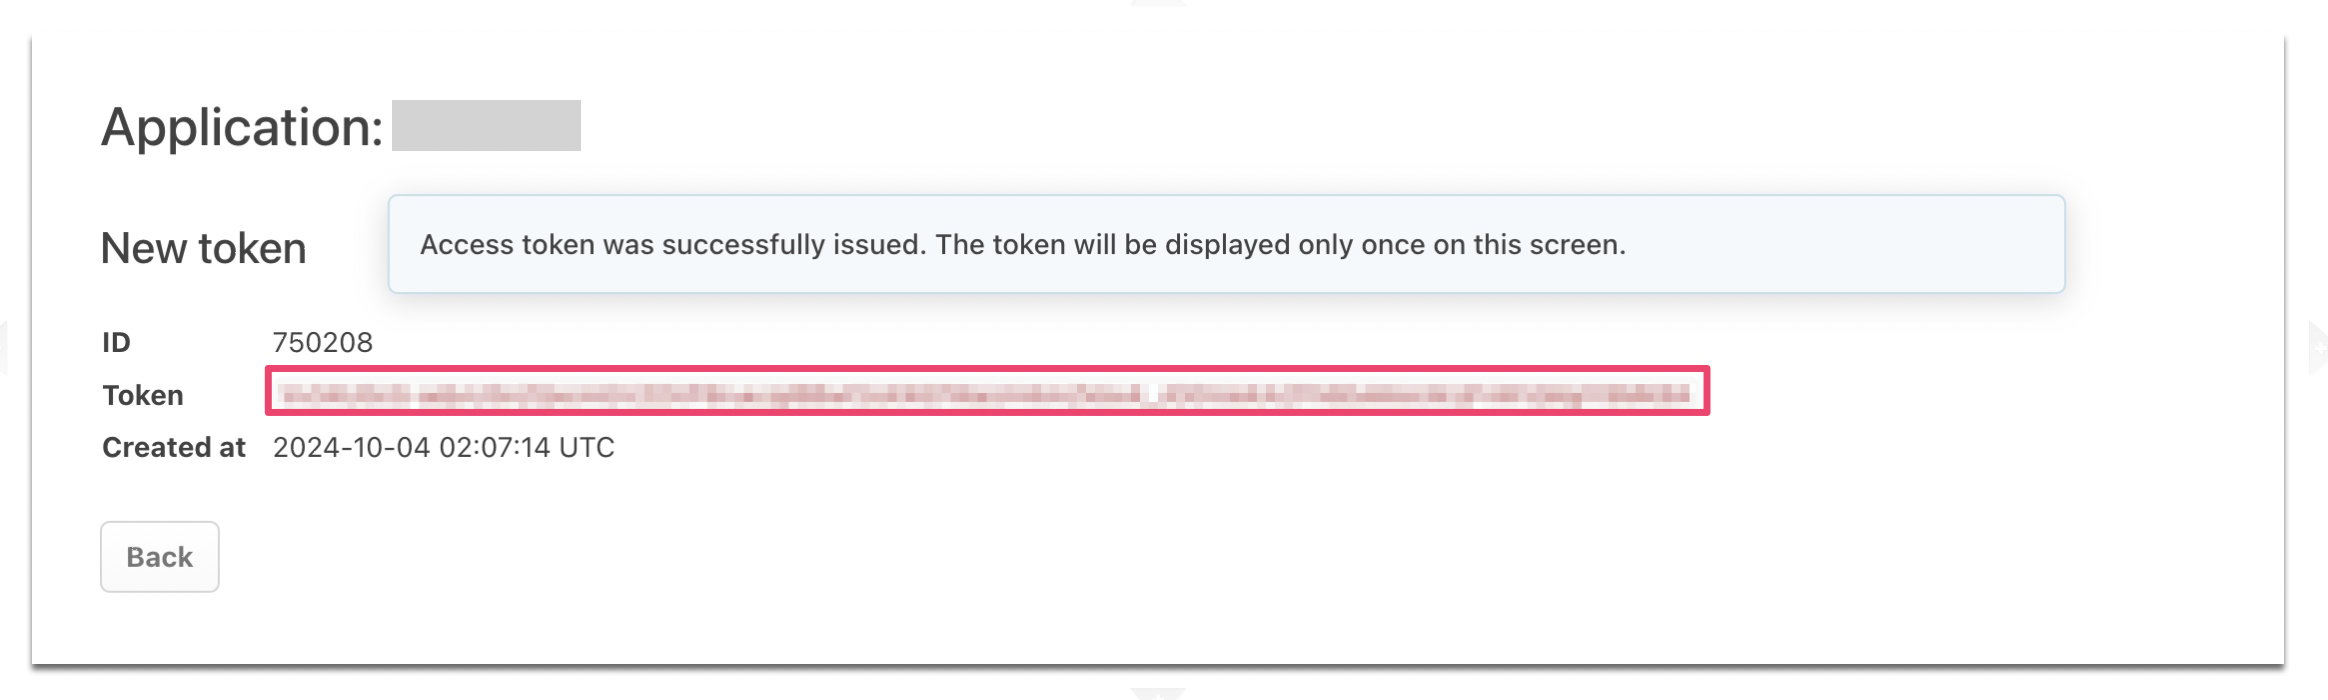
6. 連携用のTokenが表示されるので、コピーしておきます。このアクセスキーは連携時に入力します。

   <img src="https://mintcdn.com/moneyforwardi/5mVcwZ5Mh9A1Ays_/images/integrations/0thykp0zzb/1728007783799-image.png?fit=max&auto=format&n=5mVcwZ5Mh9A1Ays_&q=85&s=aaea4e54f1769bbb92b28151881fe0f4" alt="トークン表示画面" width="2328" height="700" data-path="images/integrations/0thykp0zzb/1728007783799-image.png" />

## インテグレーションのセットアップ

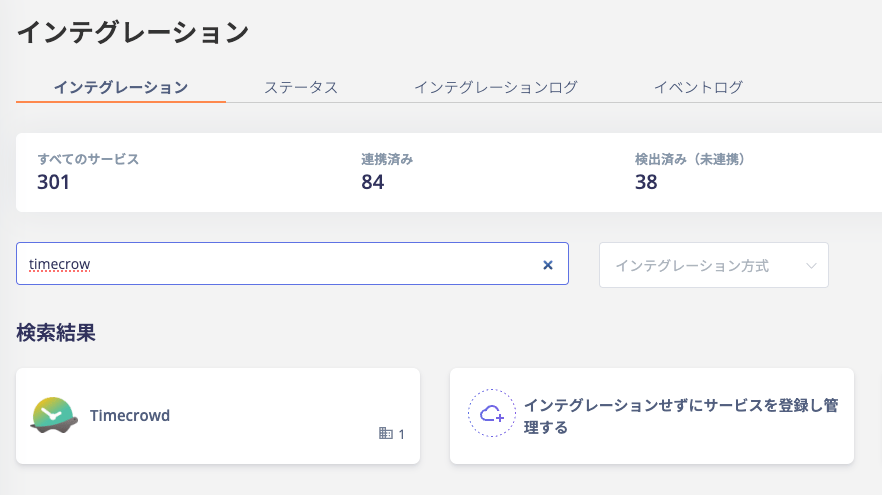
1. インテグレーション画面にて、**TimeCrowd**で検索します。

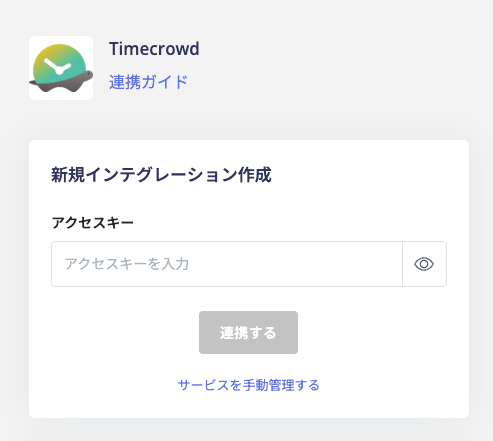
2. 前の手順で取得したアクセスキー入力し、**連携する**をクリックします。

   <img src="https://mintcdn.com/moneyforwardi/sBonQ3jiLBZfmNUI/images/integrations/0thykp0zzb/1728022828285-image.png?fit=max&auto=format&n=sBonQ3jiLBZfmNUI&q=85&s=03af0eb22074dedc590188e5bf66a14f" alt="アクセスキー入力画面" width="493" height="441" data-path="images/integrations/0thykp0zzb/1728022828285-image.png" />

3. 連携が成功すると、アカウント一覧に登録済みのユーザー情報が表示されます。正常に完了しない場合は、まず [SaaSとの連携に失敗する場合の対処法](/it-management/saas-management/93nahw45is-trouble) に記載のステップをお試しください。それでも解決しない場合は、[ご提供いただきたい情報](/it-management/saas-management/93nahw45is-trouble#info-to-provide) をご確認のうえ、[サポート窓口](/contact-support)までお問い合わせください。