> ## Documentation Index
> Fetch the complete documentation index at: https://support.i.moneyforward.com/llms.txt
> Use this file to discover all available pages before exploring further.

# Quay

> Quayとの連携手順です。

## サポートする機能

<Badge color="blue">アカウント削除</Badge> <Badge color="blue">アカウント作成</Badge>

## 事前準備

### Quayへのログイン方法

[Red hat(Quay)ログインページ](https://sso.redhat.com/)にて、メールアドレス・パスワードを入力しログインします。
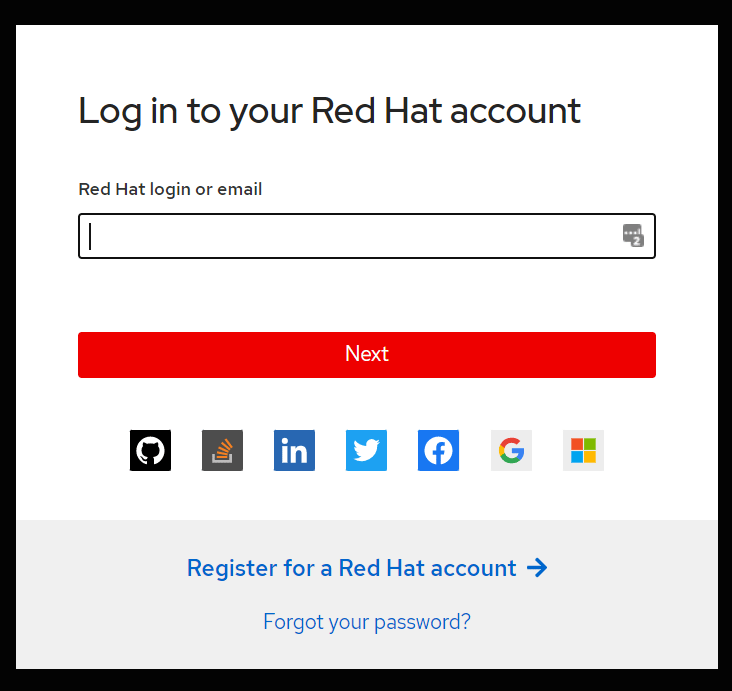
<img src="https://mintcdn.com/moneyforwardi/2X9GAnSJtqQ-r-rv/images/integrations/2n20dmct4b/1661746871090-image.png?fit=max&auto=format&n=2X9GAnSJtqQ-r-rv&q=85&s=dfb5d10a99c7fc019b843e5567aca3e1" alt="Quay login page" width="732" height="691" data-path="images/integrations/2n20dmct4b/1661746871090-image.png" />

### ワークスペースキーの取得方法

1. Quayにログイン後、右の**Users and Organizations**より**連携したいOrganization**を選択します。
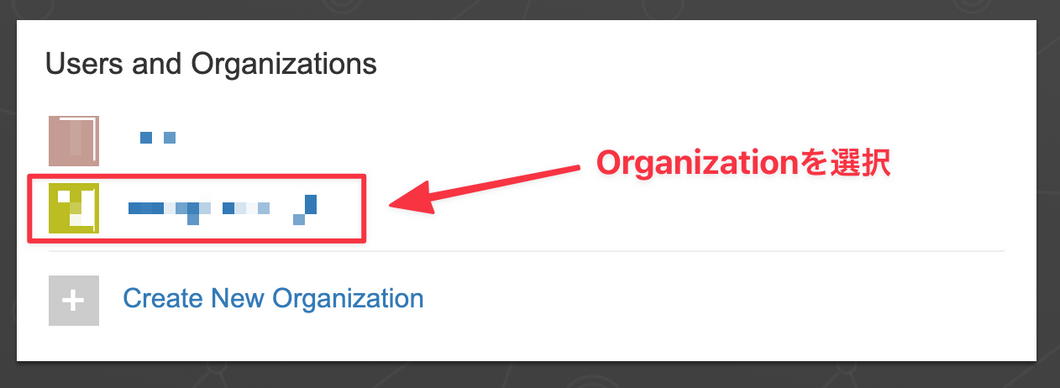
   <img src="https://mintcdn.com/moneyforwardi/2X9GAnSJtqQ-r-rv/images/integrations/2n20dmct4b/1640421049741-clean-shot.png?fit=max&auto=format&n=2X9GAnSJtqQ-r-rv&q=85&s=1017514e81a9266ee4ff8d3b70f60ef1" alt="Select Organization" width="1060" height="388" data-path="images/integrations/2n20dmct4b/1640421049741-clean-shot.png" />

2. **URLの一部がワークスペースキー**となるので、保存しておきます。

   `https://quay.io/organization/{ワークスペースキー}`
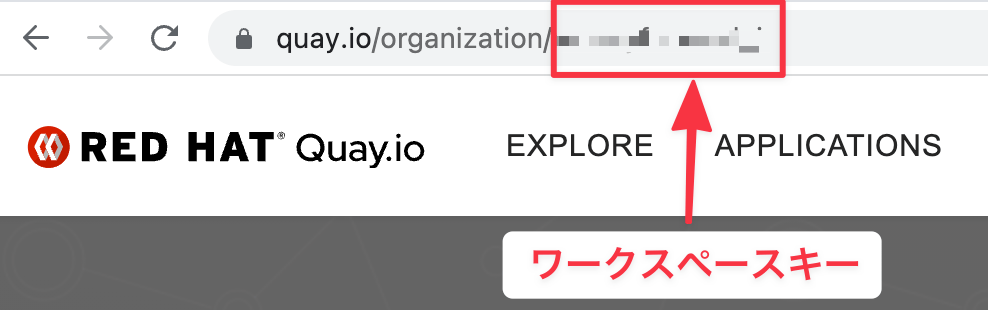
   <img src="https://mintcdn.com/moneyforwardi/2X9GAnSJtqQ-r-rv/images/integrations/2n20dmct4b/1640421070176-clean-shot.png?fit=max&auto=format&n=2X9GAnSJtqQ-r-rv&q=85&s=a4579a521c8b5c88309b6fe66fd74624" alt="Workspace key in URL" width="988" height="310" data-path="images/integrations/2n20dmct4b/1640421070176-clean-shot.png" />

## インテグレーションのセットアップ

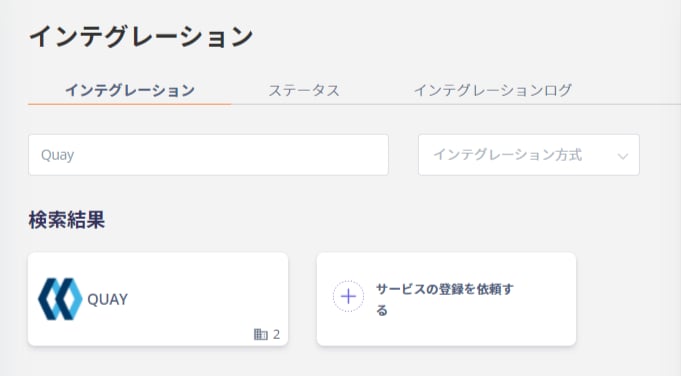
1. インテグレーション画面にて、**Quay**で検索します。

2. **前の手順で取得したワークスペースキー**を入力し、**連携する**をクリックします。
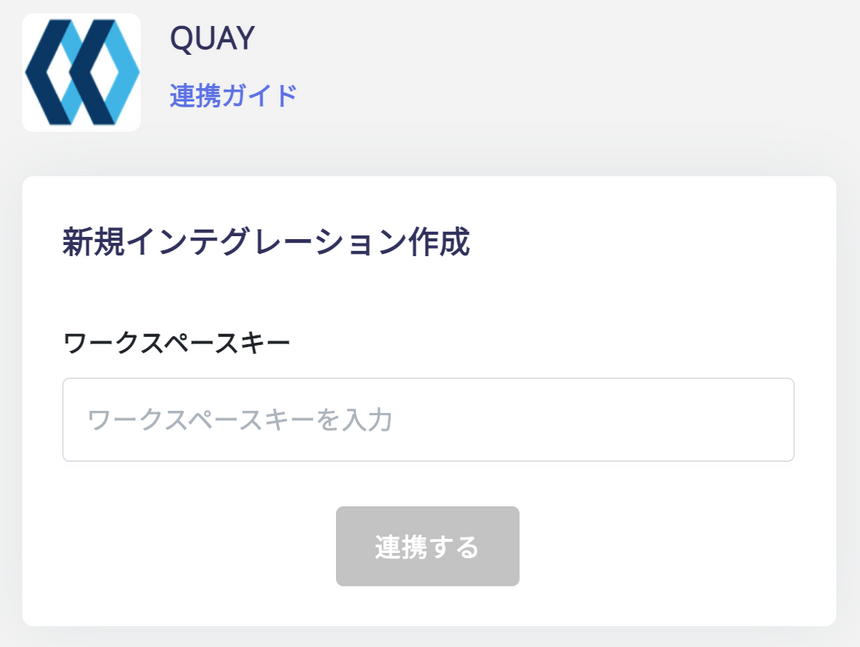
   <img src="https://mintcdn.com/moneyforwardi/2X9GAnSJtqQ-r-rv/images/integrations/2n20dmct4b/1640421108545-clean-shot.png?fit=max&auto=format&n=2X9GAnSJtqQ-r-rv&q=85&s=a1e04f913aa383874b3823f0cce9d4ea" alt="Enter workspace key" width="860" height="647" data-path="images/integrations/2n20dmct4b/1640421108545-clean-shot.png" />

3. 以下のような承認用の画面が表示されますので、**Authorize Application**をクリックします。
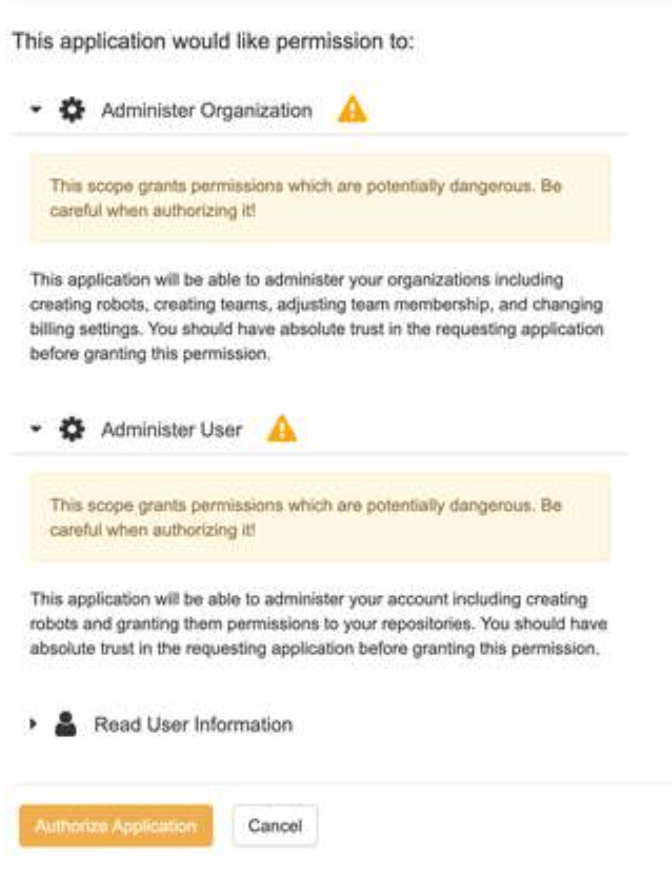
   <img src="https://mintcdn.com/moneyforwardi/ynN3JHYfIOLSBUhs/images/integrations/2n20dmct4b/1640421135083-clean-shot.png?fit=max&auto=format&n=ynN3JHYfIOLSBUhs&q=85&s=20c3ba4cb47dd5af5caf4d770593f71e" alt="First authorization screen" width="1060" height="1382" data-path="images/integrations/2n20dmct4b/1640421135083-clean-shot.png" />

4. 次に、以下のような確認画面が表示されますので、**Authorize Application**をクリックします。
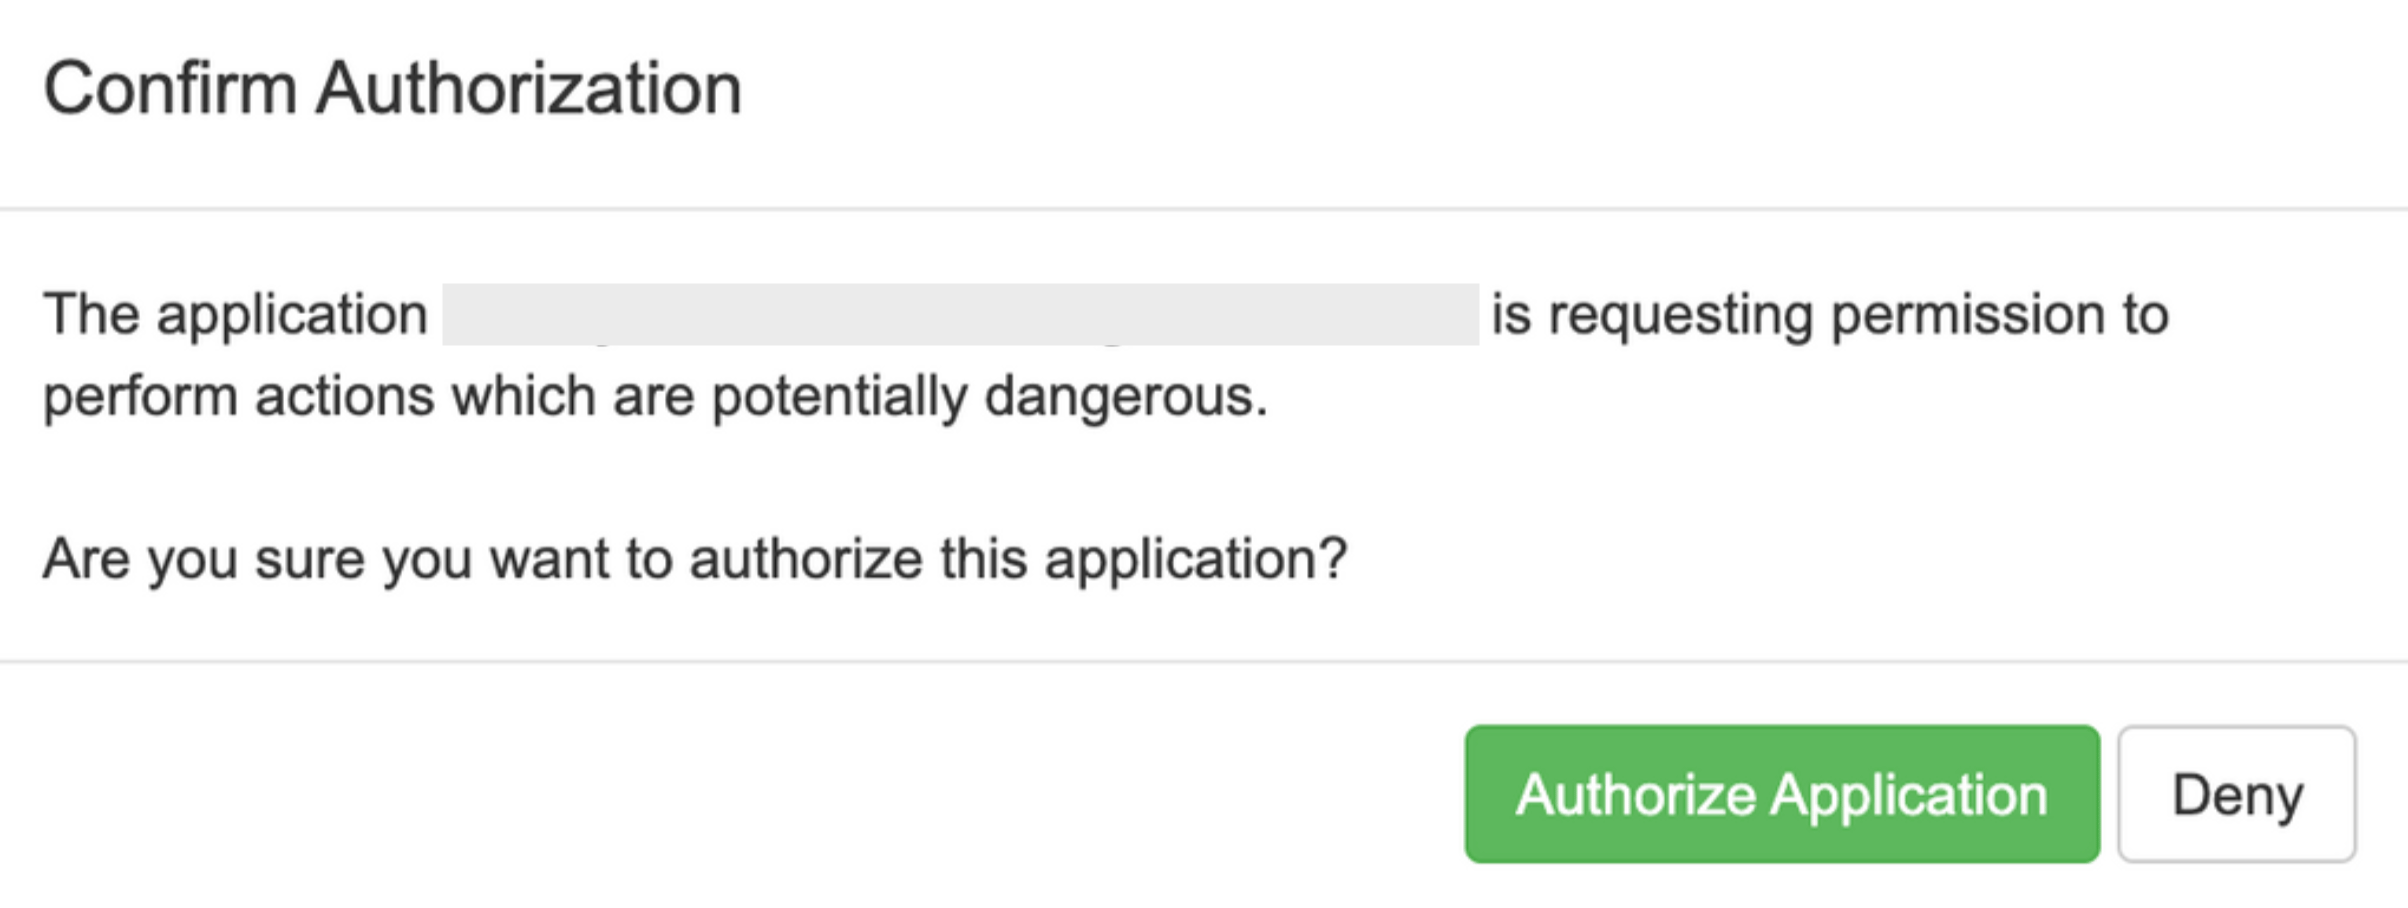
   <img src="https://mintcdn.com/moneyforwardi/ynN3JHYfIOLSBUhs/images/integrations/2n20dmct4b/1640421162271-clean-shot.png?fit=max&auto=format&n=ynN3JHYfIOLSBUhs&q=85&s=7dd8dd0013cc9edcdc5714c99991ba74" alt="Second authorization screen" width="1060" height="423" data-path="images/integrations/2n20dmct4b/1640421162271-clean-shot.png" />

5. Quayとの連携が成功すると、アカウント一覧に登録済みのユーザー情報が表示されます。正常に完了しない場合は、まず [SaaSとの連携に失敗する場合の対処法](/it-management/saas-management/93nahw45is-trouble) に記載のステップをお試しください。それでも解決しない場合は、[ご提供いただきたい情報](/it-management/saas-management/93nahw45is-trouble#info-to-provide) をご確認のうえ、[サポート窓口](/contact-support)までお問い合わせください。