> ## Documentation Index
> Fetch the complete documentation index at: https://support.i.moneyforward.com/llms.txt
> Use this file to discover all available pages before exploring further.

# Webex by CISCO

> Webex by CISCOとの連携の手順です。

## サポートする機能

<Badge color="blue">アカウント作成</Badge> <Badge color="blue">アカウント削除</Badge>

## インテグレーションのセットアップ

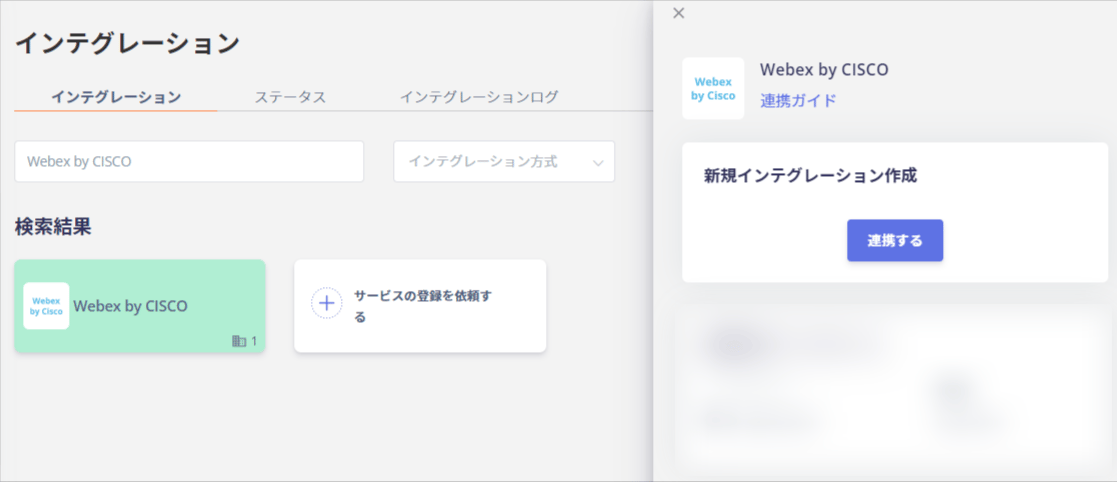
1. インテグレーション画面にて**Webex by CISCO**で検索します。

2. **連携する**をクリックします。

   <img src="https://mintcdn.com/moneyforwardi/vO_OsjqcX9Drw6Sm/images/integrations/c1tardcsas/connect-button.png?fit=max&auto=format&n=vO_OsjqcX9Drw6Sm&q=85&s=c4258acea9575f29ab93bd850dff9887" alt="連携するボタン" width="738" height="542" data-path="images/integrations/c1tardcsas/connect-button.png" />

3. Webex by CISCOのログイン画面に移動します。Webex by CISCOログイン用メールアドレス・パスワードを入力し、ログインします。
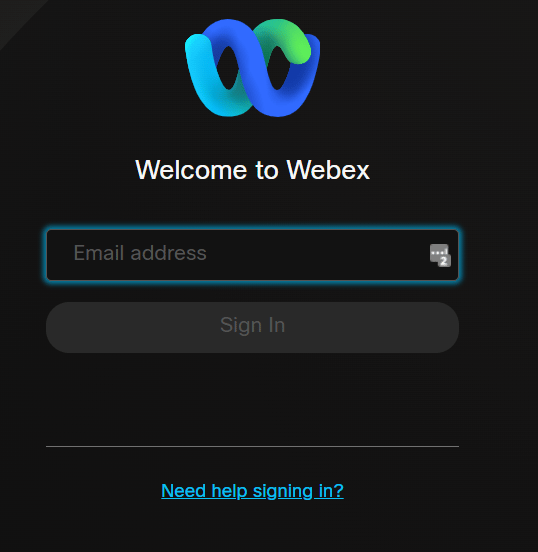
   <img src="https://mintcdn.com/moneyforwardi/8rNSDZnPhsTE7YvM/images/integrations/c1tardcsas/1661846602004-image.png?fit=max&auto=format&n=8rNSDZnPhsTE7YvM&q=85&s=900216cd1dcc70b92f278ed19ce2c648" alt="Webex by CISCOログイン画面" width="538" height="552" data-path="images/integrations/c1tardcsas/1661846602004-image.png" />

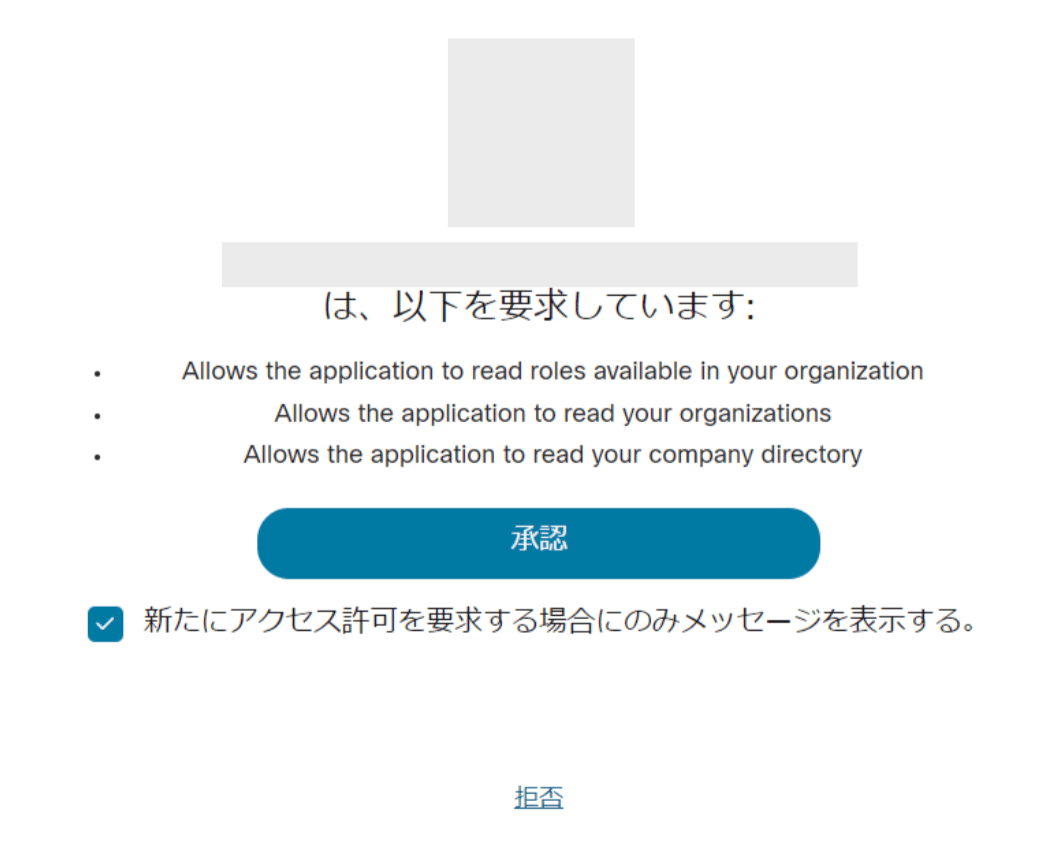
4. ログイン後、以下のような許諾画面が出るので、**承認**をクリックします。

   <img src="https://mintcdn.com/moneyforwardi/PHP-pgiqWhGjprP1/images/integrations/c1tardcsas/1648697021239-2.png?fit=max&auto=format&n=PHP-pgiqWhGjprP1&q=85&s=aba7f843f0a54522dd9d2d599c1c6a23" alt="承認画面" width="1831" height="751" data-path="images/integrations/c1tardcsas/1648697021239-2.png" />

5. Webex by CISCOとの連携が成功すると、アカウント一覧に登録済みのユーザー情報が表示されます。正常に完了しない場合は、まず [SaaSとの連携に失敗する場合の対処法](/it-management/saas-management/93nahw45is-trouble) に記載のステップをお試しください。それでも解決しない場合は、[ご提供いただきたい情報](/it-management/saas-management/93nahw45is-trouble#info-to-provide) をご確認のうえ、[サポート窓口](/contact-support)までお問い合わせください。