> ## Documentation Index
> Fetch the complete documentation index at: https://support.i.moneyforward.com/llms.txt
> Use this file to discover all available pages before exploring further.
# Genesys Cloud
> Genesys Cloud との連携手順です。
## サポートする機能
アカウント作成 アカウント削除 アカウント無効化
## 事前準備
### ログイン方法
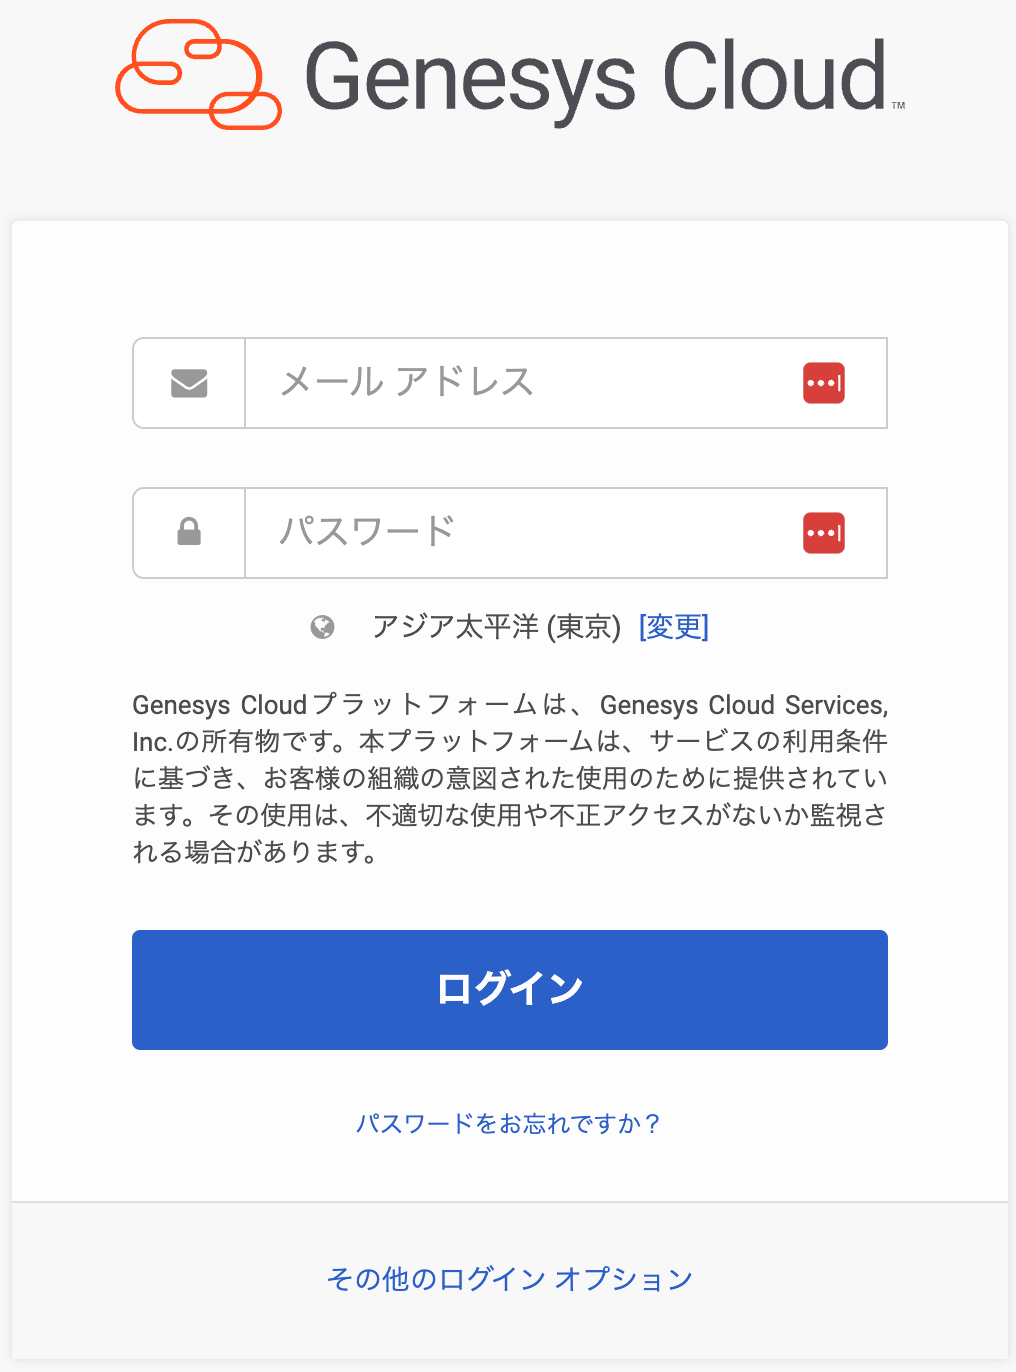
[ログインページ](https://login.mypurecloud.jp/#/authenticate) にて、メールアドレス・パスワードを入力しログインします。
 ### クライアントID / クライアントシークレットの取得方法
OAuth app の作成方法に関しては、[Neeraja Prabhakaran Create an OAuth client - Genesys Cloud Resource Center](https://help.mypurecloud.com/articles/create-an-oauth-client/) をご確認ください。
Admin > Integrations > OAuth > Add Client より設定画面を開きます。
### クライアントID / クライアントシークレットの取得方法
OAuth app の作成方法に関しては、[Neeraja Prabhakaran Create an OAuth client - Genesys Cloud Resource Center](https://help.mypurecloud.com/articles/create-an-oauth-client/) をご確認ください。
Admin > Integrations > OAuth > Add Client より設定画面を開きます。
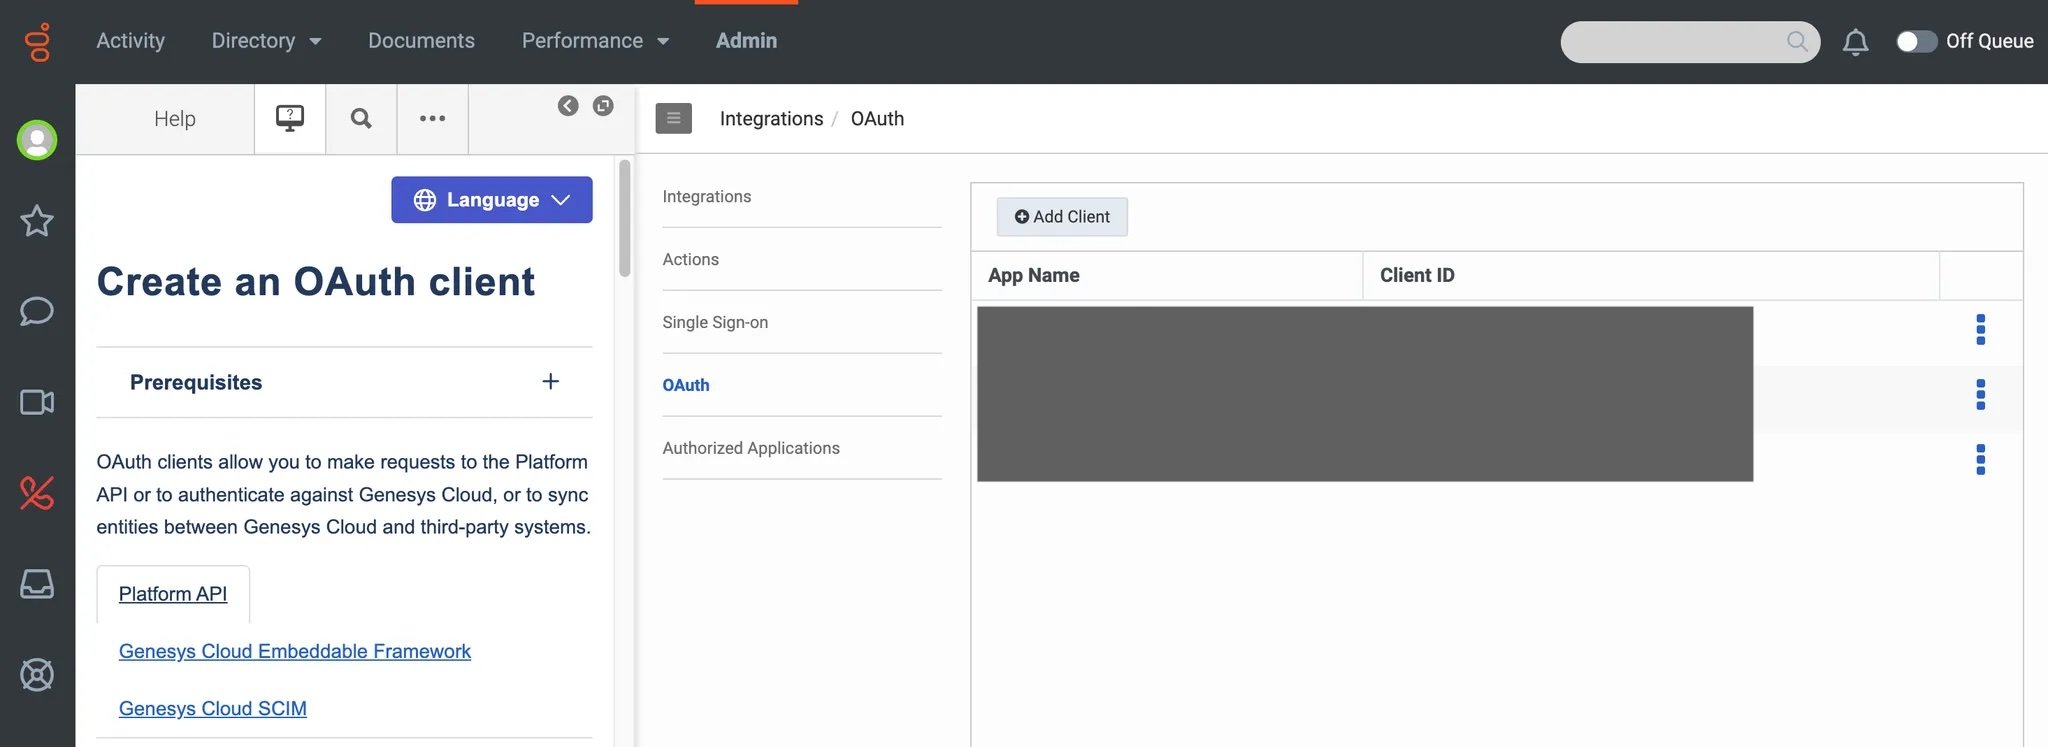 下記を参考に設定を行なってください。
* App name: 任意
* Grant Types: Code Authorization
* Authorized redirect URIs: `https://itmc.i.moneyforward.com/oauth/callback`
* Scope: `authorization`, `license:readonly`, `organization:readonly`, `users`
各スコープの説明:
* `authorization`: to assign roles
* `license:readonly`: to obtain license data
* `organization:readonly`: to obtain organization name
* `users`: to list/create/delete user
その後、クライアントID及びクライアントシークレットをコピーしてください。
### ドメインの確認方法
ログインURLの末尾部分がドメインとなります。
URL: `https://login.{domain}`
## インテグレーションのセットアップ
インテグレーション画面にて、**Genesys Cloud** で検索します。
前の手順で取得した**クライアントID、クライアントシークレット、ドメイン**を入力し、**連携する**をクリックします。
下記を参考に設定を行なってください。
* App name: 任意
* Grant Types: Code Authorization
* Authorized redirect URIs: `https://itmc.i.moneyforward.com/oauth/callback`
* Scope: `authorization`, `license:readonly`, `organization:readonly`, `users`
各スコープの説明:
* `authorization`: to assign roles
* `license:readonly`: to obtain license data
* `organization:readonly`: to obtain organization name
* `users`: to list/create/delete user
その後、クライアントID及びクライアントシークレットをコピーしてください。
### ドメインの確認方法
ログインURLの末尾部分がドメインとなります。
URL: `https://login.{domain}`
## インテグレーションのセットアップ
インテグレーション画面にて、**Genesys Cloud** で検索します。
前の手順で取得した**クライアントID、クライアントシークレット、ドメイン**を入力し、**連携する**をクリックします。
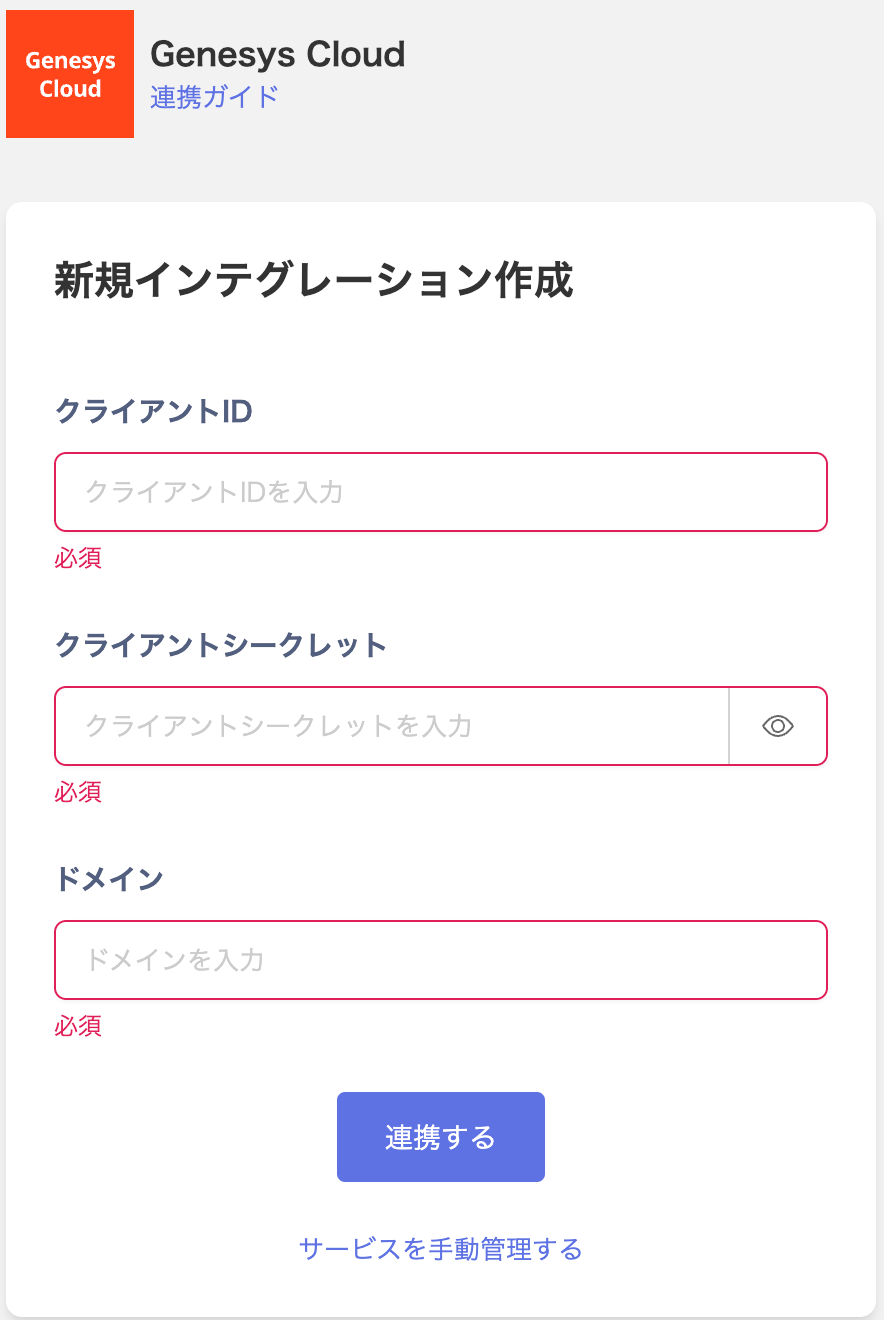 連携に成功すると、アカウント一覧に登録済みのユーザー情報が表示されます。
正常に完了しない場合は、インテグレーション画面のステータスタブから**編集**し、再度連携をお試しください。
解決しない場合はチャットにてお問い合わせください。
連携に成功すると、アカウント一覧に登録済みのユーザー情報が表示されます。
正常に完了しない場合は、インテグレーション画面のステータスタブから**編集**し、再度連携をお試しください。
解決しない場合はチャットにてお問い合わせください。