> ## Documentation Index
> Fetch the complete documentation index at: https://support.i.moneyforward.com/llms.txt
> Use this file to discover all available pages before exploring further.
# Meta for Business(Meta Business suite)(連携停止中)
> Meta for businessとの連携方法です。
## サポートする機能
アカウント削除
現在連携を停止しております。
## 事前準備
### Meta for Businessへのログイン方法
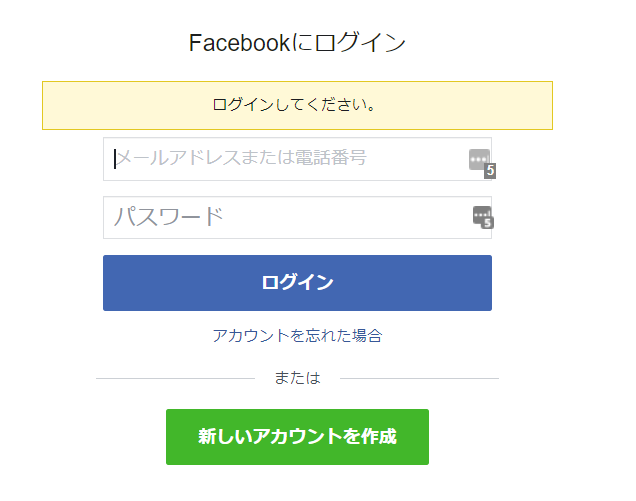
[Meta for Businessログインページ](https://business.facebook.com/)にて、メールアドレス・パスワードを入力しログインします。
 ### ワークスペースキーの取得方法
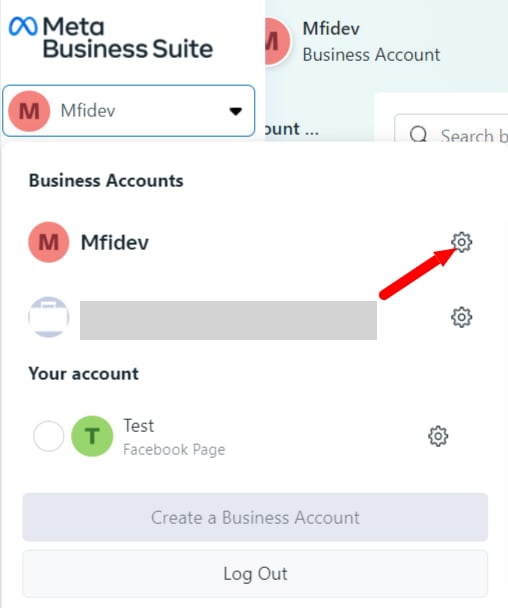
Meta for Businessにログイン後、サイドメニューよりAdminaと**連携させたいBuisiness accountに切り替え**ます。
### ワークスペースキーの取得方法
Meta for Businessにログイン後、サイドメニューよりAdminaと**連携させたいBuisiness accountに切り替え**ます。
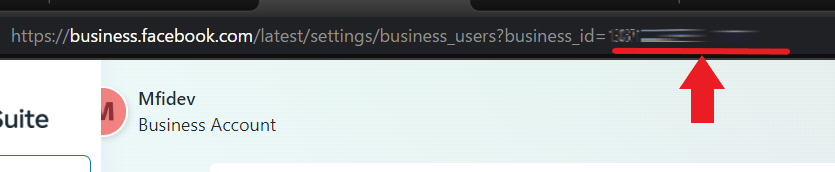
 Business accountに切り替え後の**URLの一部がワークスペースキー**となるので、コピー・保存します。
`https://business.facebook.com/latest/settings/business_users?business_id={ワークスペースキー}`
Business accountに切り替え後の**URLの一部がワークスペースキー**となるので、コピー・保存します。
`https://business.facebook.com/latest/settings/business_users?business_id={ワークスペースキー}`
 ## インテグレーションのセットアップ
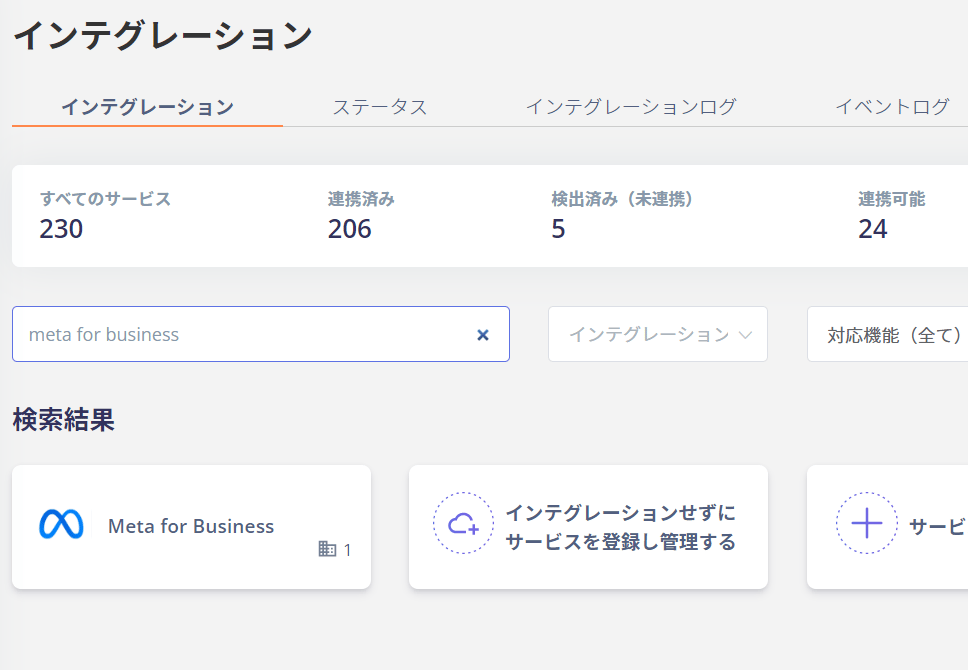
インテグレーション画面にて、**Meta for Business**で検索します。
## インテグレーションのセットアップ
インテグレーション画面にて、**Meta for Business**で検索します。
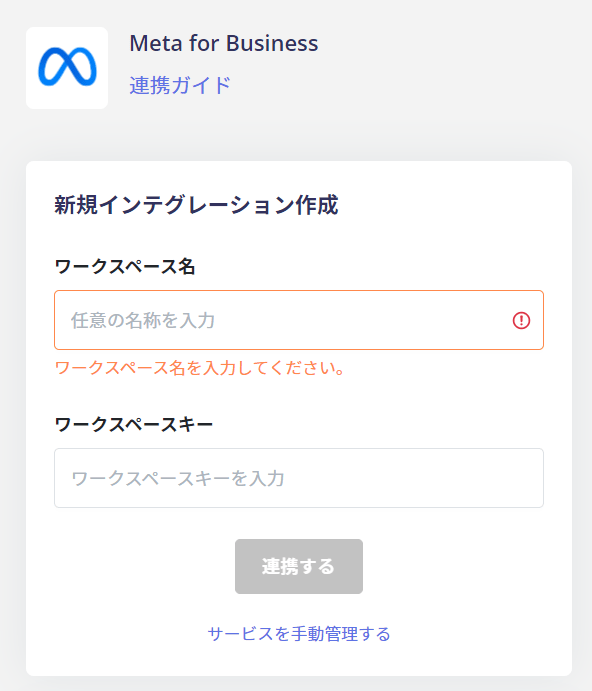
 **任意のワークスペース名**、前の手順で取得した**ワークスペースキー**を入力し、**連携する**をクリックします。
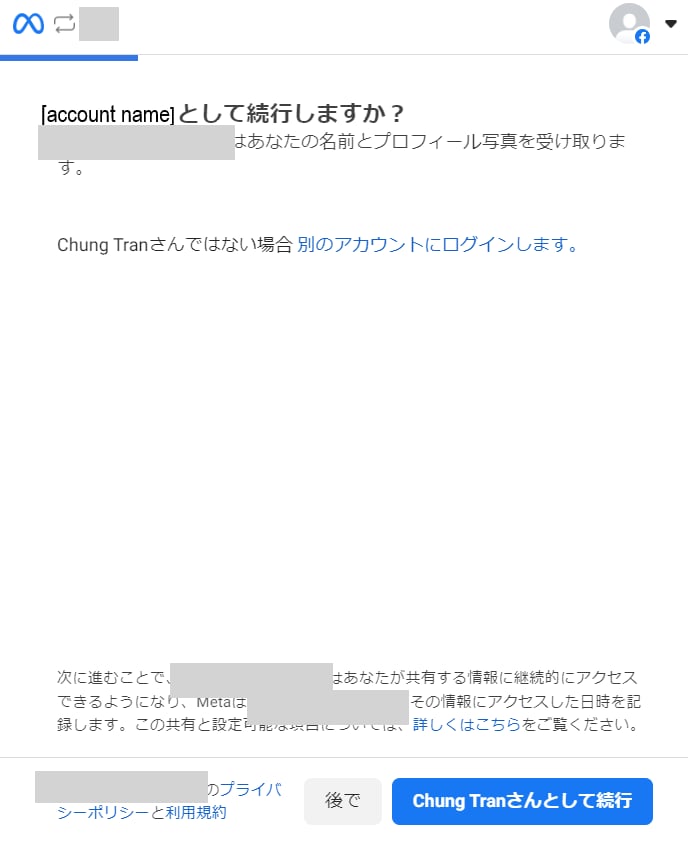
 アカウント確認画面が出るので、連携するアカウントを確認し\*\*Continue as \[account name]\*\*をクリックします。
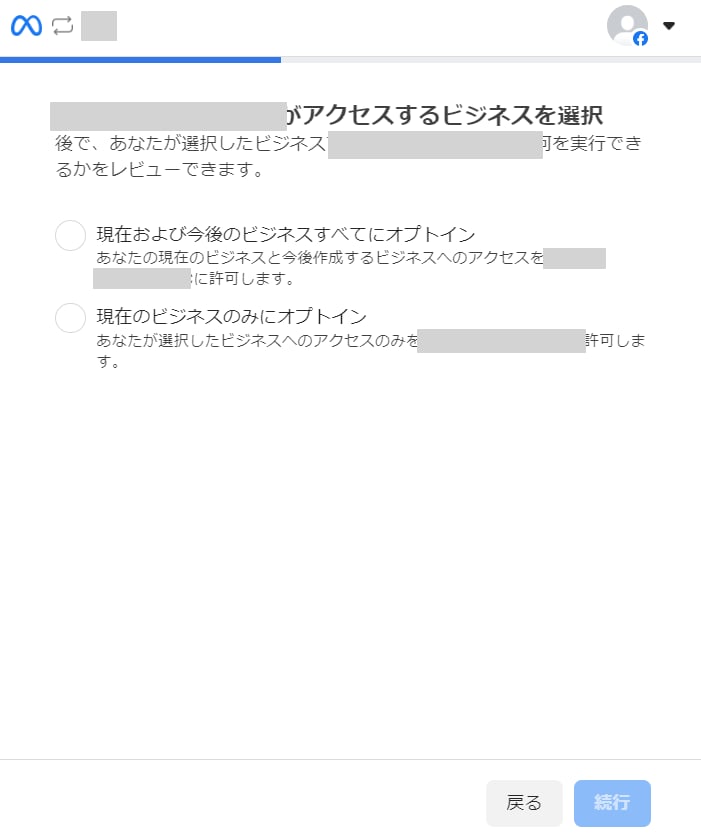
 **Adminaのアクセス権限**を設定します。
**「現在のビジネスのみオプトイン**」から**連携したいビジネス**を選択、Continueをクリックします。
「現在および今後のビジネスすべてにオプトイン」を選択すると、現在ご利用中のビジネスのほか今後作成するビジネスすべてにAdminaがアクセス可能となります。
**Adminaのアクセス権限**を設定します。
**「現在のビジネスのみオプトイン**」から**連携したいビジネス**を選択、Continueをクリックします。
「現在および今後のビジネスすべてにオプトイン」を選択すると、現在ご利用中のビジネスのほか今後作成するビジネスすべてにAdminaがアクセス可能となります。
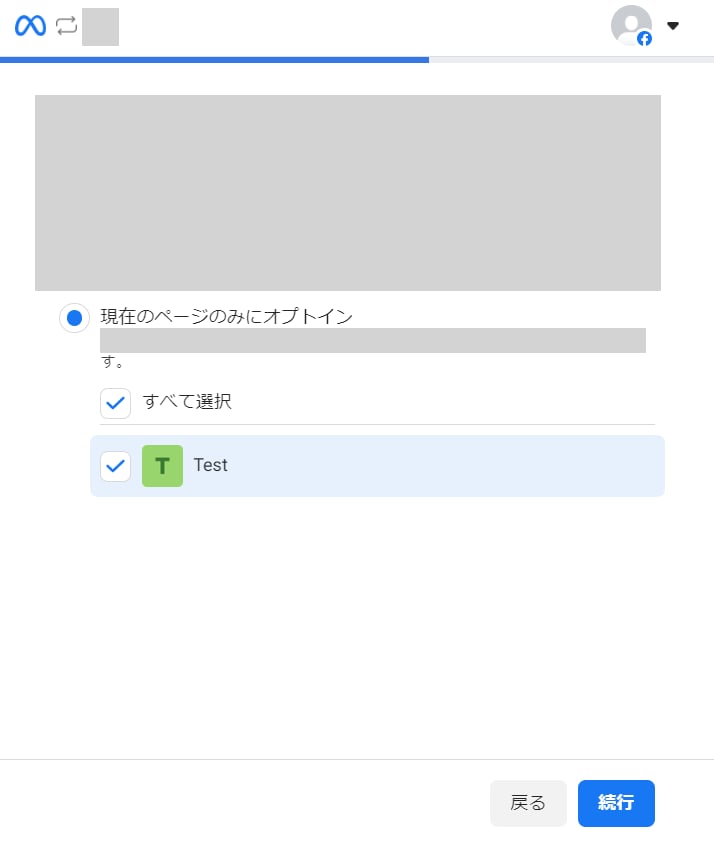
 **連携させたいページを選択**します。「**現在のページのみにオプトイン**」から**連携したいページ**を選択し、**Continue**をクリックします。
「現在および今後のページすべてにオプトイン」を選択すると、現在ご利用中のページのほか今後作成するページすべてにAdminaがアクセス可能となります。
**連携させたいページを選択**します。「**現在のページのみにオプトイン**」から**連携したいページ**を選択し、**Continue**をクリックします。
「現在および今後のページすべてにオプトイン」を選択すると、現在ご利用中のページのほか今後作成するページすべてにAdminaがアクセス可能となります。
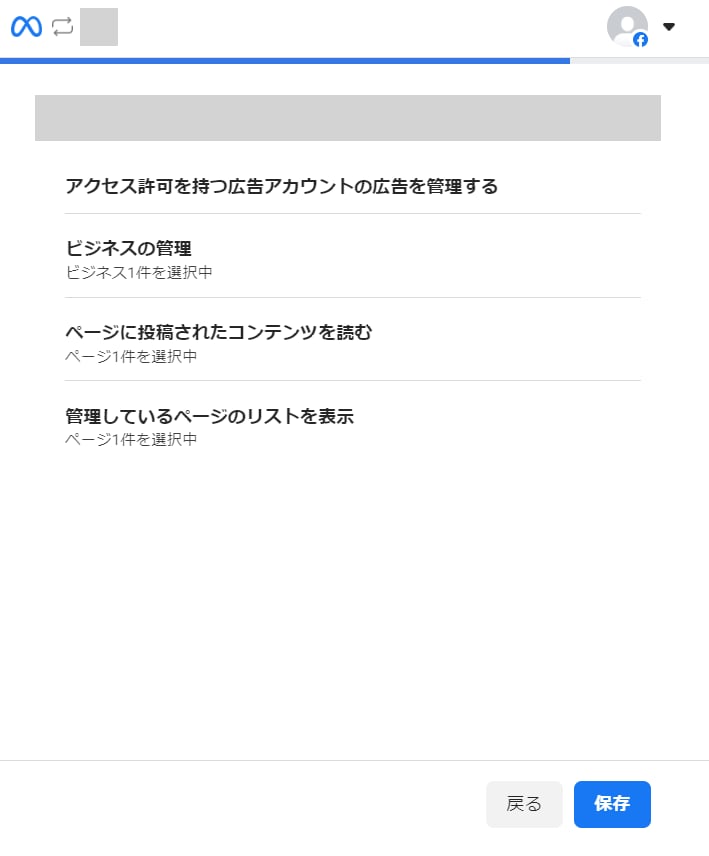
 前の手順で選択した内容の確認です。内容に間違いが無ければ**Save**をクリックします。
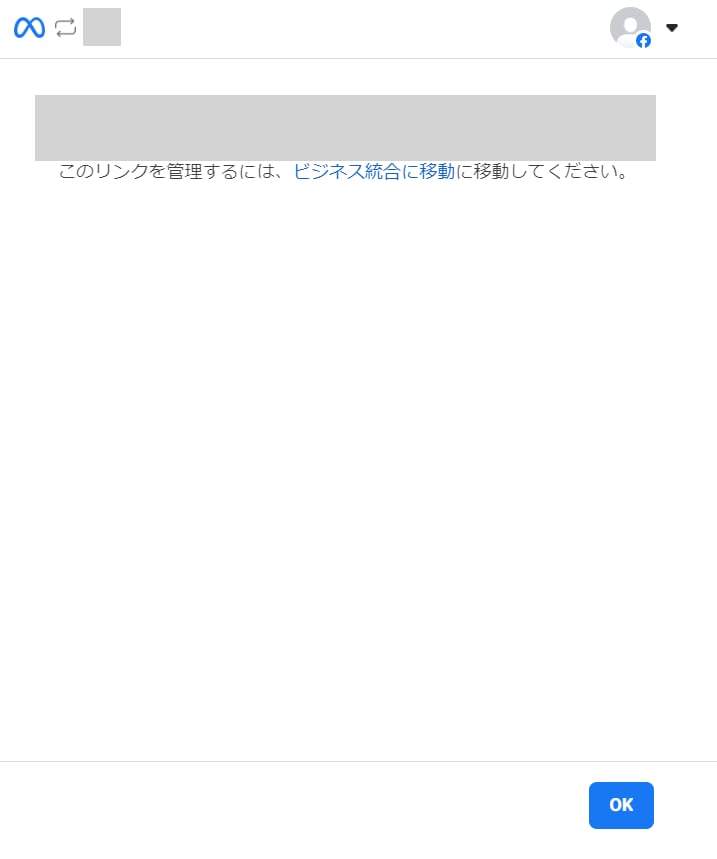
 設定完了です、**OK**をクリックします。
 Meta for Businessとの連携に成功すると、アカウント一覧に登録済みのユーザー情報が表示されます。
正常に完了しない場合は、インテグレーション画面のステータスタブから編集し、再度連携をお試しください。
解決しない場合はチャットにてお問い合わせください。
Meta for Businessの連携概要については[連携ページ](http://admina.moneyforward.com/jp/integrations/meta-for-business)をご覧ください。
## メールアドレスが取得出来ない場合のSaaSの手動紐づけ
本サービスはメールアドレスが取得できないSaaSのため、ユーザータイプが「不明」と判定されます。
ユーザータイプが「不明」と判定された場合は、他のアカウントと手動で紐づけ(名寄・マージ)を行ってください。
設定の詳細については以下をご覧ください。
[SaaSアカウントを他のアカウントに手動で紐付け(名寄せ/マージ)する](/it-management/saas-management/d97dy5z2l7-merge)
Meta for Businessとの連携に成功すると、アカウント一覧に登録済みのユーザー情報が表示されます。
正常に完了しない場合は、インテグレーション画面のステータスタブから編集し、再度連携をお試しください。
解決しない場合はチャットにてお問い合わせください。
Meta for Businessの連携概要については[連携ページ](http://admina.moneyforward.com/jp/integrations/meta-for-business)をご覧ください。
## メールアドレスが取得出来ない場合のSaaSの手動紐づけ
本サービスはメールアドレスが取得できないSaaSのため、ユーザータイプが「不明」と判定されます。
ユーザータイプが「不明」と判定された場合は、他のアカウントと手動で紐づけ(名寄・マージ)を行ってください。
設定の詳細については以下をご覧ください。
[SaaSアカウントを他のアカウントに手動で紐付け(名寄せ/マージ)する](/it-management/saas-management/d97dy5z2l7-merge)