> ## Documentation Index
> Fetch the complete documentation index at: https://support.i.moneyforward.com/llms.txt
> Use this file to discover all available pages before exploring further.
# Marketo Engage
> Marketo Engageとの連携の手順です。
## サポートする機能
アカウント削除 アカウント作成
Marketo インスタンスの管理者権限が必要です。
## 事前準備
### Marketo Engageへのログイン方法
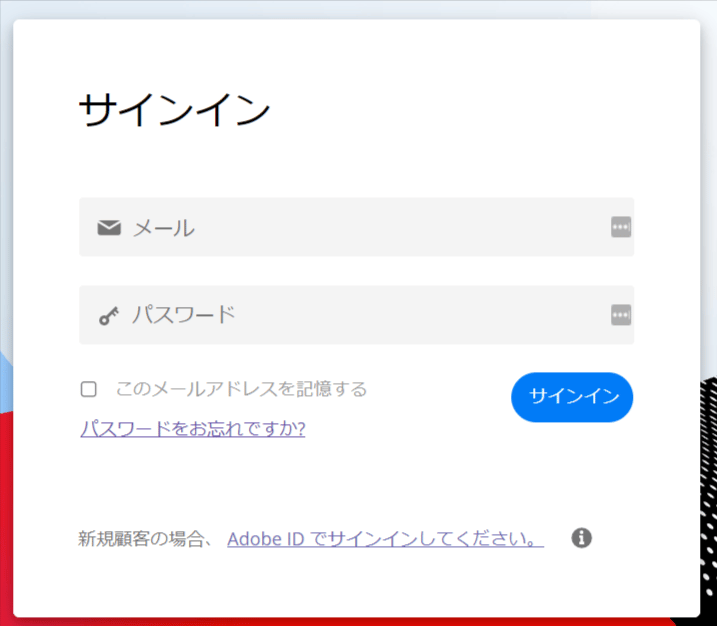
[Marketo Engageログインページ](https://login.marketo.com/homepage/login/)にて、メールアドレス・パスワードを入力しログインします。
 ### クライアントIDとクライアントシークレットの取得方法
[Martketoのヘルプ](https://developers.marketo.com/rest-api/)を参考にAPIKeyを取得します。
1. Marketo EngageのAPI用のRoleを作成、**Access Admin** と **Access API** を持たせる必要があります。
2. Marketo EngageのUserを追加、Permissionとして1で作成したRoleを設定し、**API Only**にチェックを入れて作成します。
3. Marketo Engageの**Launch point**を開き、新しいサービスを追加しますServiceをCustomとして、2で作成したUserを指定します。
4. Marketo Engageで**Client ID**、**Client Secret**、が発行されますので保存しておきます。これが、連携に使用する**クライアントIDとクライアントシークレット**になります。
### ワークスペースキーの取得方法
**URLの一部がワークスペースキー**となるので、保存します。(#は含みません)
[https://engage-sj.market.com/?munckinld=](https://engage-sj.market.com/?munckinld=) **`{ワークスペースキー}`** #/classic/WP0A1
### クライアントIDとクライアントシークレットの取得方法
[Martketoのヘルプ](https://developers.marketo.com/rest-api/)を参考にAPIKeyを取得します。
1. Marketo EngageのAPI用のRoleを作成、**Access Admin** と **Access API** を持たせる必要があります。
2. Marketo EngageのUserを追加、Permissionとして1で作成したRoleを設定し、**API Only**にチェックを入れて作成します。
3. Marketo Engageの**Launch point**を開き、新しいサービスを追加しますServiceをCustomとして、2で作成したUserを指定します。
4. Marketo Engageで**Client ID**、**Client Secret**、が発行されますので保存しておきます。これが、連携に使用する**クライアントIDとクライアントシークレット**になります。
### ワークスペースキーの取得方法
**URLの一部がワークスペースキー**となるので、保存します。(#は含みません)
[https://engage-sj.market.com/?munckinld=](https://engage-sj.market.com/?munckinld=) **`{ワークスペースキー}`** #/classic/WP0A1
 ## インテグレーションのセットアップ
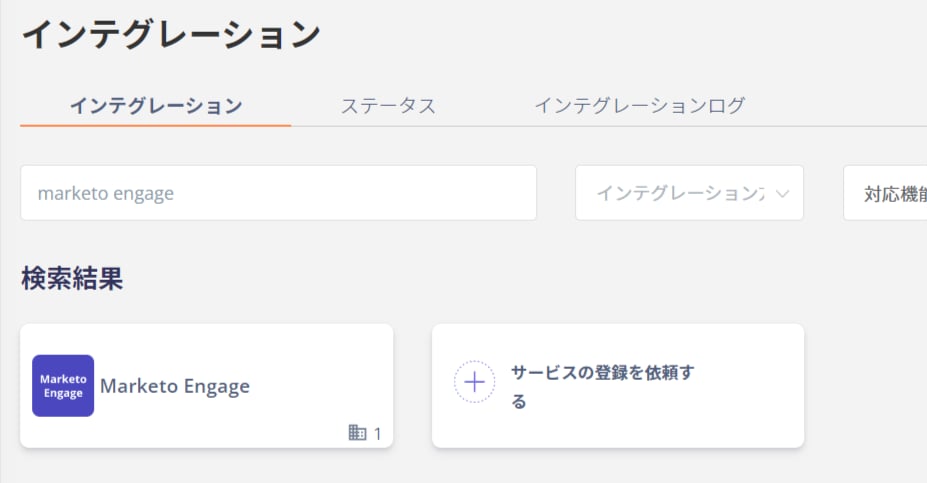
インテグレーション画面にて、**Marketo** **Engage**で検索し、クリックします。
## インテグレーションのセットアップ
インテグレーション画面にて、**Marketo** **Engage**で検索し、クリックします。
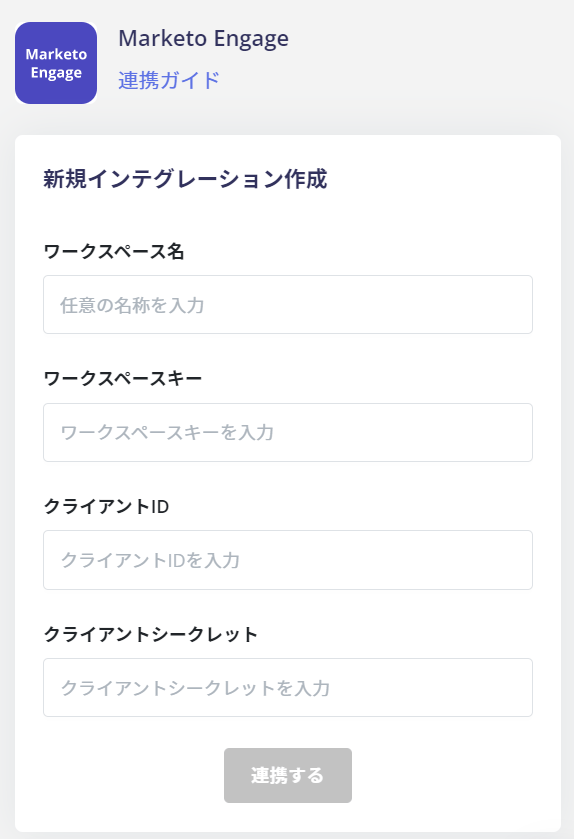
 **ワークスペース名には任意の名称**(会社名など)、前の手順で取得した**ワークスペースキー、クライアントIDとクライアントシークレット**を入力し、
**連携する**をクリックします。
**ワークスペース名には任意の名称**(会社名など)、前の手順で取得した**ワークスペースキー、クライアントIDとクライアントシークレット**を入力し、
**連携する**をクリックします。
 Marketo Engageとの連携に成功すると、アカウント一覧に登録済みのユーザー情報が表示されます。
正常に完了していない場合は、インテグレーション画面のステータスタブを**編集**し、再度連携をお試しください。
解決しない場合はチャットにてお問い合わせください🙏
Marketo Engageの連携概要については[連携ページ](http://admina.moneyforward.com/jp/integrations/adobe-marketo-engage)をご覧ください。
Marketo Engageとの連携に成功すると、アカウント一覧に登録済みのユーザー情報が表示されます。
正常に完了していない場合は、インテグレーション画面のステータスタブを**編集**し、再度連携をお試しください。
解決しない場合はチャットにてお問い合わせください🙏
Marketo Engageの連携概要については[連携ページ](http://admina.moneyforward.com/jp/integrations/adobe-marketo-engage)をご覧ください。