> ## Documentation Index
> Fetch the complete documentation index at: https://support.i.moneyforward.com/llms.txt
> Use this file to discover all available pages before exploring further.
# Drata
> Drataとの連携方法です。
## 事前準備
### Drataへのログイン方法
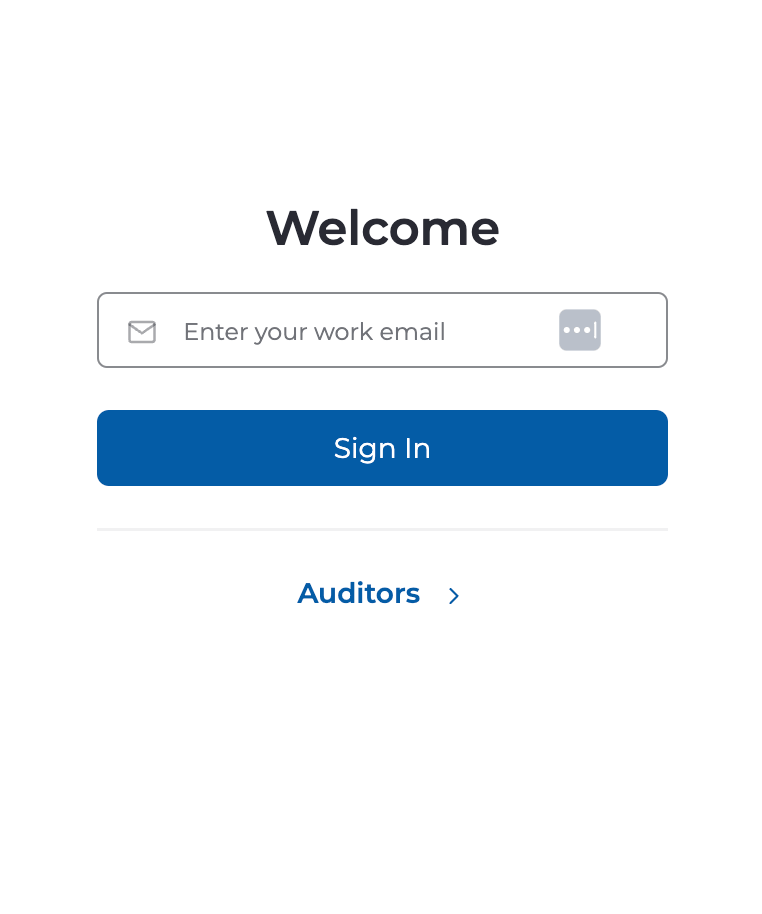
[ログインページ](https://app.drata.com/)にて、メールアドレス・パスワードを入力しログインします。
 ### APIキーの確認方法
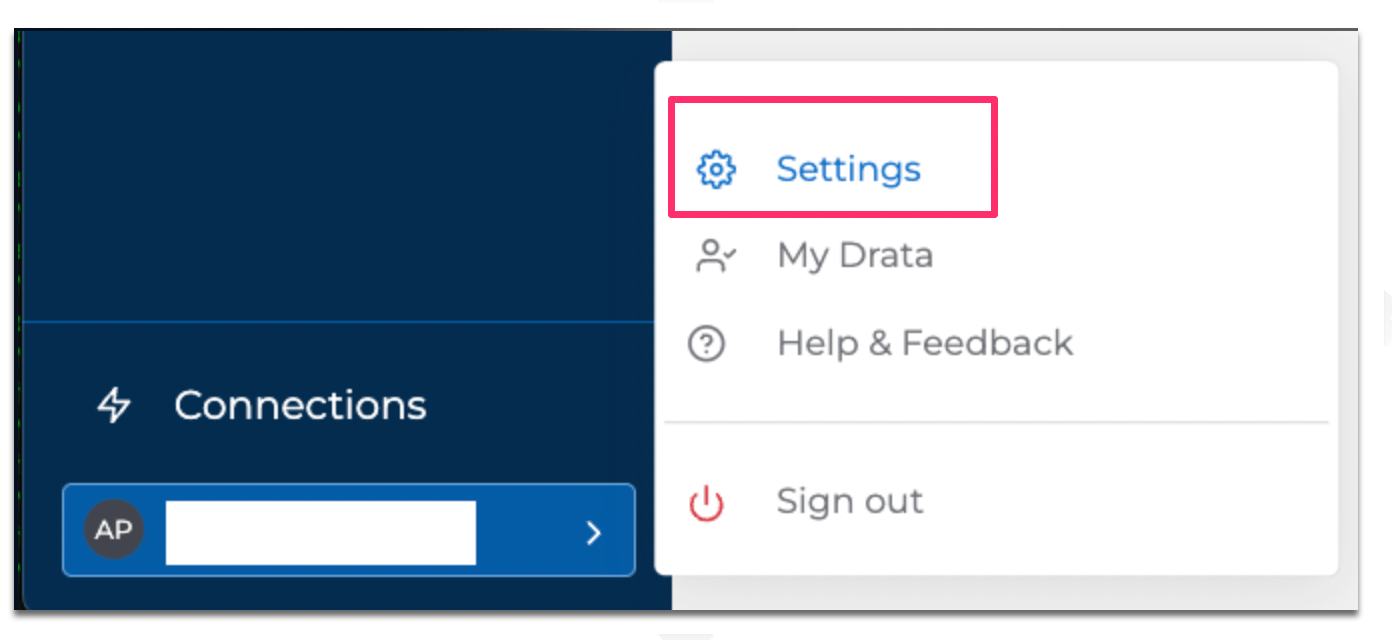
Drataにログインし、左下のアイコンから **Settings** をクリックします。
### APIキーの確認方法
Drataにログインし、左下のアイコンから **Settings** をクリックします。
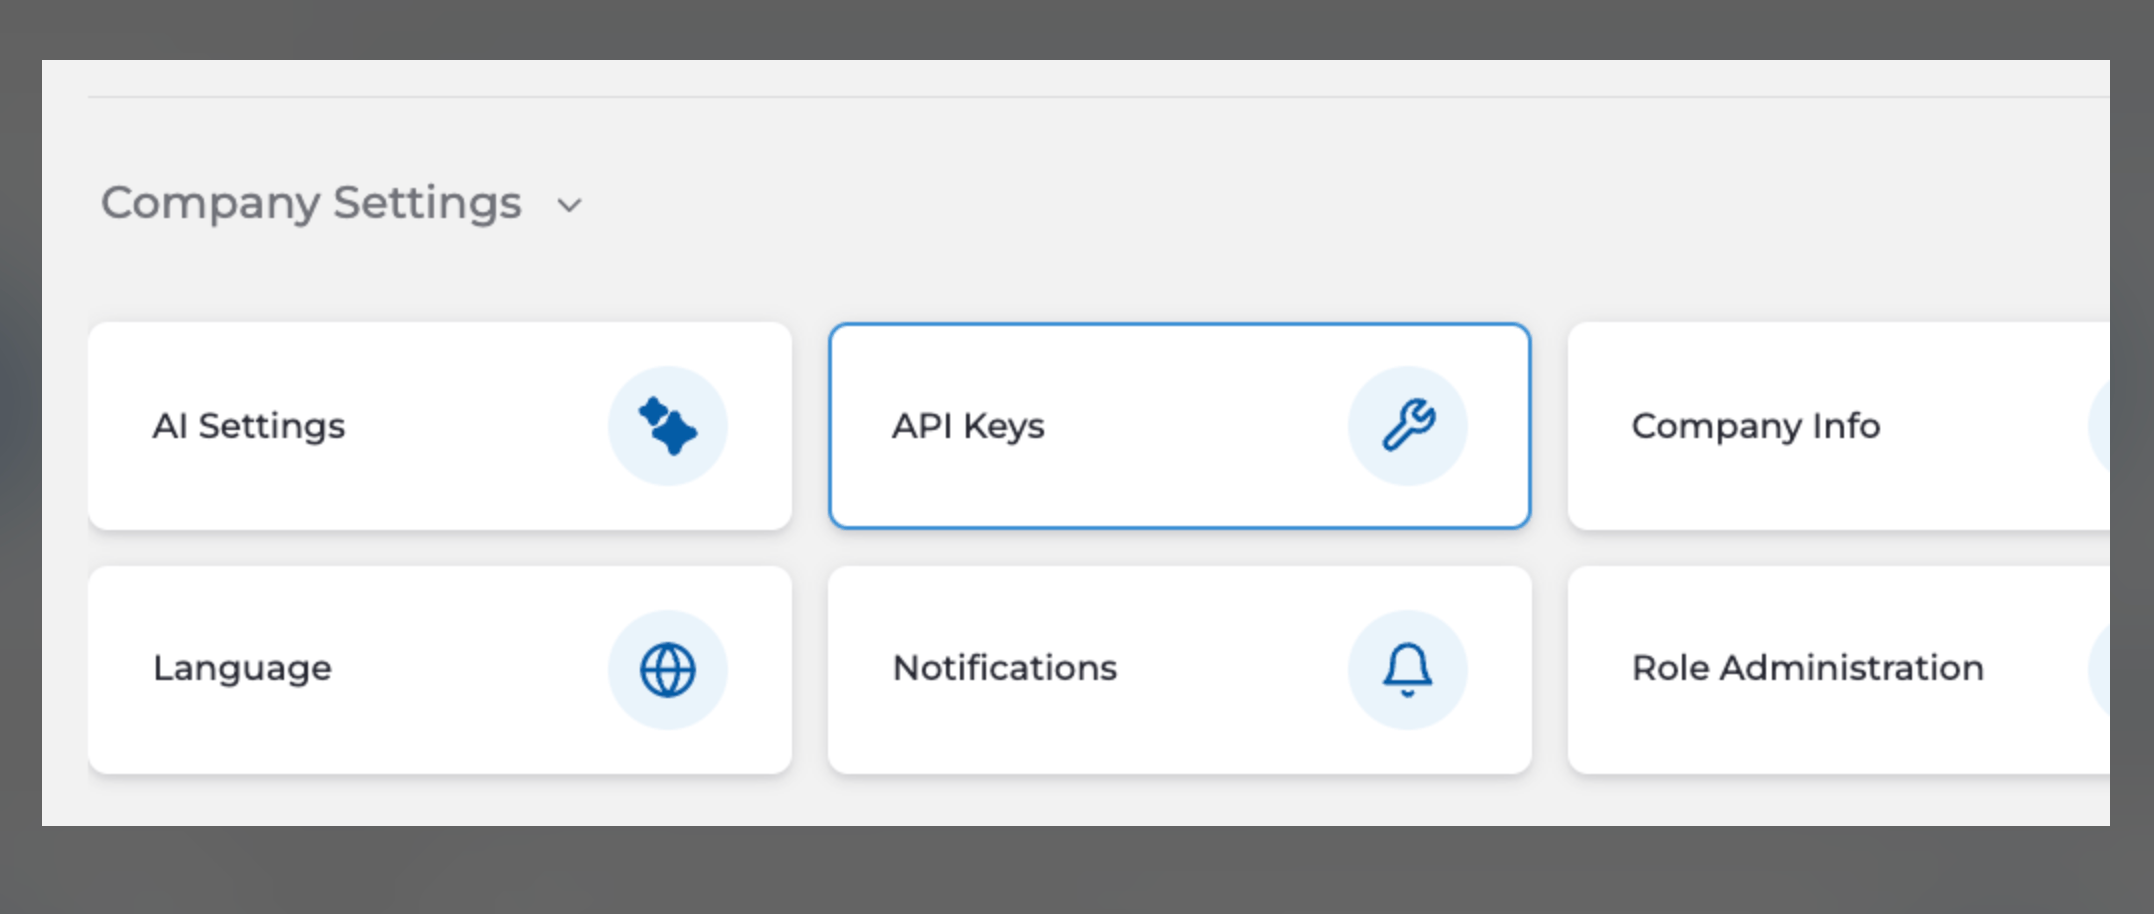
 **Company Settings** > **API Keys** をクリックします。
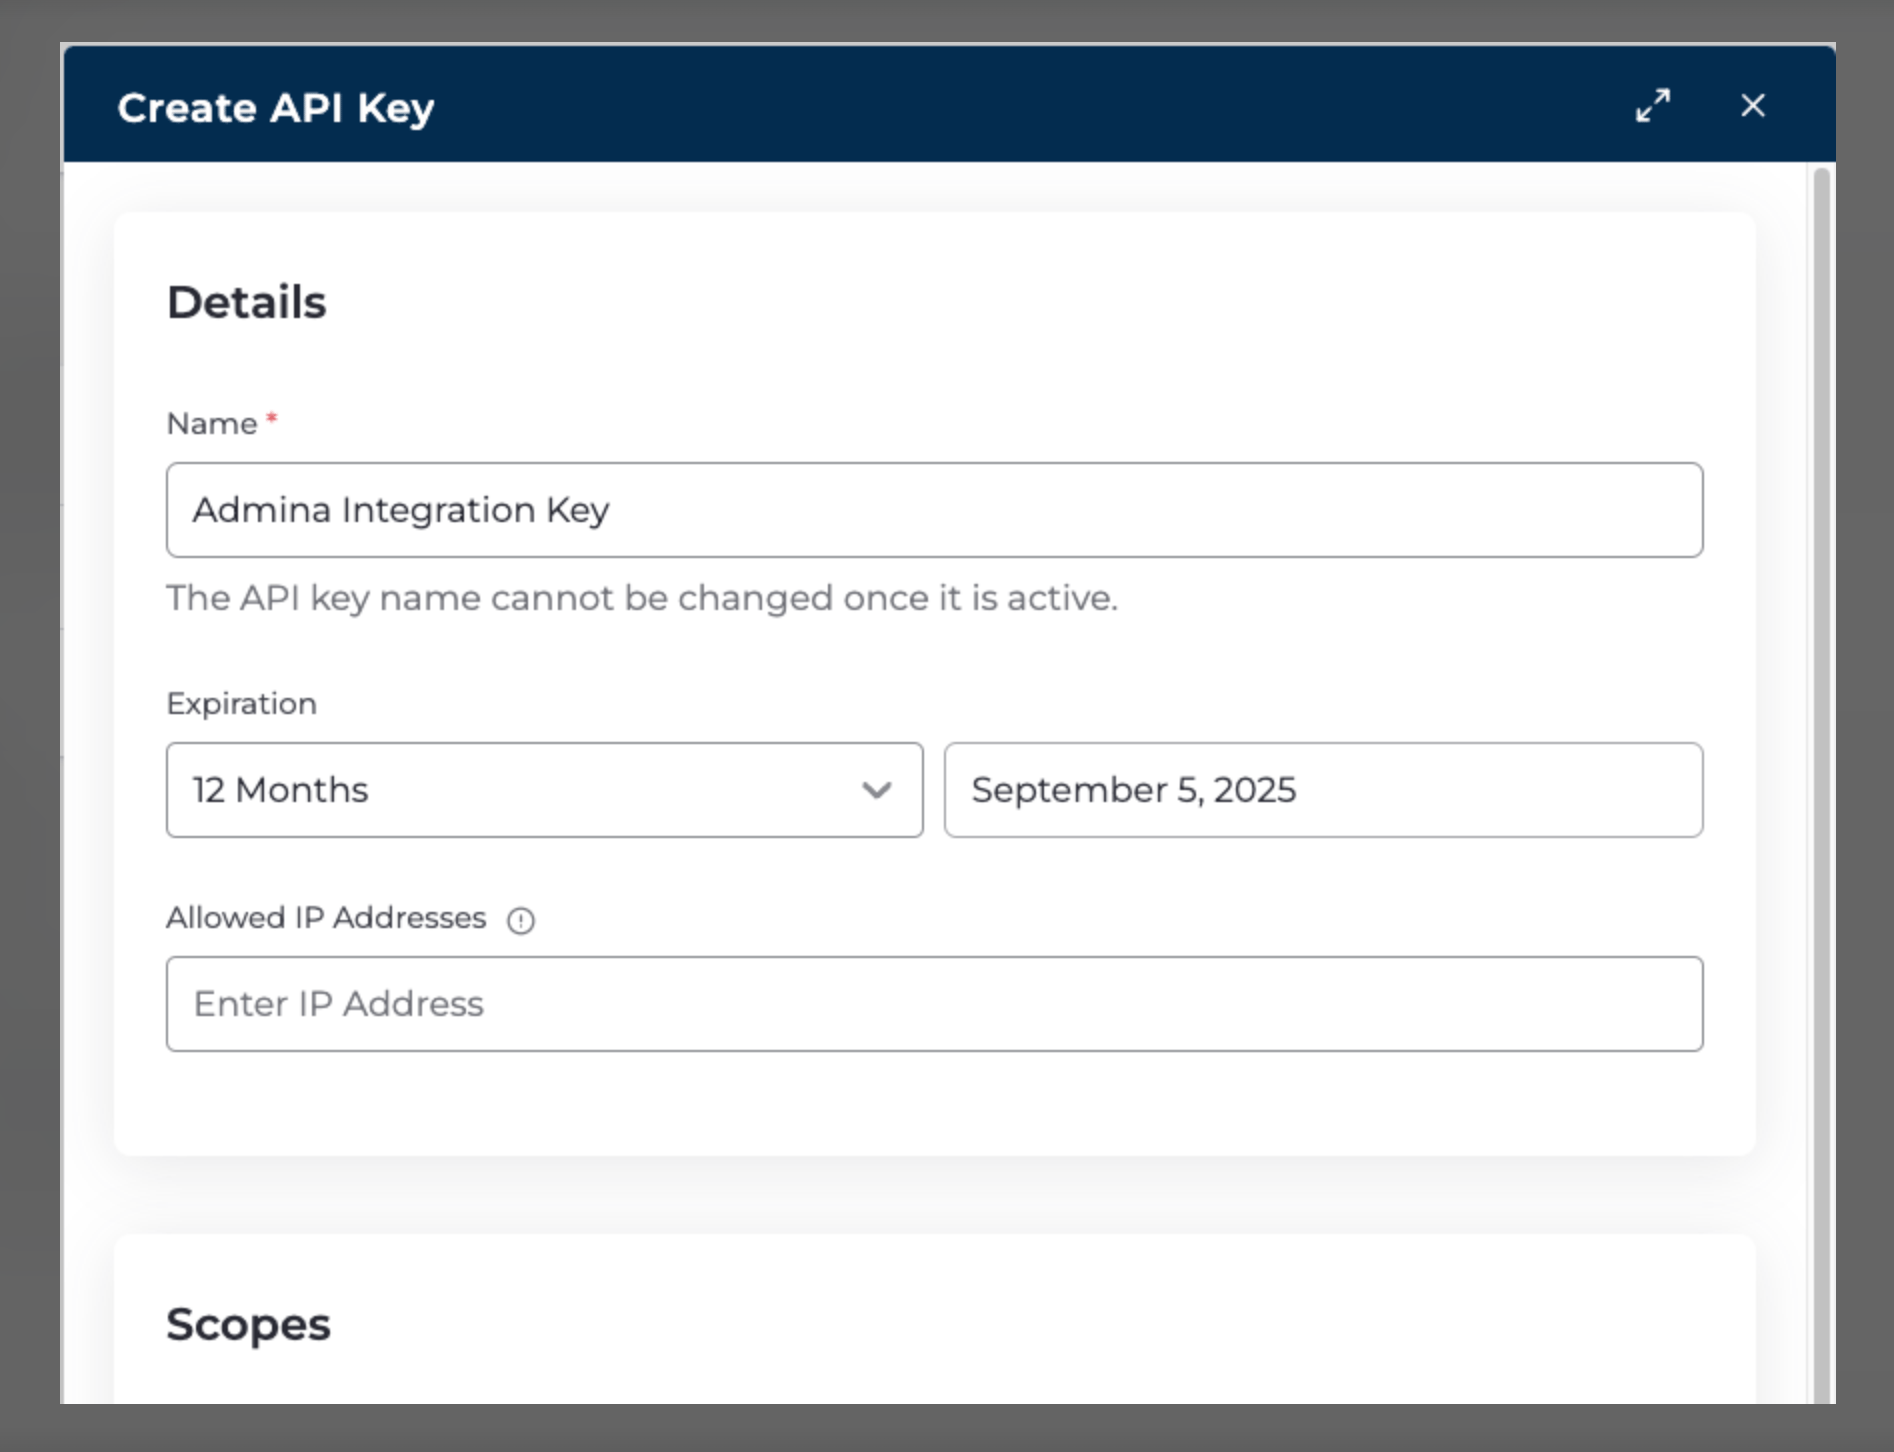
 Create API Keysで以下の値を入力します。
* Name: 任意のAPIキーの名前を入力します。
* Expiration: APIキーの有効期限を設定します。有効期限が切れると、再発行と再連携が必要になります。
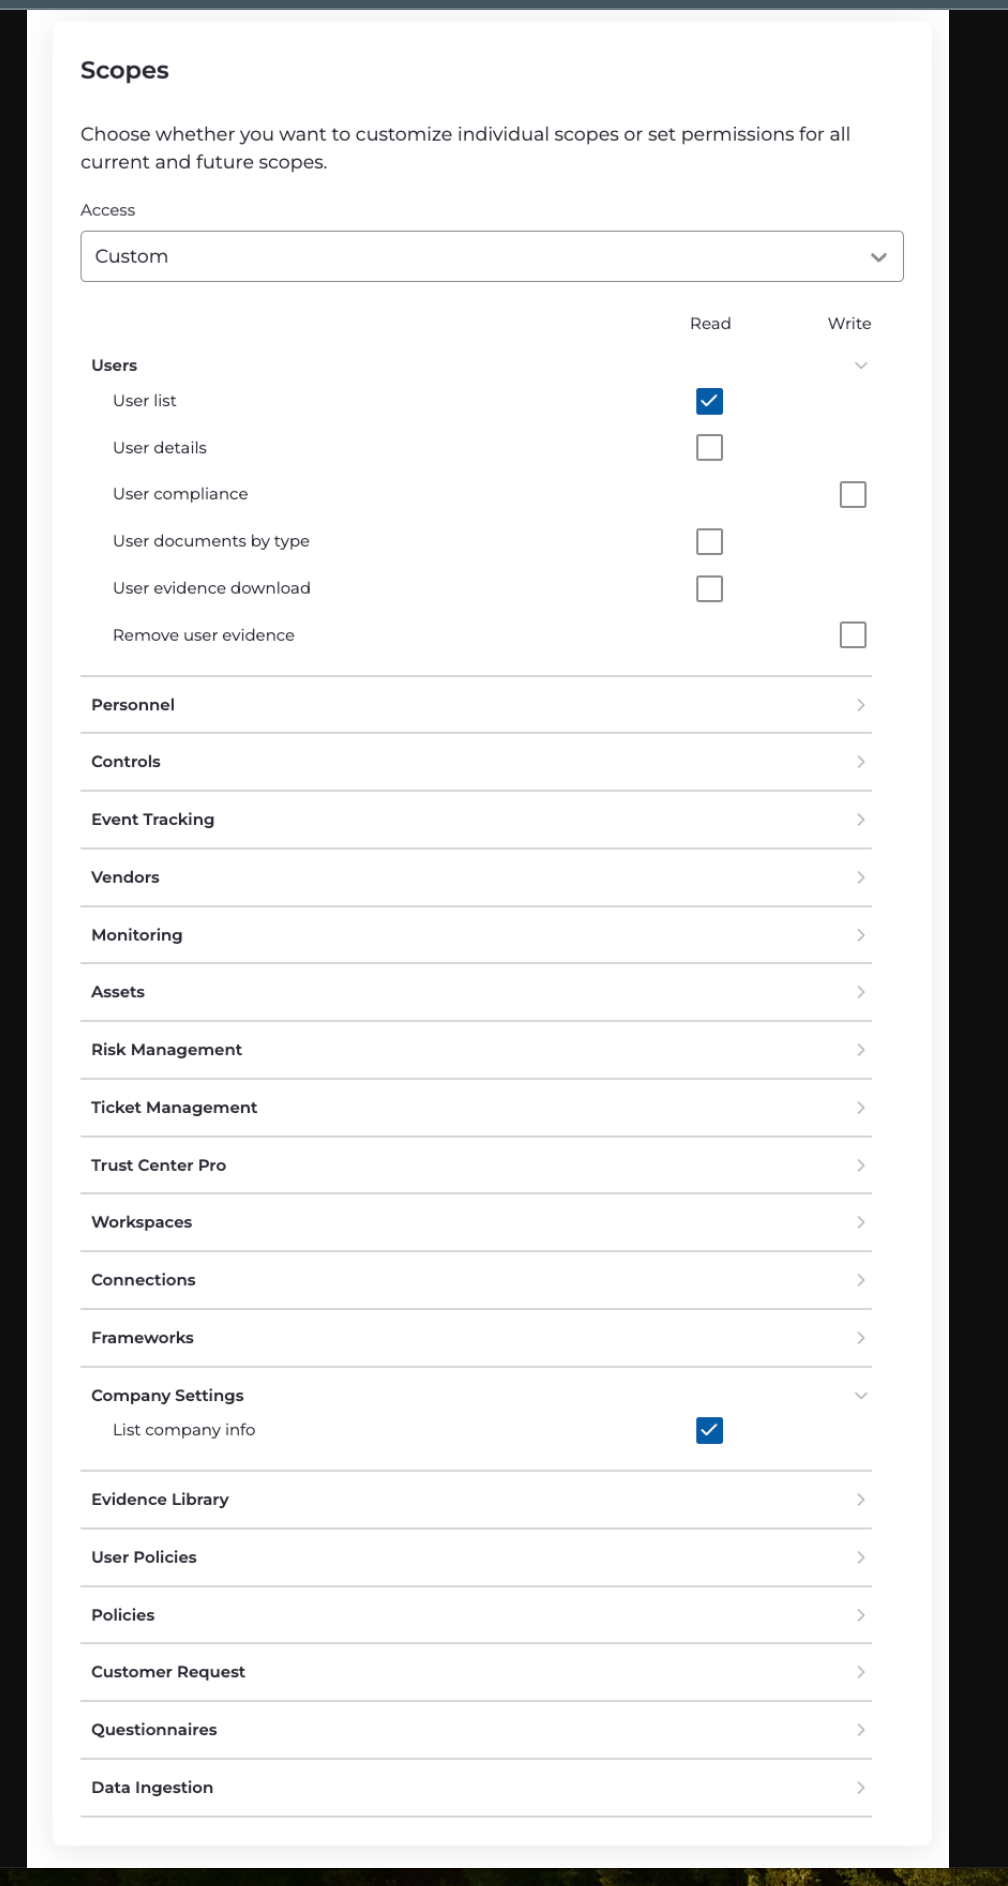
* Scope: Custom に変更し、`User List` とCompany Settings > `List company info` にチェックをいれます。
*Details*
Create API Keysで以下の値を入力します。
* Name: 任意のAPIキーの名前を入力します。
* Expiration: APIキーの有効期限を設定します。有効期限が切れると、再発行と再連携が必要になります。
* Scope: Custom に変更し、`User List` とCompany Settings > `List company info` にチェックをいれます。
*Details*
 *Scope*
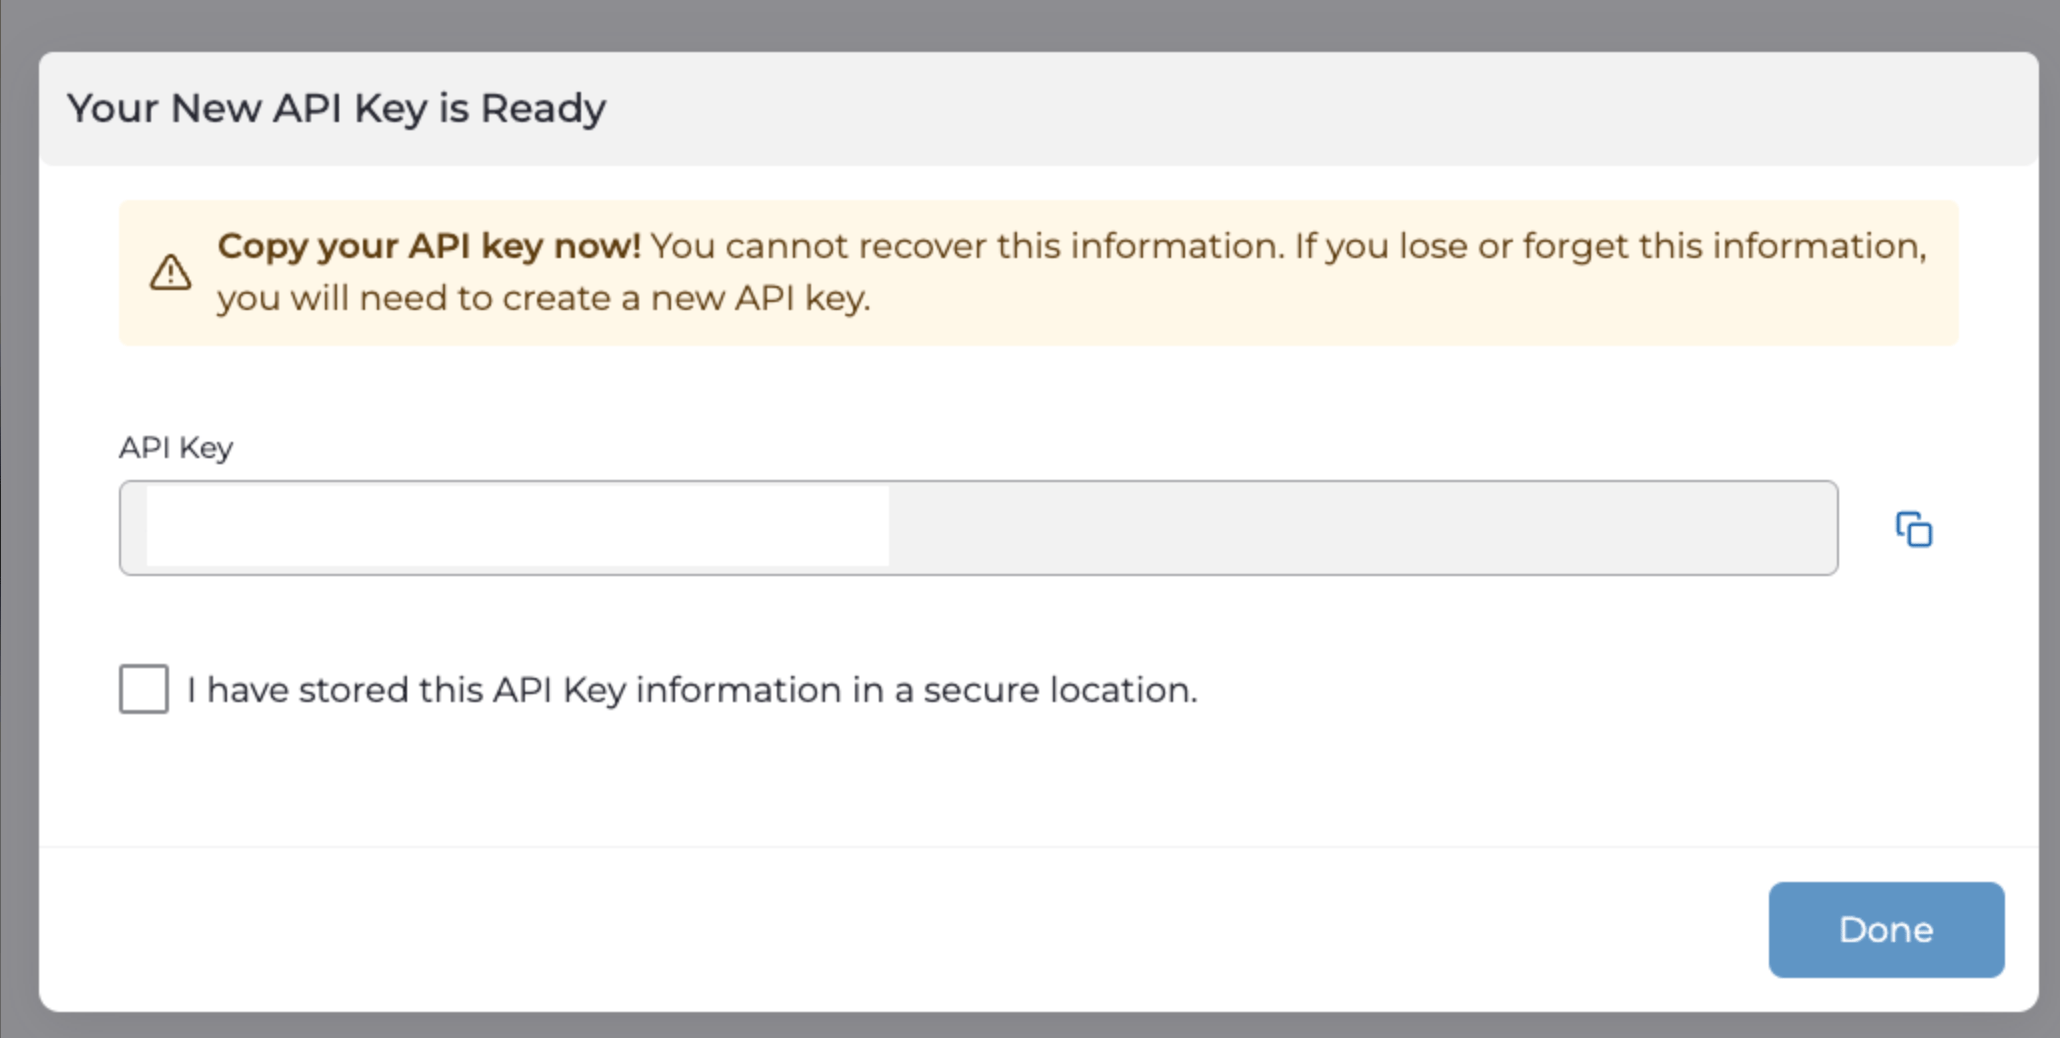
 APIキーが表示されるので、コピーして保存しておきます。これでAPIキーの発行は完了です。
 ### リージョンの確認方法
ご利用のURLによって、リージョンの値が決まります。NAもしくはEUのいずれかになります。
* NA: [https://public-api.drata.com/](https://public-api.drata.com/)
* EU: [https://public-api.eu.drata.com/](https://public-api.eu.drata.com/)
参考: [BASE URL](https://developers.drata.com/docs/#authentication) (Drata API Documentation)
## インテグレーションのセットアップ
インテグレーション画面にて、**Drata** で検索します。
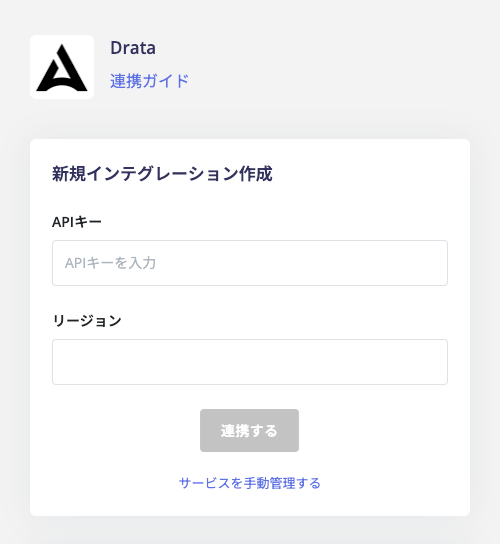
前の手順で取得した **APIキーとリージョン(NA もしくはEU)** を入力し、**連携する** をクリックします。
### リージョンの確認方法
ご利用のURLによって、リージョンの値が決まります。NAもしくはEUのいずれかになります。
* NA: [https://public-api.drata.com/](https://public-api.drata.com/)
* EU: [https://public-api.eu.drata.com/](https://public-api.eu.drata.com/)
参考: [BASE URL](https://developers.drata.com/docs/#authentication) (Drata API Documentation)
## インテグレーションのセットアップ
インテグレーション画面にて、**Drata** で検索します。
前の手順で取得した **APIキーとリージョン(NA もしくはEU)** を入力し、**連携する** をクリックします。
 連携に成功すると、アカウント一覧に登録済みのユーザー情報が表示されます。
正常に完了しない場合は、インテグレーション画面のステータスタブから **編集** し、再度連携をお試しください。
解決しない場合はチャットにてお問い合わせください。
連携に成功すると、アカウント一覧に登録済みのユーザー情報が表示されます。
正常に完了しない場合は、インテグレーション画面のステータスタブから **編集** し、再度連携をお試しください。
解決しない場合はチャットにてお問い合わせください。