> ## Documentation Index
> Fetch the complete documentation index at: https://support.i.moneyforward.com/llms.txt
> Use this file to discover all available pages before exploring further.

# Zoho Recruit

> Zoho Recruitとの連携手順です。管理者権限でOAuthアプリを登録し、ワークスペース名を設定します。

<Info>
  連携には管理者権限のアカウントが必要です。
</Info>

## 事前準備

### OAuthアプリを登録する

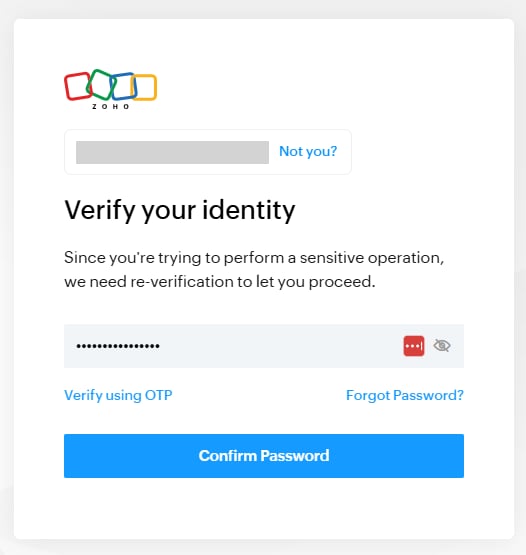
1. [https://api-console.zoho.com/](https://api-console.zoho.com/) にログインします。
   <img src="https://mintcdn.com/moneyforwardi/RdJaHJdvCZdlODVw/images/integrations/uyl0mhaqzl/2025-12-15-190445.png?fit=max&auto=format&n=RdJaHJdvCZdlODVw&q=85&s=4f2e524d59b05440a13777f76f2c3001" alt="Zoho API Console" width="526" height="555" data-path="images/integrations/uyl0mhaqzl/2025-12-15-190445.png" />

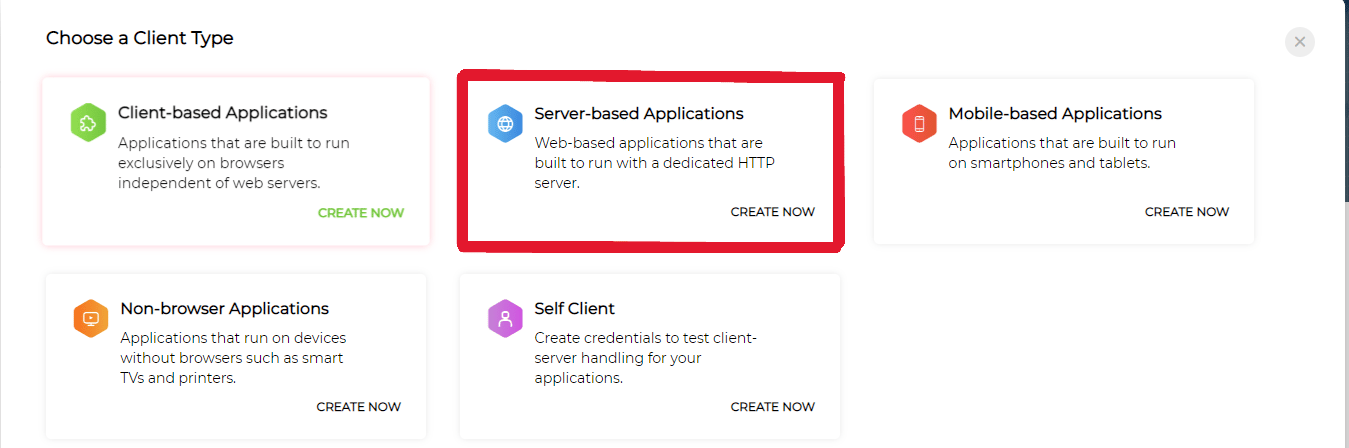
2. **ADD CLIENT** > **Server-Based Applications** をクリックします。
   <img src="https://mintcdn.com/moneyforwardi/y2OjA73vF7oOzEyJ/images/integrations/uyl0mhaqzl/untitled.png?fit=max&auto=format&n=y2OjA73vF7oOzEyJ&q=85&s=381a25abc92f2b0ad58c92c3b28fd26d" alt="Server-Based Applications選択" width="1349" height="448" data-path="images/integrations/uyl0mhaqzl/untitled.png" />

3. 必要な情報を入力し、**CREATE** をクリックします。

   <img src="https://mintcdn.com/moneyforwardi/tMe7Ck7tZsW3yk90/images/integrations/uyl0mhaqzl/untitled-1.png?fit=max&auto=format&n=tMe7Ck7tZsW3yk90&q=85&s=e971596342d60ed36d3bae6d18b9979e" alt="OAuth アプリ作成" width="894" height="507" data-path="images/integrations/uyl0mhaqzl/untitled-1.png" />

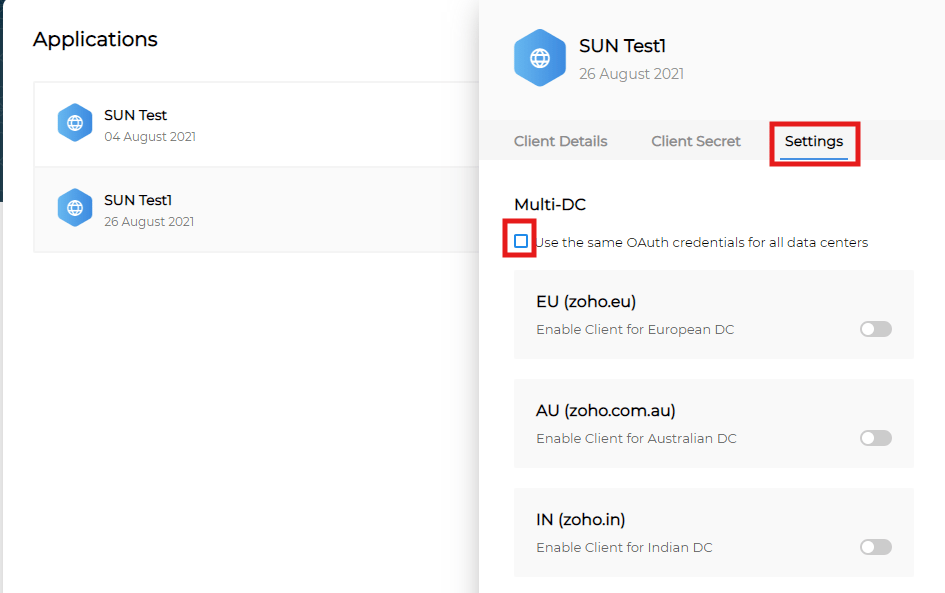
4. **Settings** > **Use the same Oauth credentials for all data centers** にチェックを入れます。
   <img src="https://mintcdn.com/moneyforwardi/tMe7Ck7tZsW3yk90/images/integrations/uyl0mhaqzl/untitled-3.png?fit=max&auto=format&n=tMe7Ck7tZsW3yk90&q=85&s=c2e03e88f39b581f672ee986c43c5384" alt="Settings でチェック" width="945" height="593" data-path="images/integrations/uyl0mhaqzl/untitled-3.png" />

## インテグレーションのセットアップ

1. インテグレーション画面にて、**Zoho Recruit** で検索します。

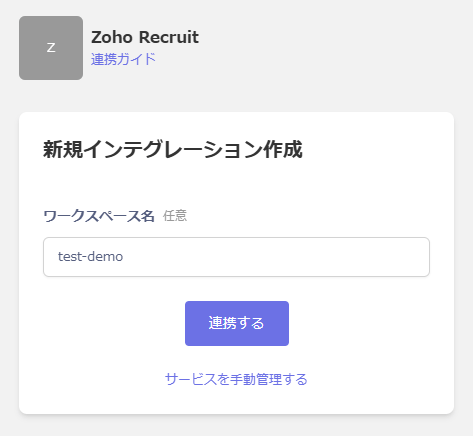
2. 任意の **ワークスペース名** を入力し、**連携する** をクリックします。
   <img src="https://mintcdn.com/moneyforwardi/asVFolHD2Z2R-UWD/images/integrations/uyl0mhaqzl/zoho-recruit.png?fit=max&auto=format&n=asVFolHD2Z2R-UWD&q=85&s=00d5e0ea104b03080ef120d928e4fb2a" alt="連携設定画面" width="734" height="690" data-path="images/integrations/uyl0mhaqzl/zoho-recruit.png" />

3. 連携が成功すると、アカウント一覧に登録済みのユーザー情報が表示されます。正常に完了しない場合は、まず [SaaSとの連携に失敗する場合の対処法](/it-management/saas-management/93nahw45is-trouble) に記載のステップをお試しください。それでも解決しない場合は、[ご提供いただきたい情報](/it-management/saas-management/93nahw45is-trouble#info-to-provide) をご確認のうえ、[サポート窓口](/contact-support)までお問い合わせください。