> ## Documentation Index
> Fetch the complete documentation index at: https://support.i.moneyforward.com/llms.txt
> Use this file to discover all available pages before exploring further.
# Kommo
> Kommoとの連携手順です。KommoでクライアントID・クライアントシークレットを取得後、インテグレーション画面で入力して連携します。
## 事前準備
・連携には管理者権限のアカウントが必要です。
### ログイン方法
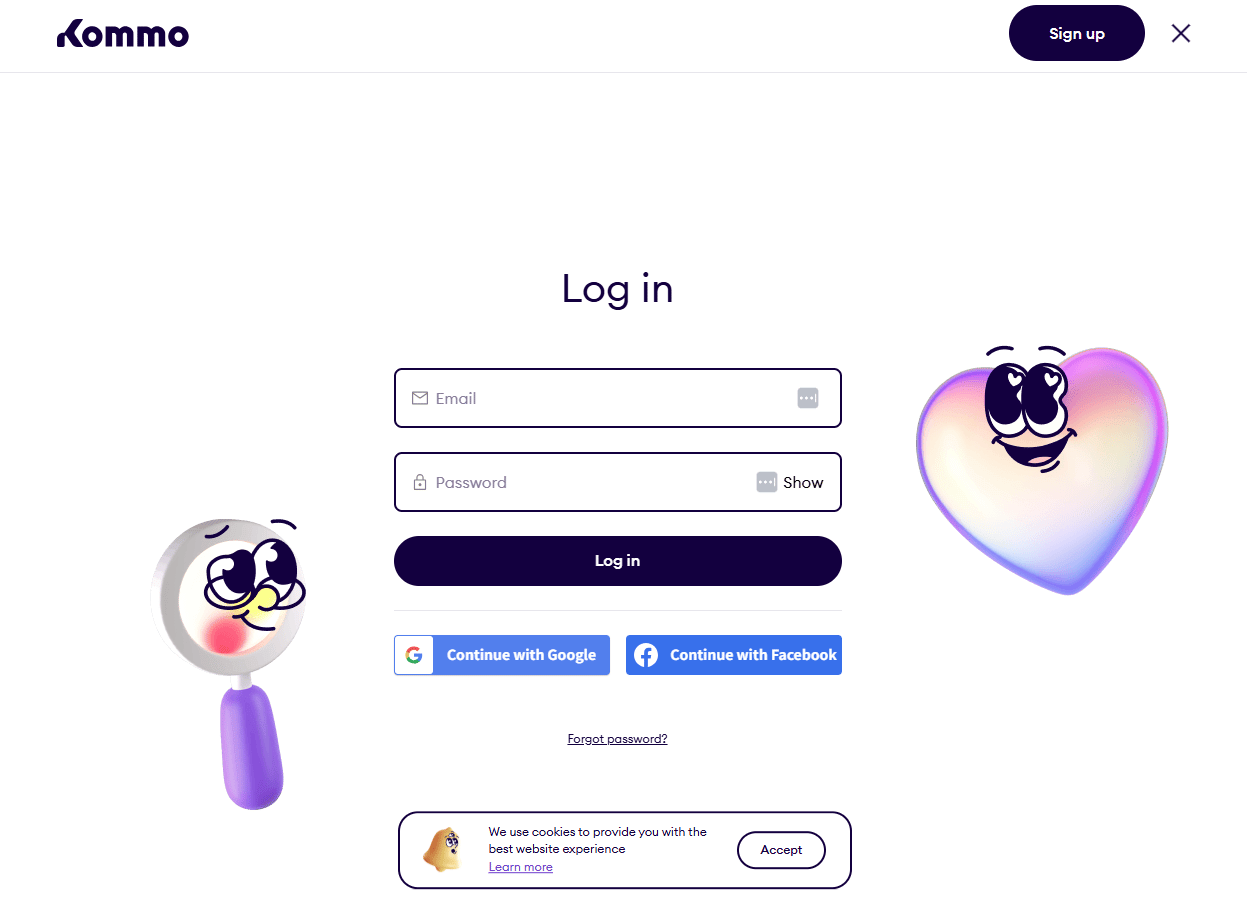
[Kommoログインページ](https://www.kommo.com/)にて、メールアドレス・パスワードを入力し、ログインします。
 ### クライアントID・クライアントシークレットの取得方法
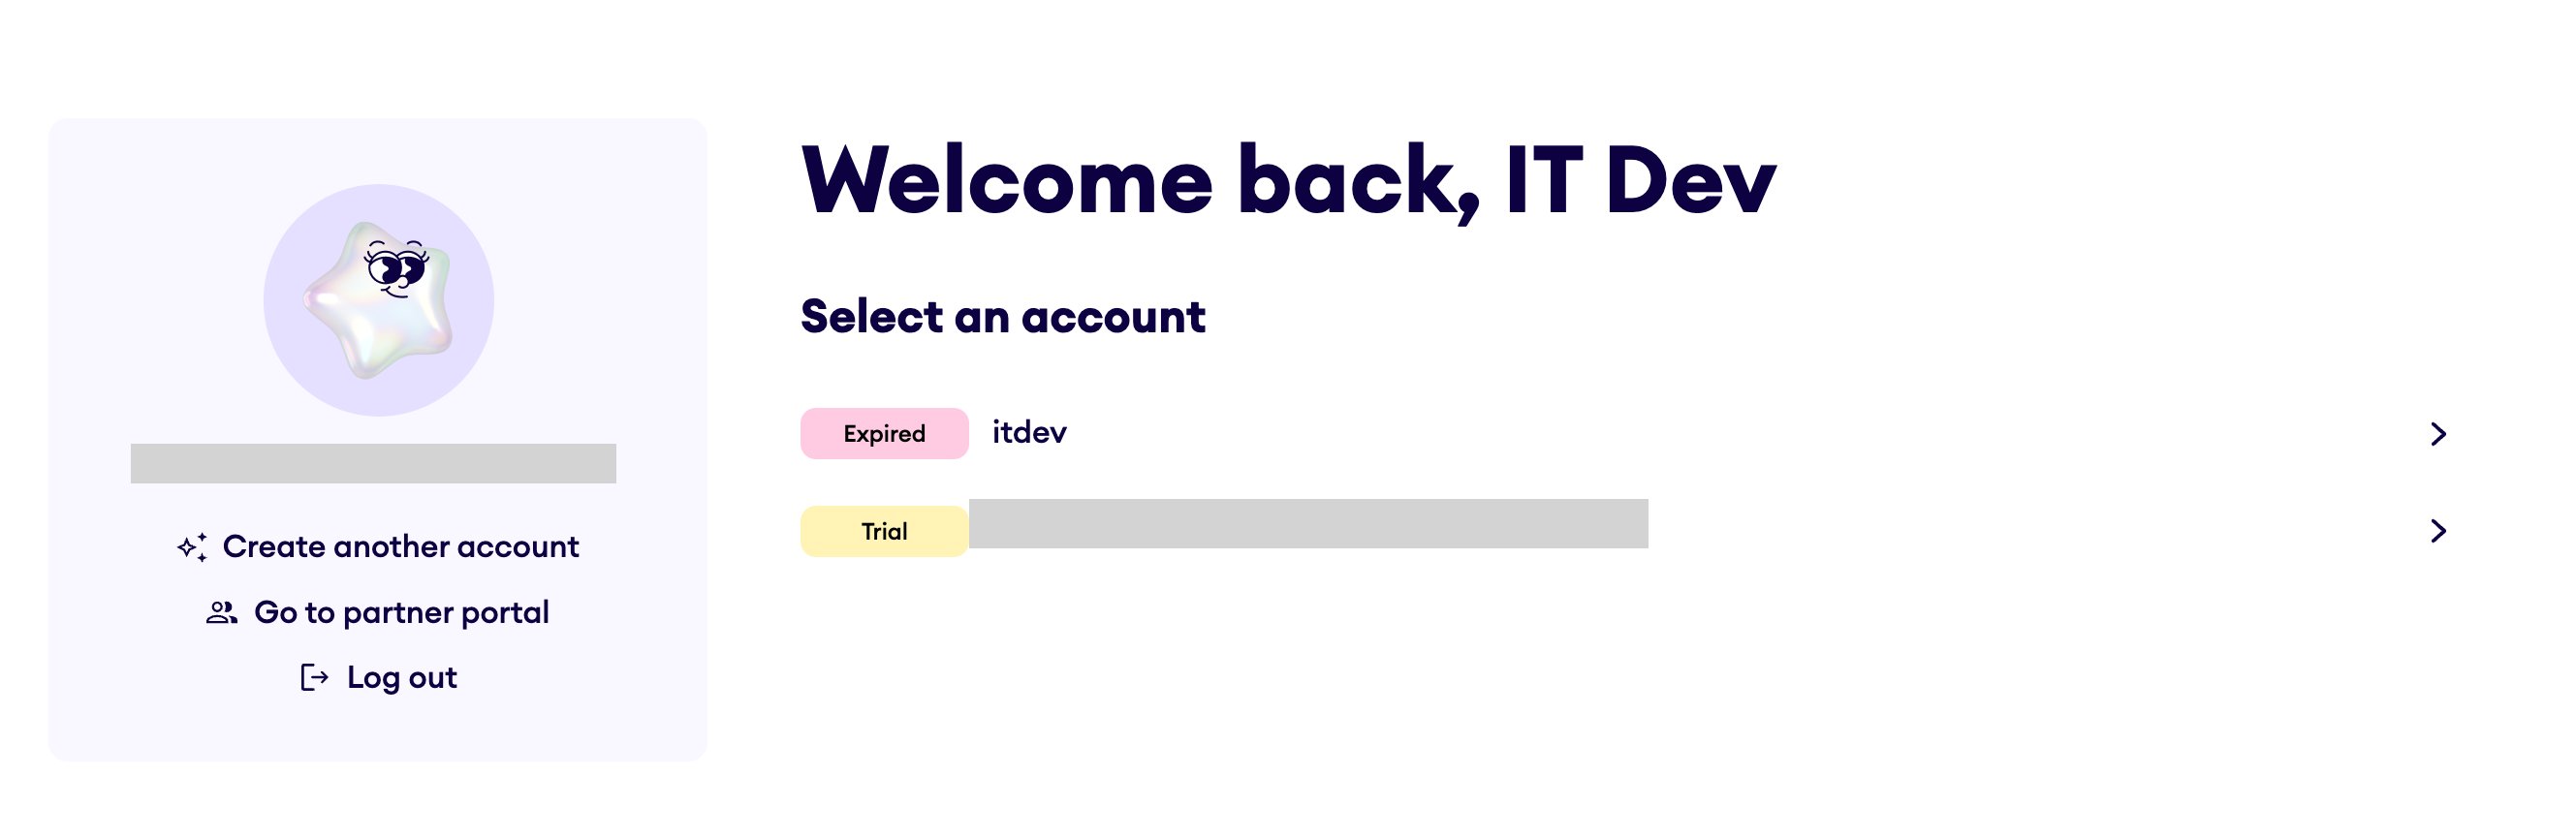
招待されたアカウントや紐付けられただけのアカウントではなく、自身が所有・管理しているアカウントを選択します。
※画像の場合、**itdev** を選択してください。
### クライアントID・クライアントシークレットの取得方法
招待されたアカウントや紐付けられただけのアカウントではなく、自身が所有・管理しているアカウントを選択します。
※画像の場合、**itdev** を選択してください。
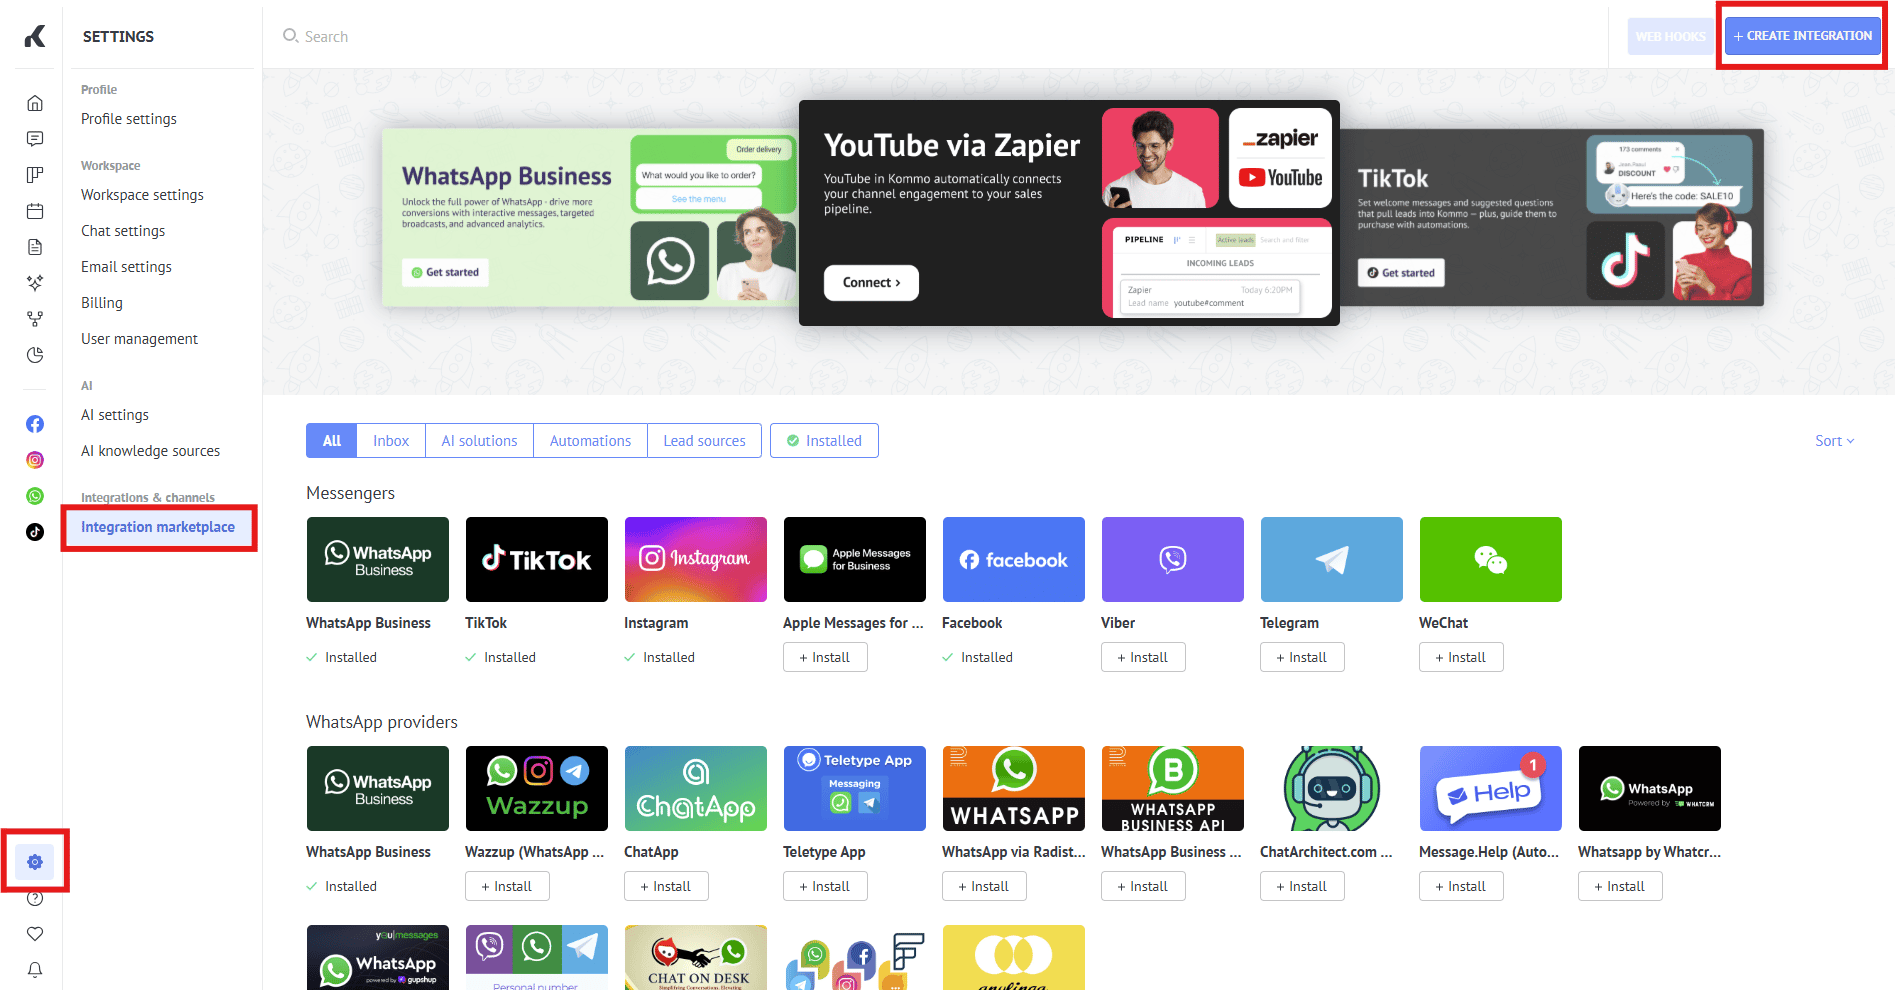
 **Settings** > **Integration marketplace** > **+Create Integration** をクリックします。
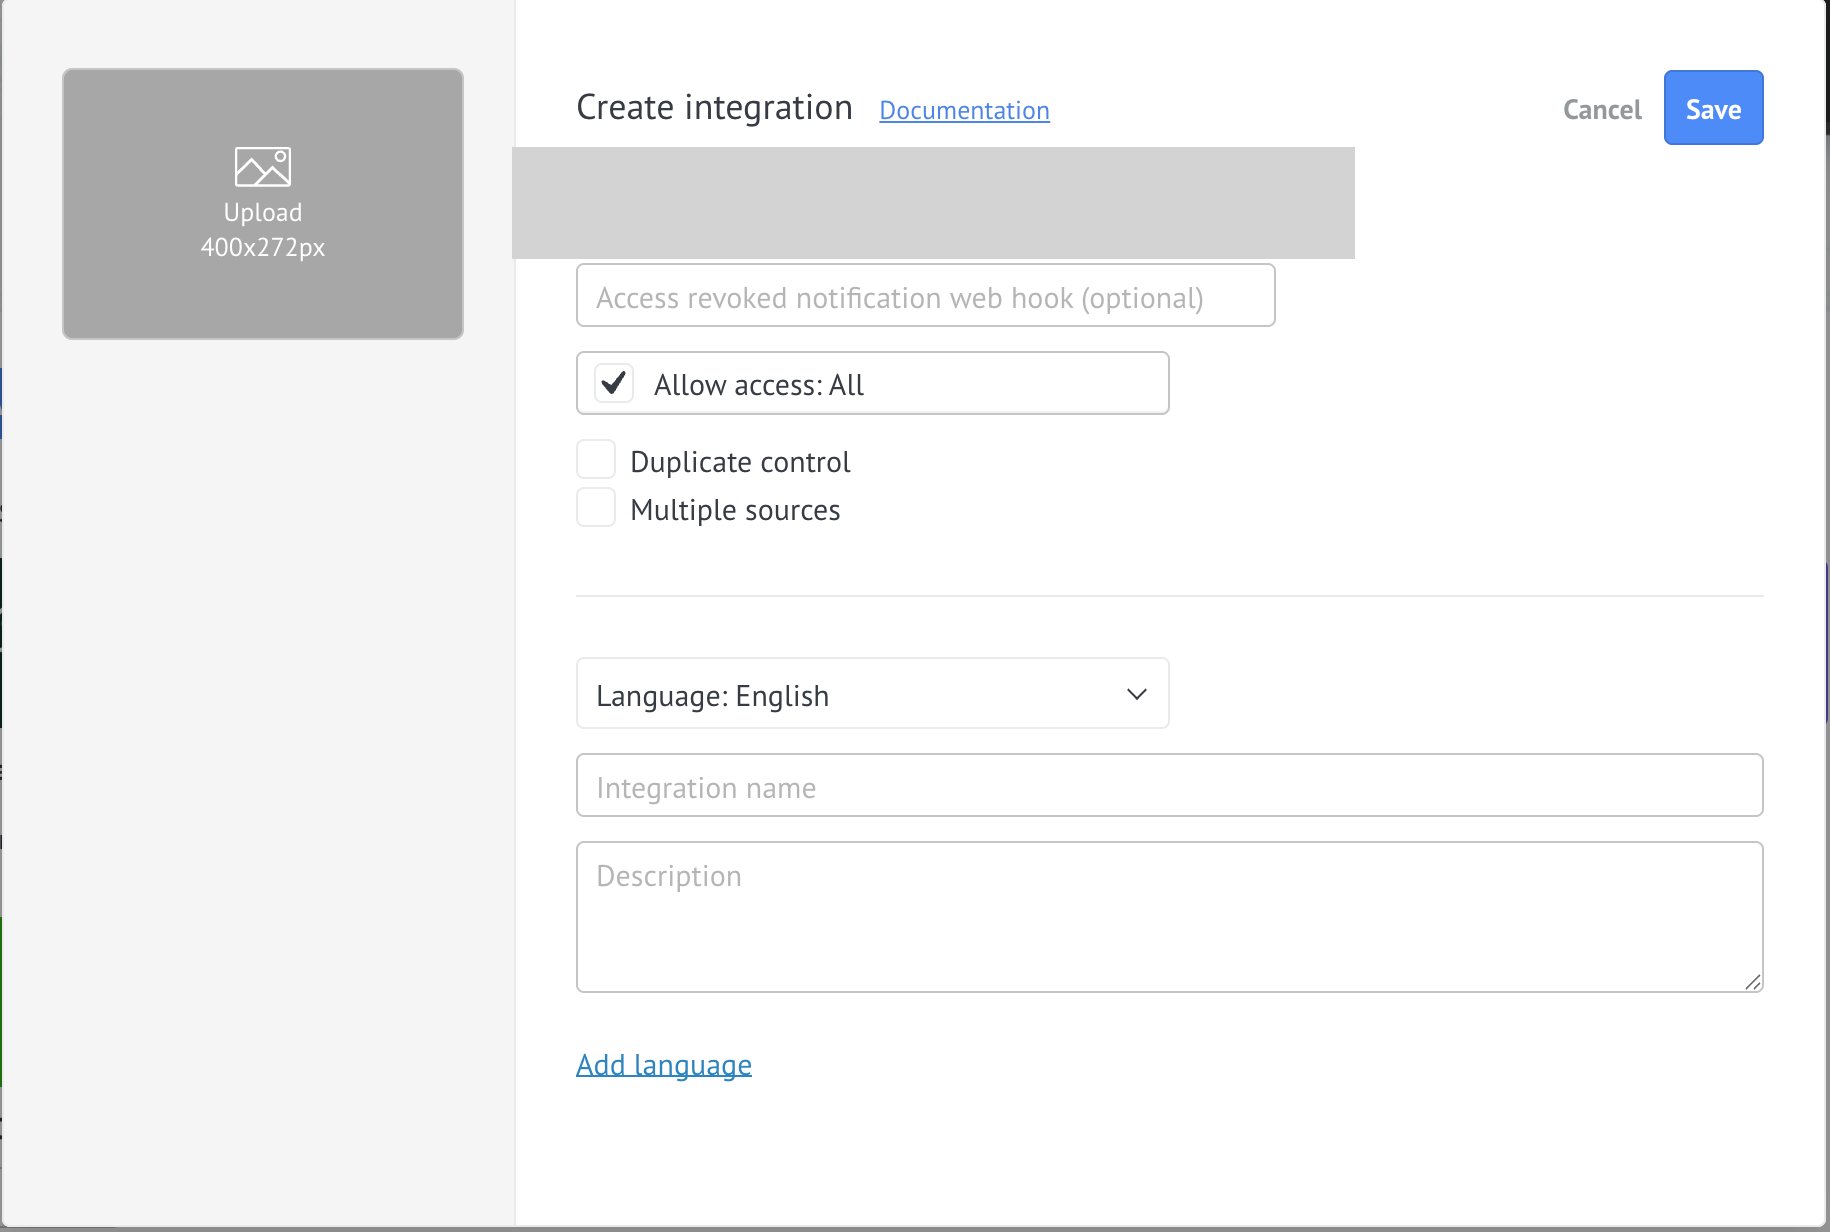
 表示された入力欄に以下を入力し、**Save** をクリックします。
1. **OAuthのコールバック(リダイレクト)URL**
URLは利用している環境によって異なります。
* **本番環境(メイン):** `https://itmc.i.moneyforward.com/oauth/callback` または `https://itmc-sbn.i.moneyforward.com/oauth/callback`
* **テスト環境(ステージング):** `https://itmc.i.iggre.net/oauth/callback`
2. 「すべて」または「アカウントデータ」へのアクセスを許可
また、**Integration name** には **Admina** と入力することを推奨します。
表示された入力欄に以下を入力し、**Save** をクリックします。
1. **OAuthのコールバック(リダイレクト)URL**
URLは利用している環境によって異なります。
* **本番環境(メイン):** `https://itmc.i.moneyforward.com/oauth/callback` または `https://itmc-sbn.i.moneyforward.com/oauth/callback`
* **テスト環境(ステージング):** `https://itmc.i.iggre.net/oauth/callback`
2. 「すべて」または「アカウントデータ」へのアクセスを許可
また、**Integration name** には **Admina** と入力することを推奨します。
 手順を進め、表示された **Integration ID** をコピーします。こちらが **クライアントID** です。
次に、**Generate secret key** をクリックします。
(シークレットキーを忘れた場合は、**Regenerate secret key** をクリックしてください。)
手順を進め、表示された **Integration ID** をコピーします。こちらが **クライアントID** です。
次に、**Generate secret key** をクリックします。
(シークレットキーを忘れた場合は、**Regenerate secret key** をクリックしてください。)
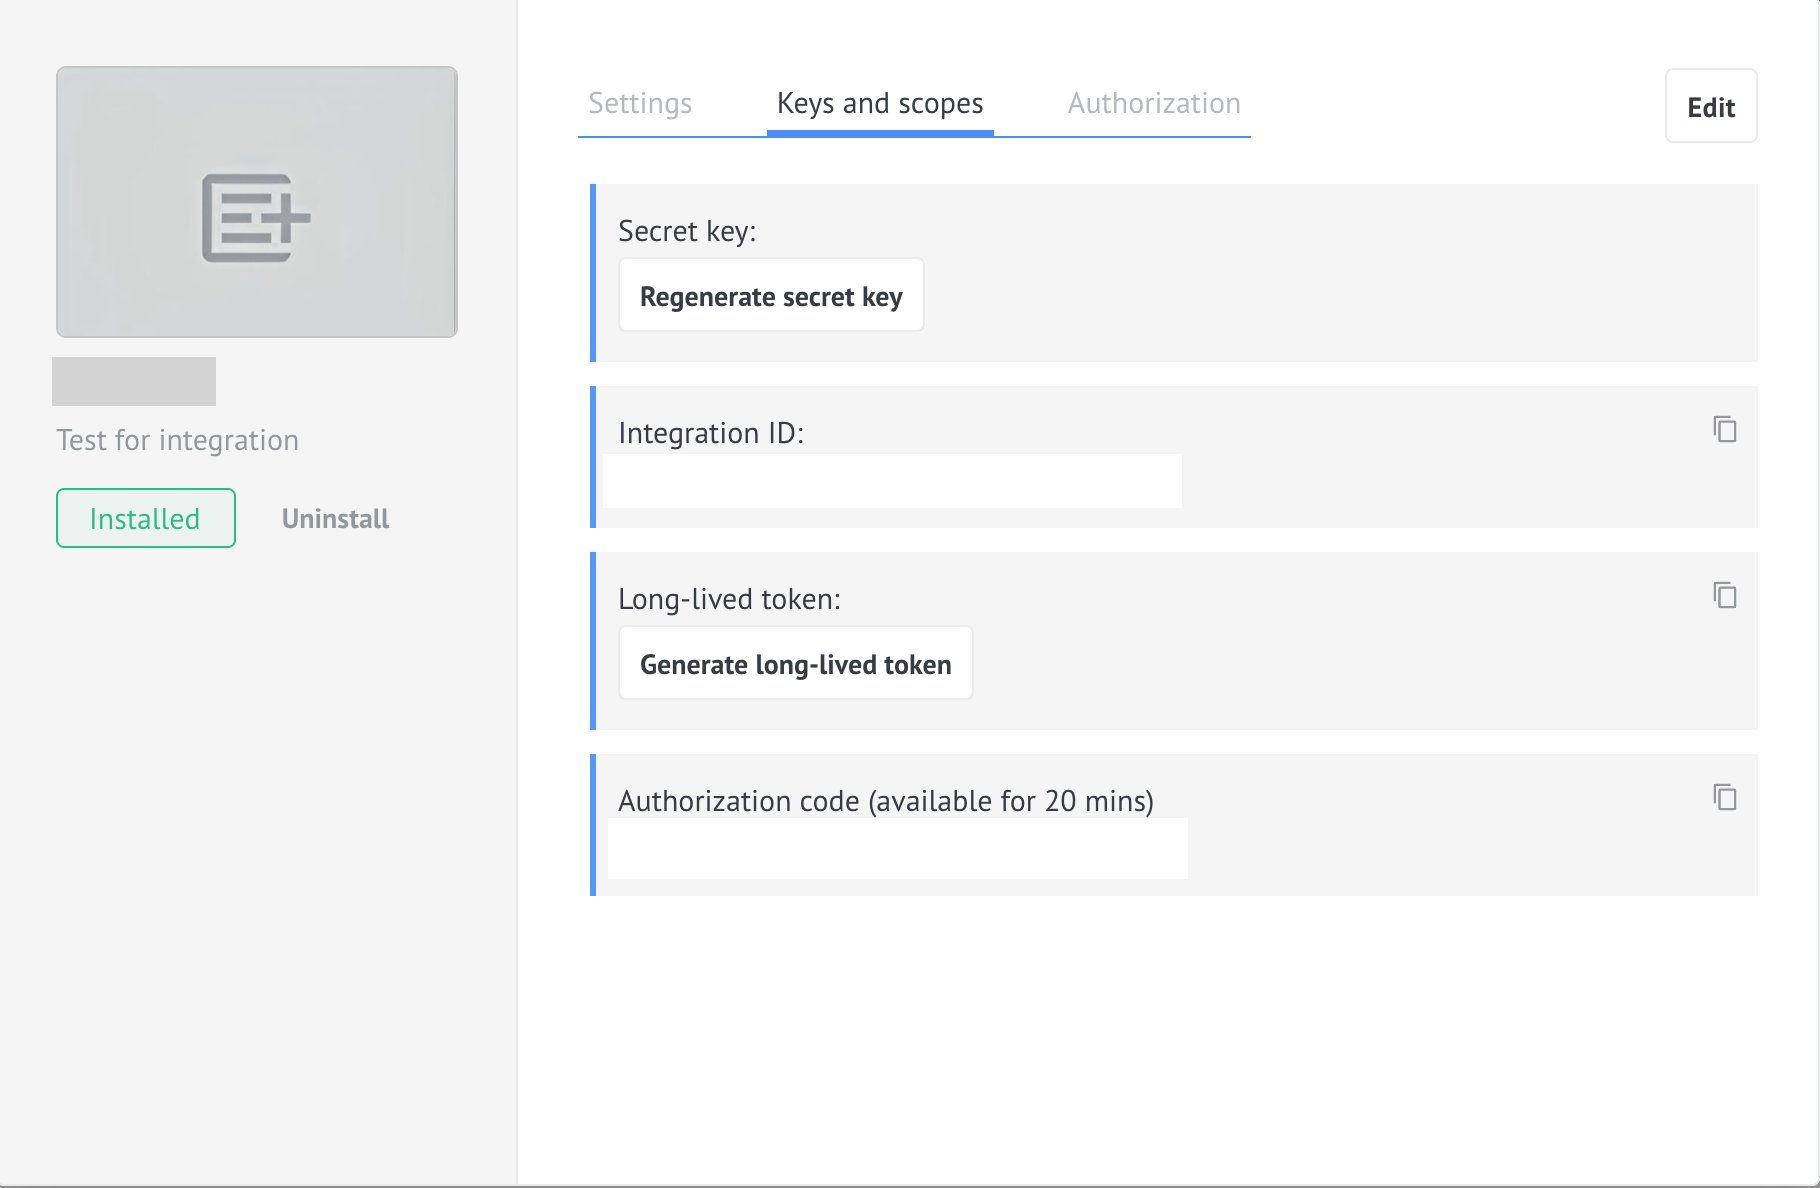
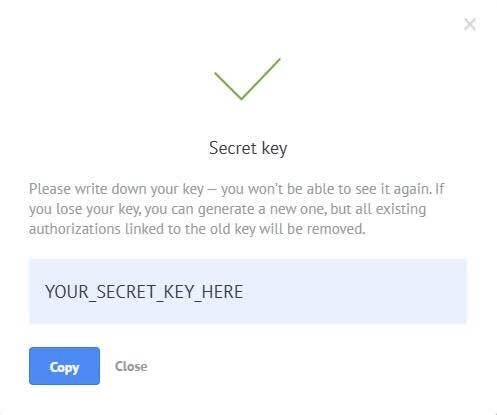
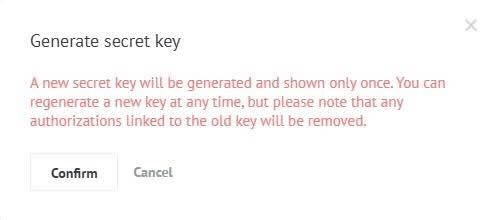 次に、**Confirm** をクリックすると、下のボックスに **Secret key(クライアントシークレット)** が表示されるので、コピーします。
 ## インテグレーションのセットアップ
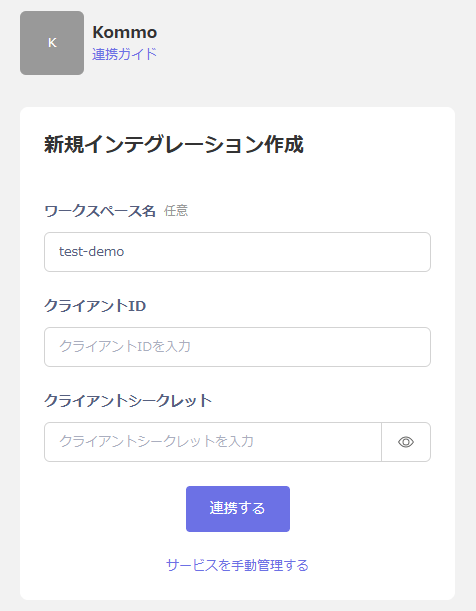
インテグレーション画面にて、**Kommo** で検索します。
任意の **ワークスペース名**、前の手順で取得した **クライアントID・クライアントシークレット** を入力し、**連携する** をクリックします。
## インテグレーションのセットアップ
インテグレーション画面にて、**Kommo** で検索します。
任意の **ワークスペース名**、前の手順で取得した **クライアントID・クライアントシークレット** を入力し、**連携する** をクリックします。
 連携に成功すると、アカウント一覧に登録済みのユーザー情報が表示されます。
正常に完了しない場合は、インテグレーション画面のステータスタブから **編集** し、再度連携をお試しください。
解決しない場合はチャットにてお問い合わせください。
連携に成功すると、アカウント一覧に登録済みのユーザー情報が表示されます。
正常に完了しない場合は、インテグレーション画面のステータスタブから **編集** し、再度連携をお試しください。
解決しない場合はチャットにてお問い合わせください。