> ## Documentation Index
> Fetch the complete documentation index at: https://support.i.moneyforward.com/llms.txt
> Use this file to discover all available pages before exploring further.
# 2. 従業員マスター・ドメインを設定する
> この設定をすると、従業員の退職やゲストアカウントかどうかを判別できるようになります。
## 従業員マスターに設定するSaaSを検討する
最初に従業員マスターとして設定するSaaSを検討します。
## 従業員マスターを設定する場合(推奨)
従業員マスタに設定可能なSaaSと連携することで、[早見表](/it-management/directory/dcrxyhzb39-user-type)のID種別やステータスのラベルが付与されます。
また、退職済アカウントに「**退職済**」ラベルが付くことで、退職者の検知も可能になります。
設定可能な従業員マスターは設定 > 組織 > 従業員マスター設定で確認できます。
 ## 従業員マスターを設定しない場合
以下の方法でディレクトリ台帳を作成いただけます。
・CSVでディレクトリ台帳を作成:[【ディレクトリ】インポート用ディレクトリ台帳CSVの作成方法](/it-management/directory/1xtq0cxipa-directory-csv-import)
・従業員マスターを設定せずSaaSを連携:[SaaSとの連携](/it-management/tutorial/tdxtlisu9v-4)、連携可能なSaaSは[連携可能SaaS・機能対応一覧](/integrations/ey32ki15er-function)をご参照ください。
## 従業員マスターの設定
**設定** > **組織** > **従業員マスター設定**から従業員マスターとして設定するSaaSを連携し、従業員マスターに設定します。
連携には[アカウントアグリゲーション](https://ja.wikipedia.org/wiki/%E3%82%A2%E3%82%AB%E3%82%A6%E3%83%B3%E3%83%88%E3%82%A2%E3%82%B0%E3%83%AA%E3%82%B2%E3%83%BC%E3%82%B7%E3%83%A7%E3%83%B3#:~:text=%E3%82%A2%E3%82%AB%E3%82%A6%E3%83%B3%E3%83%88%E3%82%A2%E3%82%B0%E3%83%AA%E3%82%B2%E3%83%BC%E3%82%B7%E3%83%A7%E3%83%B3\(Account%20aggregation\)%20%E3%81%A8,%E8%A1%A8%E7%A4%BA%E3%81%99%E3%82%8B%E3%82%B5%E3%83%BC%E3%83%93%E3%82%B9%E3%81%AE%E7%B7%8F%E7%A7%B0%E3%80%82)を応用しており、各SaaSに影響を及ぼすことなく、安全に連携できます。
## 従業員マスターを設定しない場合
以下の方法でディレクトリ台帳を作成いただけます。
・CSVでディレクトリ台帳を作成:[【ディレクトリ】インポート用ディレクトリ台帳CSVの作成方法](/it-management/directory/1xtq0cxipa-directory-csv-import)
・従業員マスターを設定せずSaaSを連携:[SaaSとの連携](/it-management/tutorial/tdxtlisu9v-4)、連携可能なSaaSは[連携可能SaaS・機能対応一覧](/integrations/ey32ki15er-function)をご参照ください。
## 従業員マスターの設定
**設定** > **組織** > **従業員マスター設定**から従業員マスターとして設定するSaaSを連携し、従業員マスターに設定します。
連携には[アカウントアグリゲーション](https://ja.wikipedia.org/wiki/%E3%82%A2%E3%82%AB%E3%82%A6%E3%83%B3%E3%83%88%E3%82%A2%E3%82%B0%E3%83%AA%E3%82%B2%E3%83%BC%E3%82%B7%E3%83%A7%E3%83%B3#:~:text=%E3%82%A2%E3%82%AB%E3%82%A6%E3%83%B3%E3%83%88%E3%82%A2%E3%82%B0%E3%83%AA%E3%82%B2%E3%83%BC%E3%82%B7%E3%83%A7%E3%83%B3\(Account%20aggregation\)%20%E3%81%A8,%E8%A1%A8%E7%A4%BA%E3%81%99%E3%82%8B%E3%82%B5%E3%83%BC%E3%83%93%E3%82%B9%E3%81%AE%E7%B7%8F%E7%A7%B0%E3%80%82)を応用しており、各SaaSに影響を及ぼすことなく、安全に連携できます。
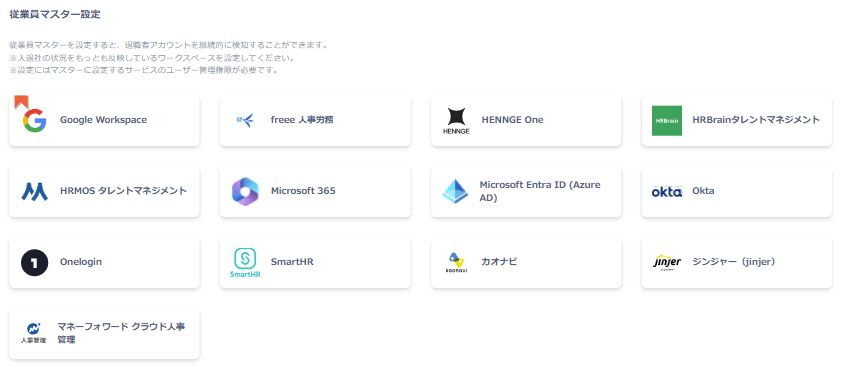
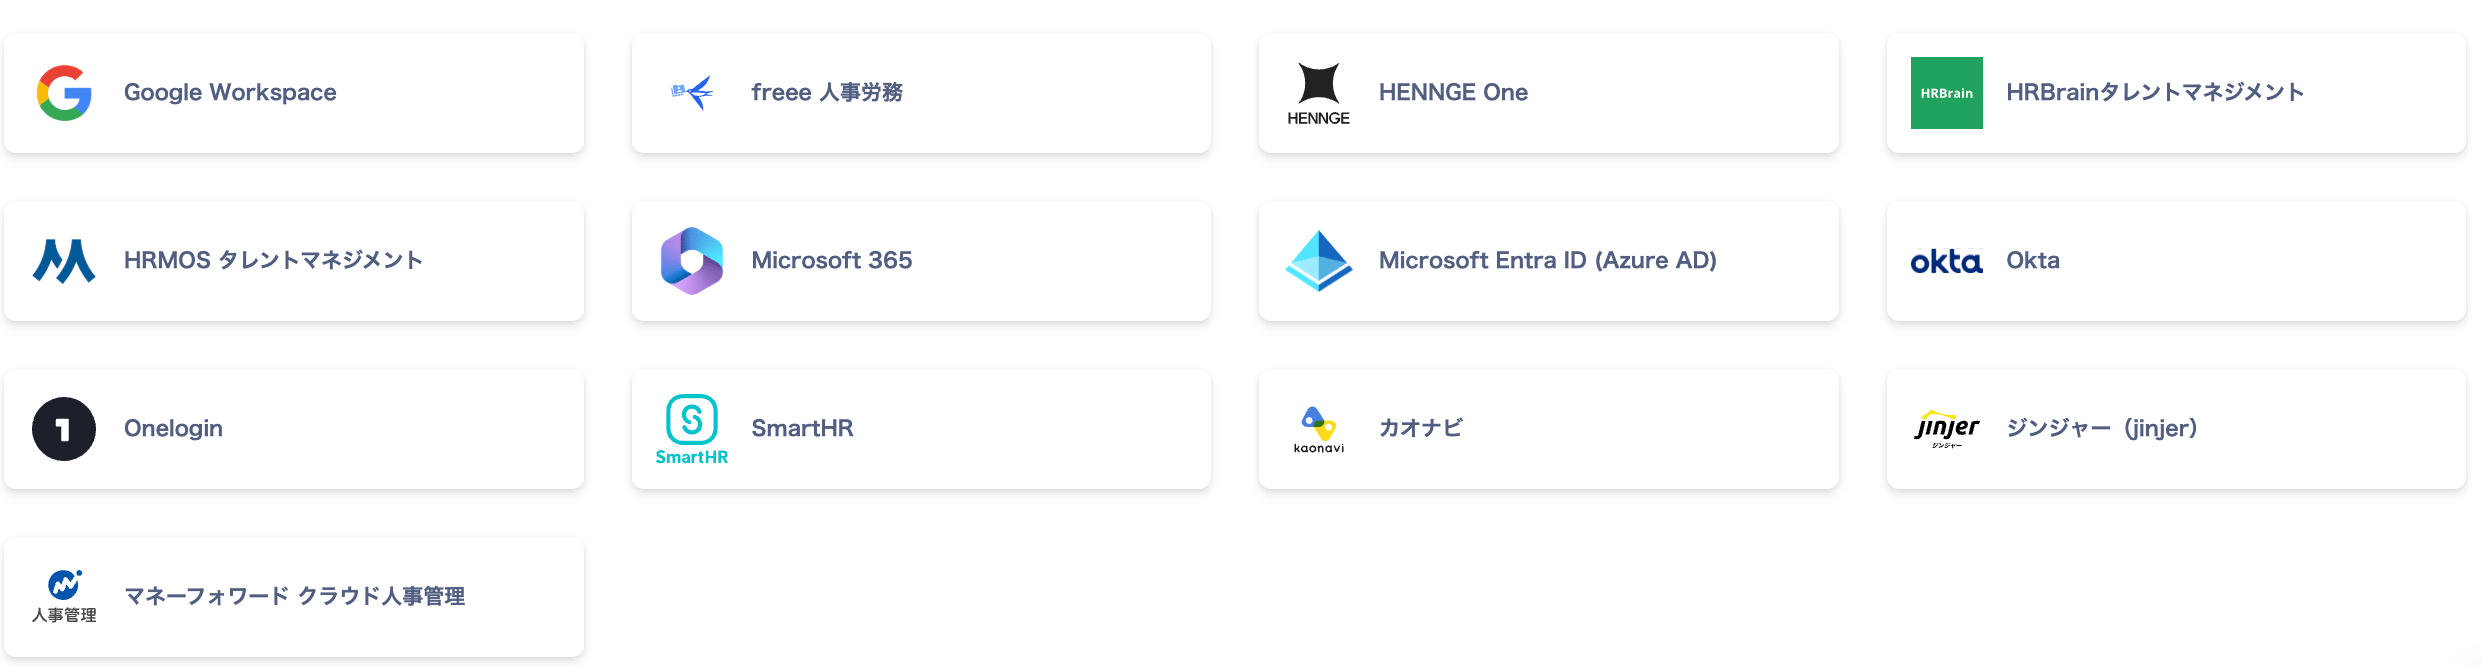
従業員マスター・対応SaaS
従業員マスタとして設定可能なSaaSです。連携手順は各SaaSのリンクからご確認ください。
従業員マスターの設定完了後、[早見表](/it-management/directory/dcrxyhzb39-user-type)の[ID種別](/it-management/directory/nqxa0so8wh-admina-directory)やステータスのラベルが付与されます。(従業員マスタ毎に判定条件が異なります。)
| [Google Workspace](/integrations/n0zl359vup-google-workspace) | [Microsoft Entra ID (Azure AD)](/integrations/3fyaqnp8nn-azure-ad) | [Microsoft 365](/integrations/yp7xi6xpuk-microsoft-365) | [SmartHR](/integrations/zyl6g8sbgx-smart-hr) | [マネーフォワード クラウド人事管理](/integrations/boroq0cc60-moneyforward-employee) | [OneLogin](/integrations/mfo3ap26rr-onelogin) | [Okta](/integrations/5rad7jk230-okta) |
| ------------------------------------------------------------- | ------------------------------------------------------------------ | ------------------------------------------------------- | -------------------------------------------- | ------------------------------------------------------------------- | ------------------------------------------------ | ------------------------------------- |
| [HENNGE One](/integrations/6js8u23p28-hennge-one) | [freee 人事労務](/integrations/phy5i4jwnu-freeehr) | [HRMOSタレントマネジメント](/integrations/4cn6z4acaw-hrmos) | [カオナビ](/integrations/hsz8p8i38g-kaonavi) | [HRBrain タレントマネジメント](/integrations/aegf3040lo-hrbrain) | [ジンジャー(Jinjer)](/integrations/zasbaln1b1-jinjer) | |
## 従業員マスタ - ディレクトリデータの自動連携項目
当サービスのディレクトリデータに自動連携される項目はSaaS毎に異なります。
ディレクトリの詳細は[ディレクトリ画面で情報を管理する](/it-management/directory/nqxa0so8wh-admina-directory)をご覧ください。
データソースを指定する場合は、[「ディレクトリ設定」でデータソースを設定・変更する](/it-management/directory/gqqdb2621q-edit-uid)もご参照ください。
・従業員マスタとして設定したSaaSに値がある場合、ディレクトリデータを上書きします。
・従業員マスタとして設定したSaaSにデータがない(データなし、Nullデータ)場合、
ディレクトリデータを空のデータとして上書きします。
ディレクトリデータを手動で編集しても、ロールバックされるため、従業員マスタに指定したSaaS側で修正してください。
## ドメインの設定
設定 > 組織 > ドメインで登録されたドメイン情報をご確認ください。組織の作成時にプライマリドメインが初期値として登録されます。
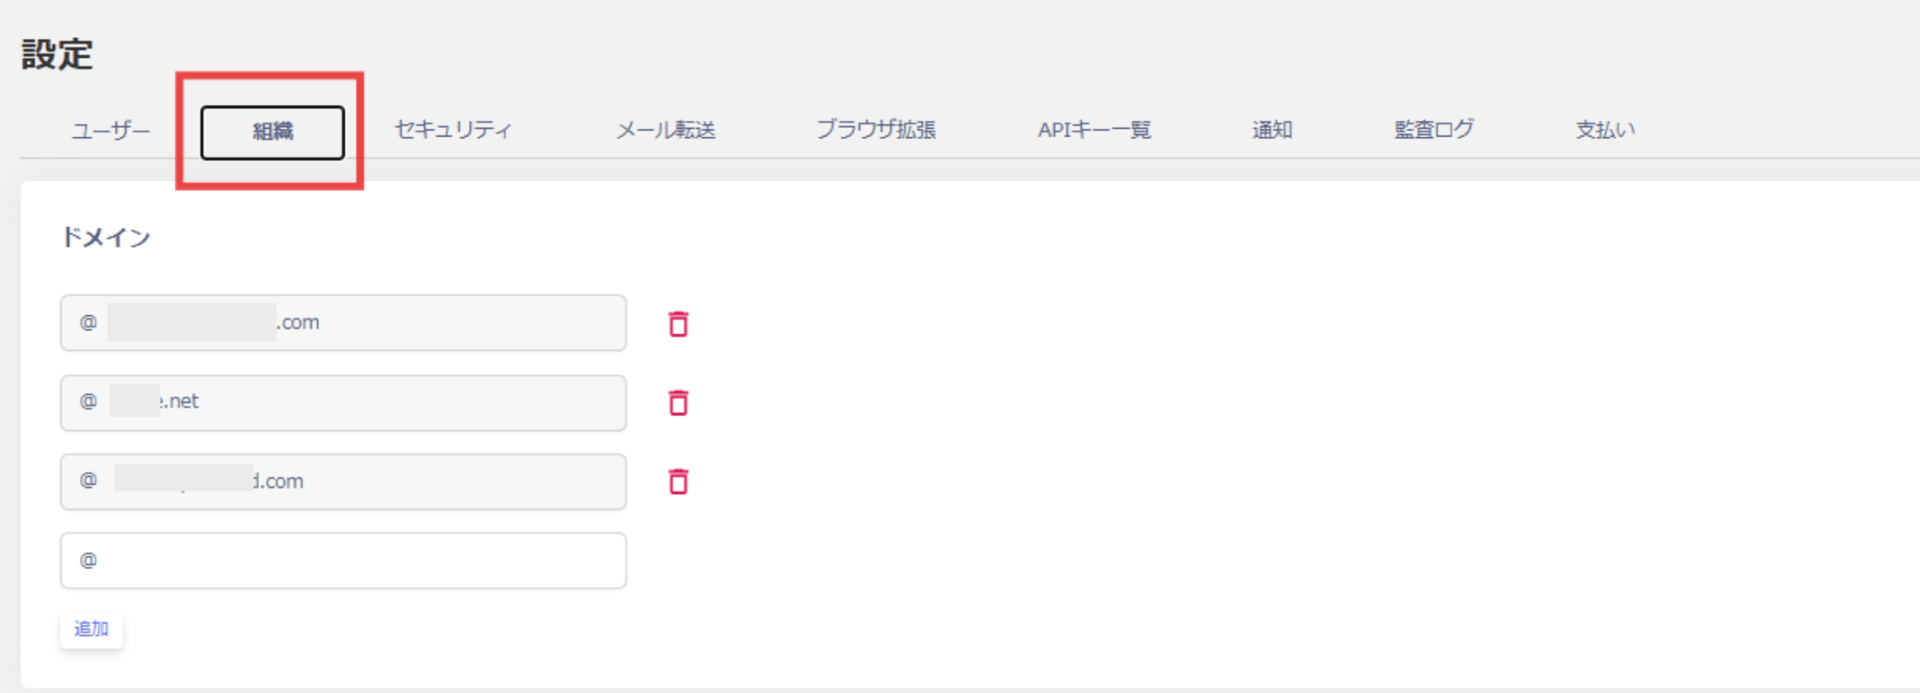 ・従業員マスタと連携した場合のID種別やステータスは[早見表](/it-management/directory/dcrxyhzb39-user-type)をご参照ください。
・ドメインを追加することで、ディレクトリでID種別を変更できます。詳細はディレクトリの[タイプ](/it-management/directory/nqxa0so8wh-admina-directory)をご参照ください。
以下のSaaSを従業員マスタとして連携することで、各SaaSに登録済みのドメインが自動で設定されます。
* [Google Workspace](/integrations/n0zl359vup-google-workspace)
* [Microsoft Entra ID (Azure AD)](/integrations/3fyaqnp8nn-azure-ad)
* [Microsoft 365](/integrations/yp7xi6xpuk-microsoft-365)
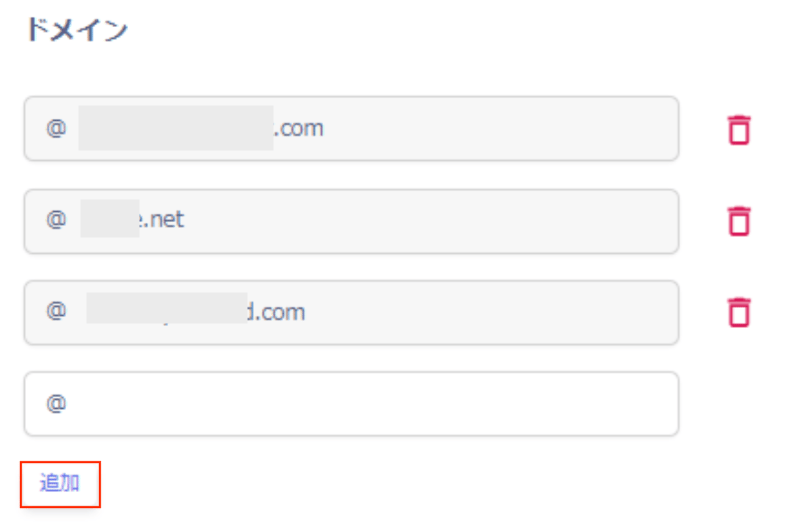
上記以外のクラウドサービスを連携した場合、かつ、ドメインの追加が必要な場合、ドメイン名を入力し[追加]をクリックします。ドメインを削除する場合は🗑をクリックします。
 ## Next Step
次にSaaSを[連携しましょう!](/it-management/tutorial/tdxtlisu9v-4)
## Next Step
次にSaaSを[連携しましょう!](/it-management/tutorial/tdxtlisu9v-4)