Invite Users to This Service
-
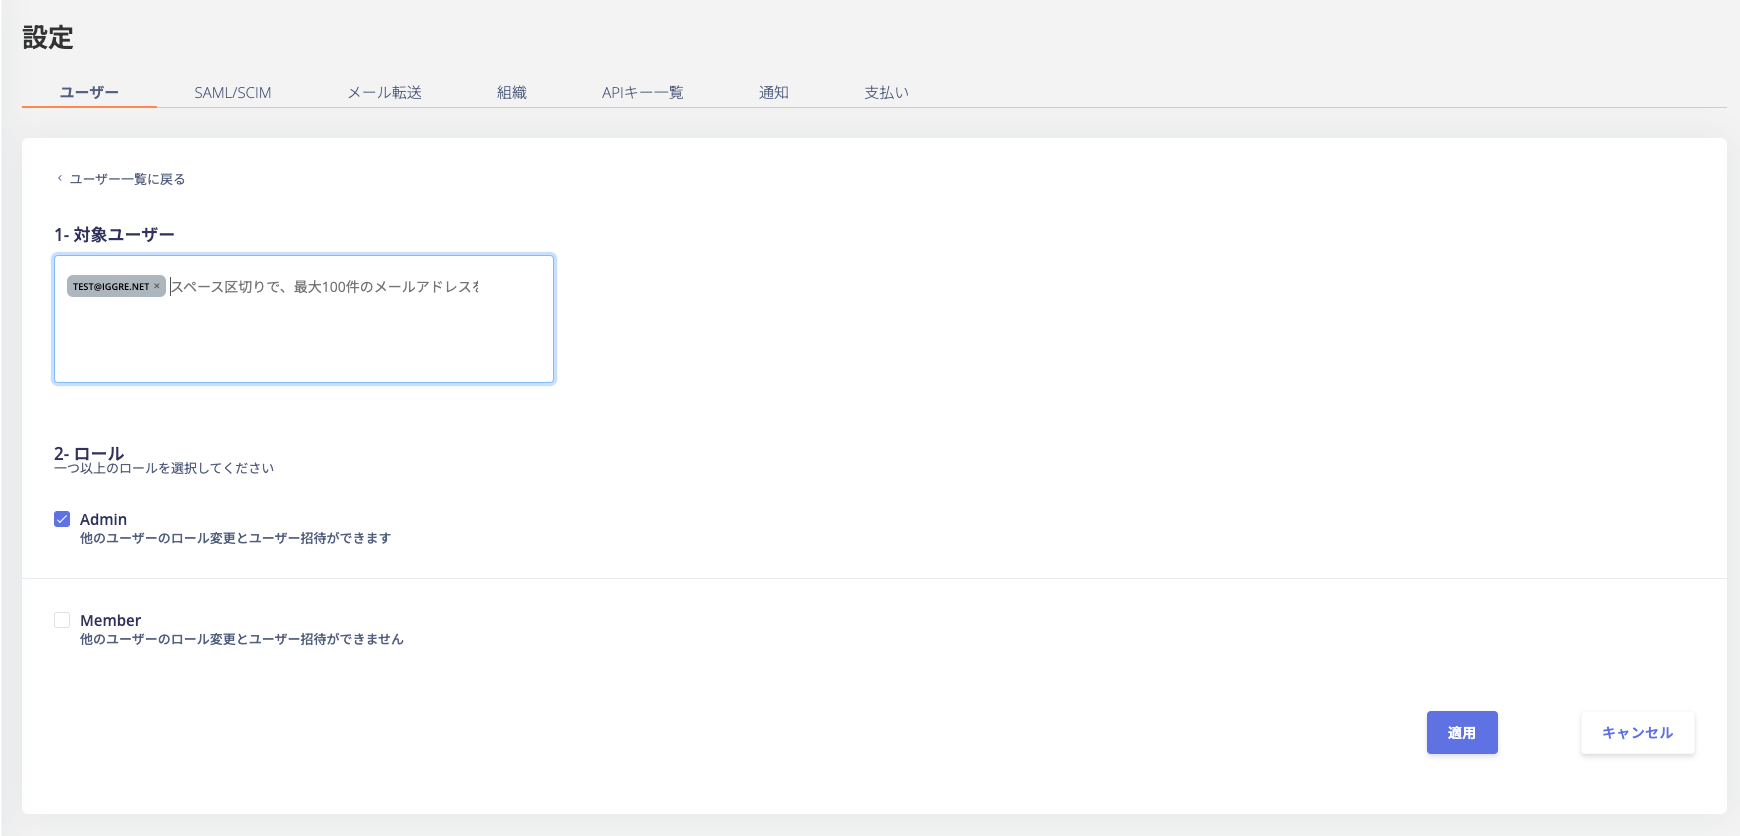
Go to Settings > Users and click [Invite User] in the upper right.

-
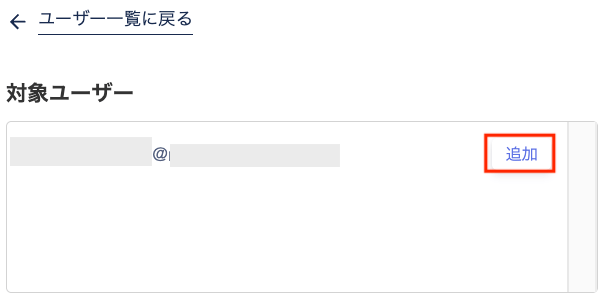
Enter the invited user’s email address in the “Target User” field and click [Add].
-
Select the role to assign and click [Apply]. For role details, see Configure login users and roles.
Check the Invitation Email
-
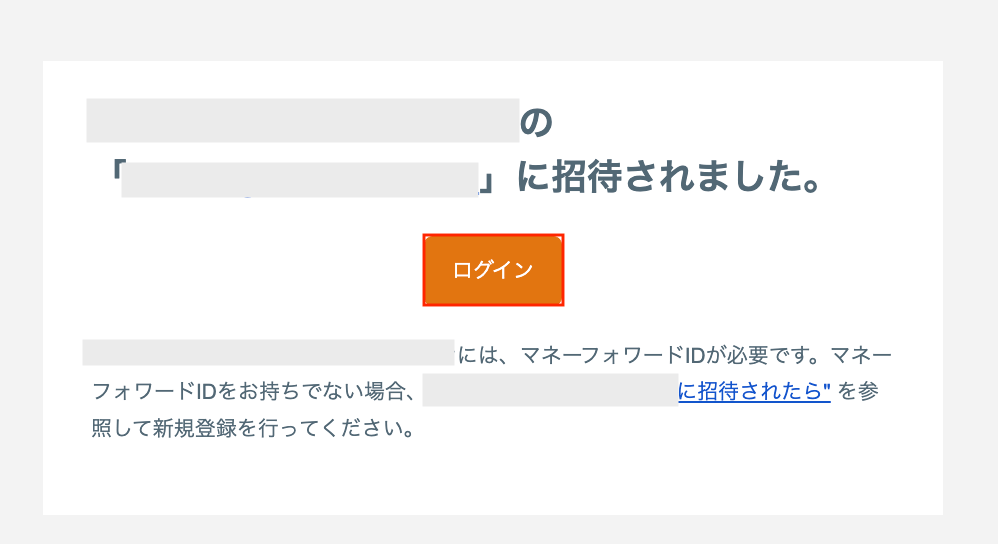
An invitation email is sent to the invited user. Click [Log In] in the email.
-
Enter the invited email address and log in.
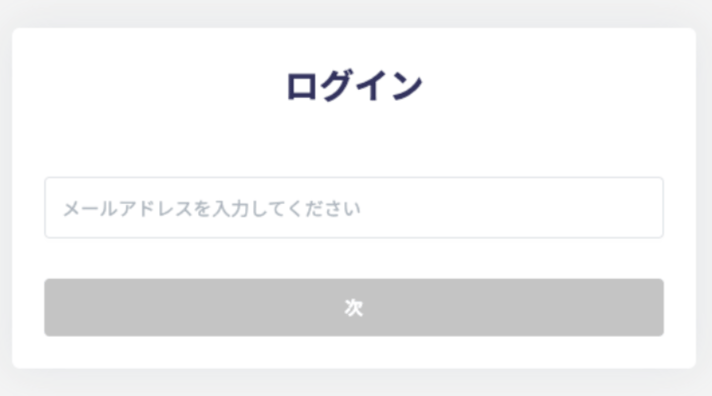
-
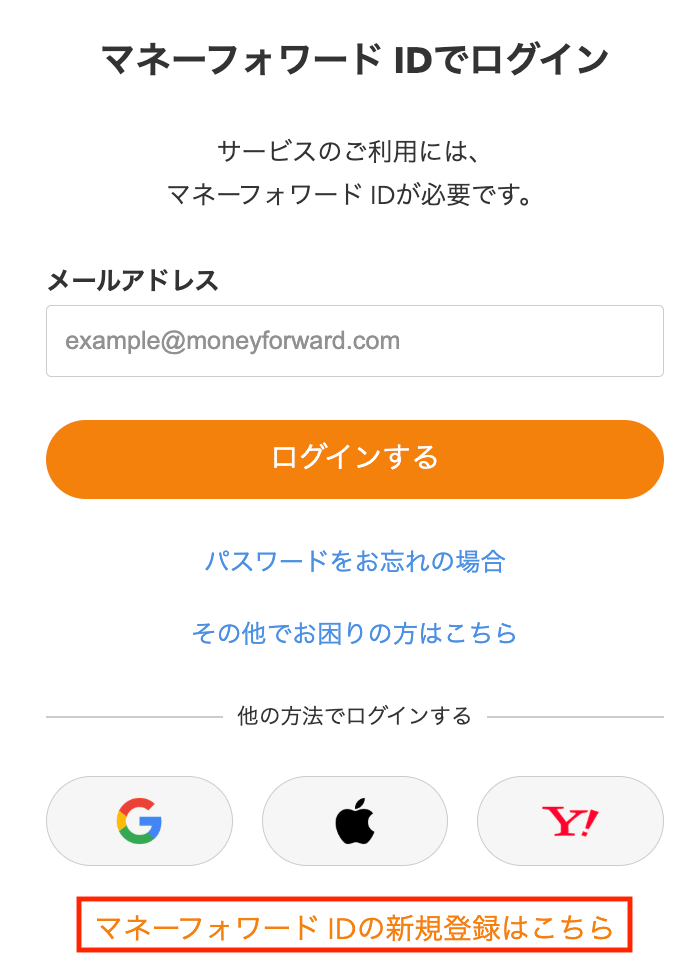
Log in using “Log in with MoneyForward ID” or “Log in with another method.”
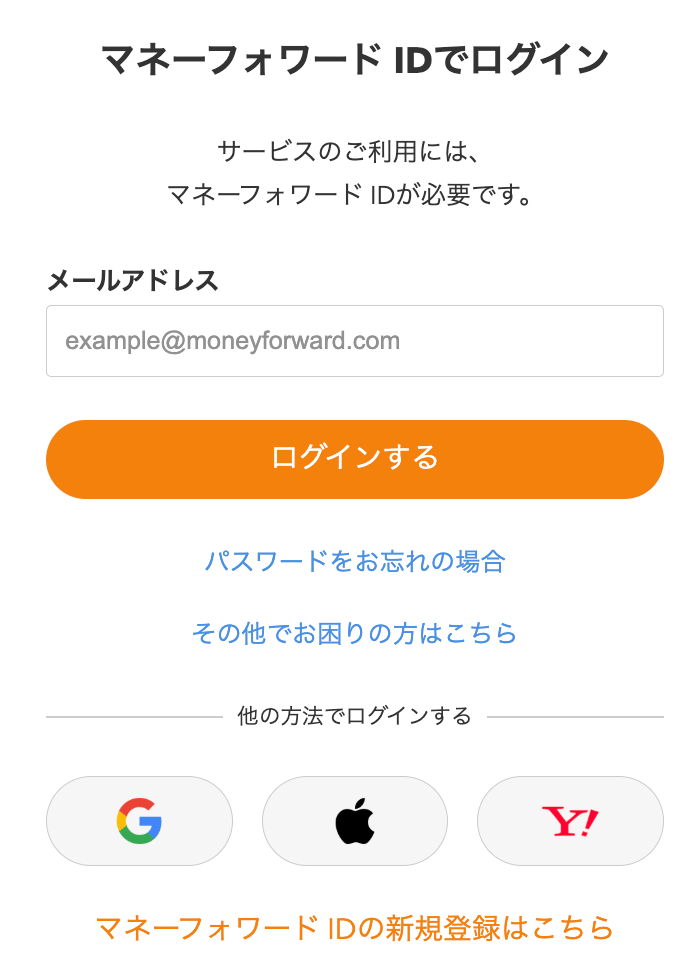
Logging in with MoneyForward ID
-
Enter your email address and click [Log In].
-
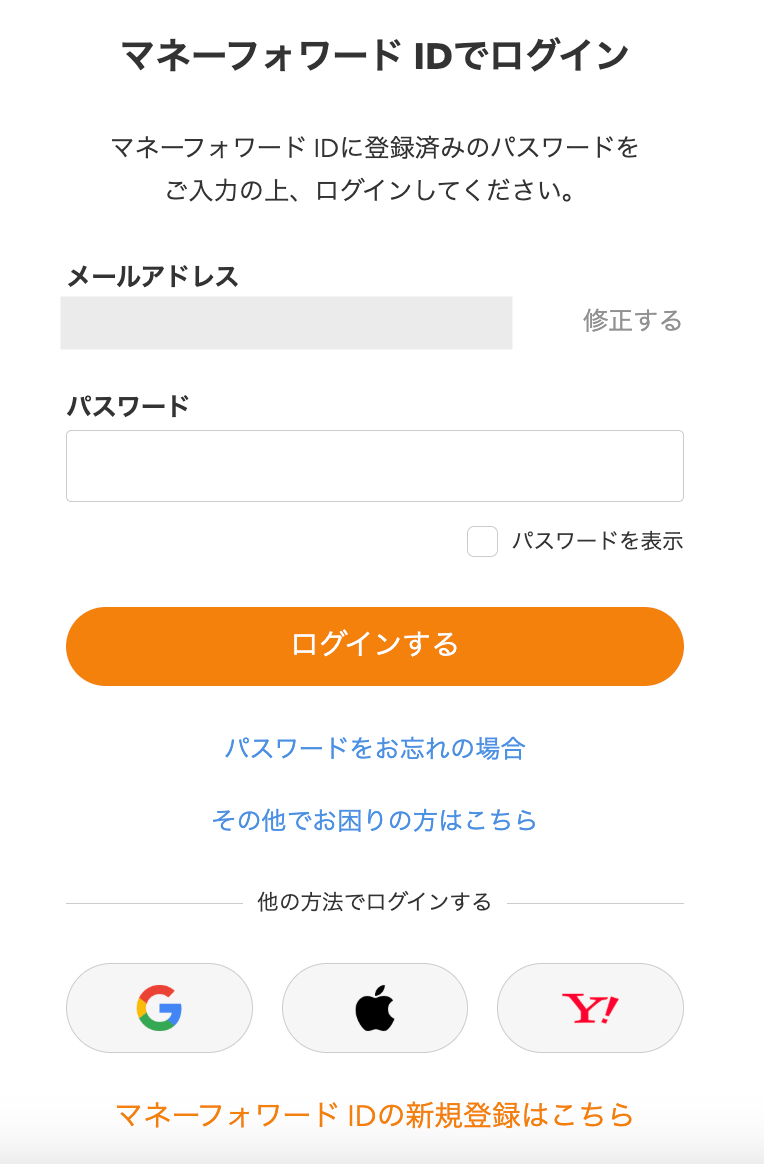
Enter your password and click [Log In].
Logging in with Another Method
Select another method and follow the on-screen instructions to log in.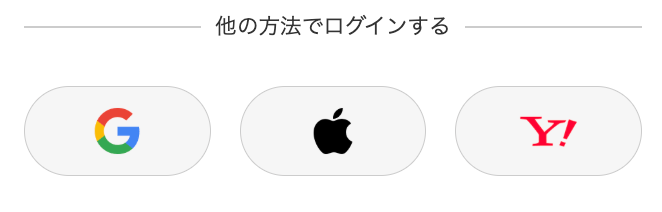
If You Do Not Have a MoneyForward ID
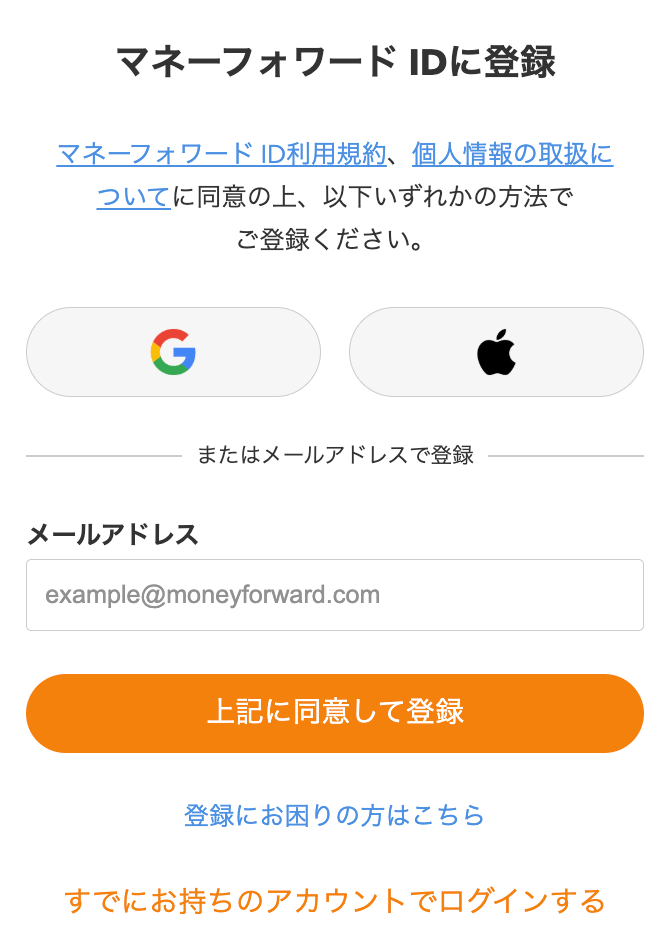
If the invited email address is not registered with a MoneyForward ID, you cannot log in.-
You are on the “Log in with MoneyForward ID” screen. Click “Register a new MoneyForward ID here” to register.
-
Create a MoneyForward ID using one of the methods shown on the next screen, then log in to this service.