Manually merge SaaS accounts (guest or employee) to another employee account, system account, or guest account.When you sync a SaaS, each account is automatically linked to the directory ID with the same email address. In this case, no new ID is created. If you register IDs in the directory before connecting a SaaS, set their email addresses when you register them.Accounts with no email address, or with an email address that matches no directory ID, may not be linked automatically. Merge those accounts by following the steps on this page.
You can use this feature for the following purposes:
SaaS services that cannot retrieve email addresses (e.g., GitHub) produce unknown IDs. Link those accounts to manage offboarding.
Link a guest account with an email domain different from the employee master to the same person’s primary account. This applies when the guest account uses a secondary address.
Example: The employee master uses Google Workspace. Microsoft 365 operates under the “onmicrosoft.com” domain. Link the onmicrosoft.com account to the Google Workspace domain email address for offboarding management.
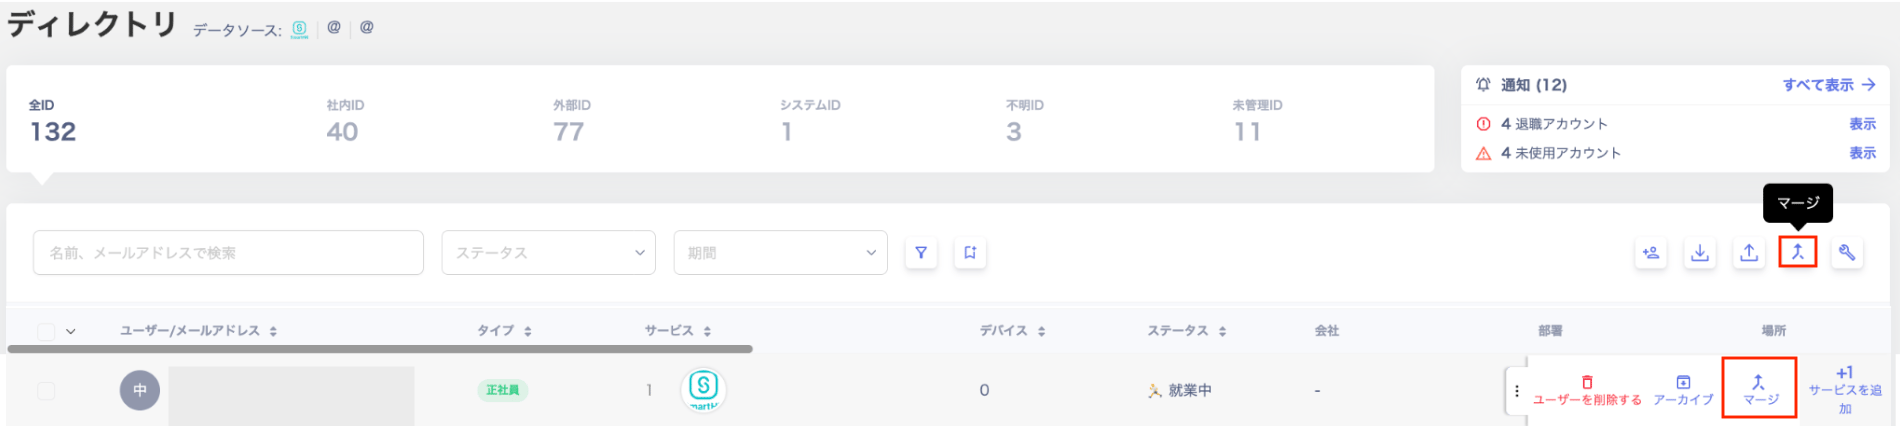
The Directory screen offers two ways to link (merge) accounts.Bulk change: Click [Merge] in the upper right.Individual change: Click the three-dot menu [︙] on the source account, then click [Merge].
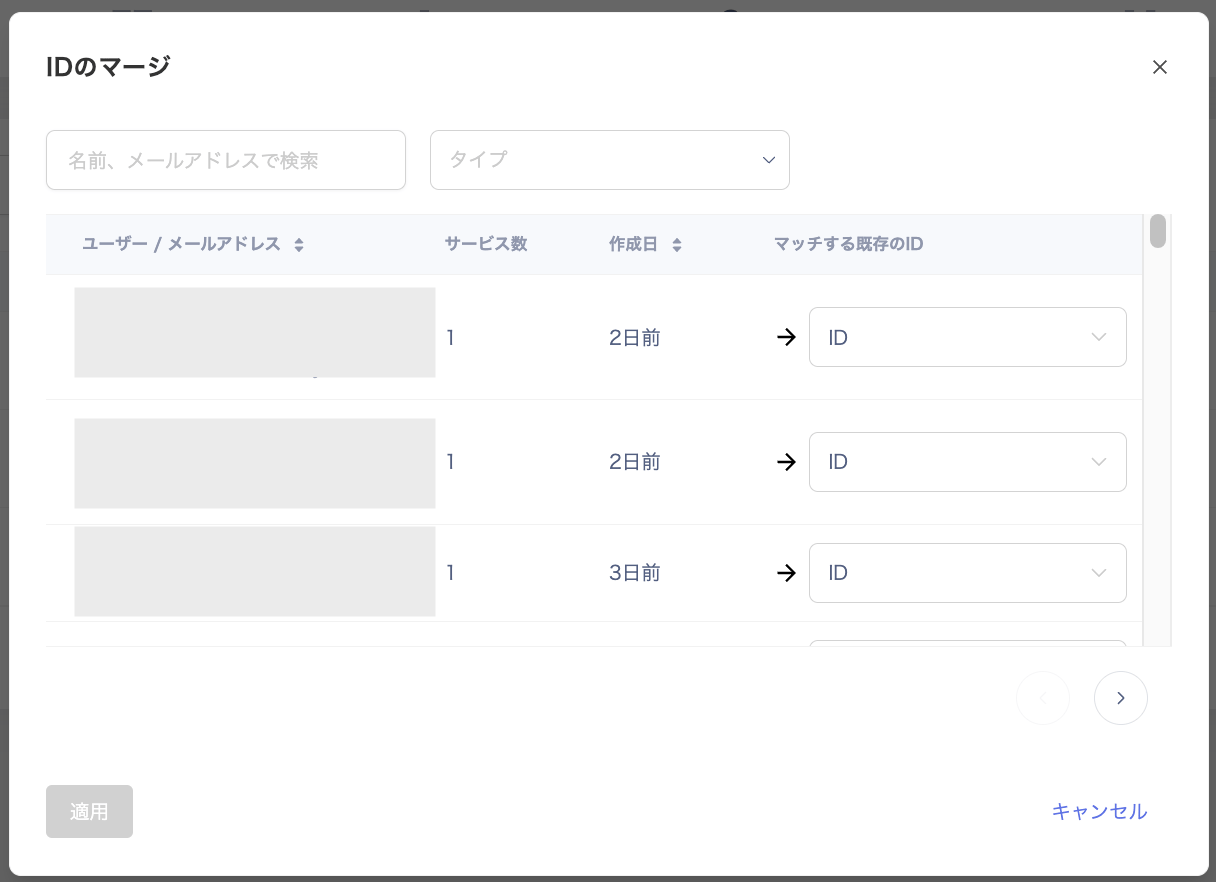
Click [Merge] to open the “Merge IDs” screen. This screen shows the list of mergeable accounts (or the individually selected account).
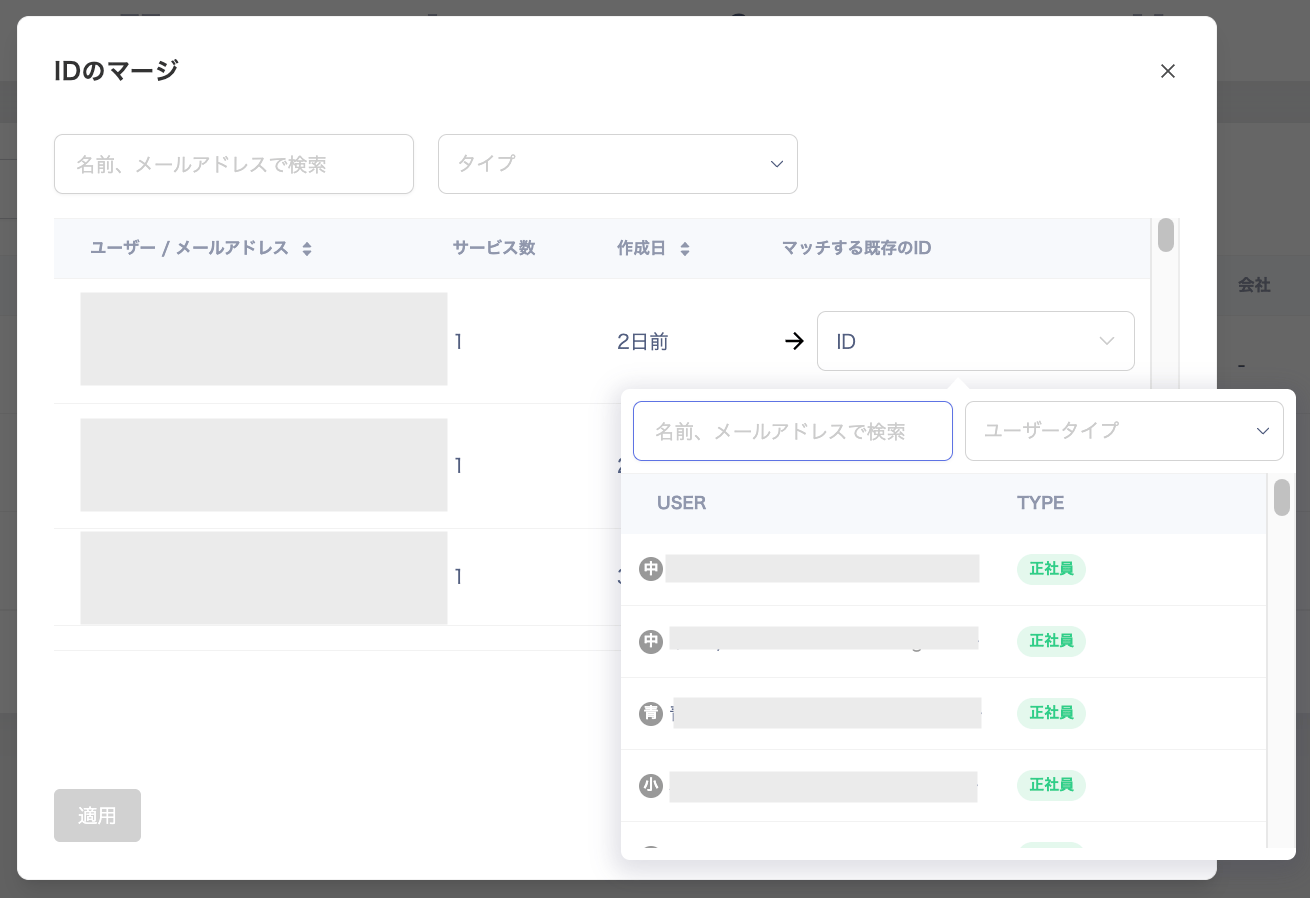
Click an ID in the “Matching existing ID” column to display the target account for linking.The target account list shows up to 50 accounts. Search by name or email address to find the right account.
If the user has multiple email addresses, find the Primary one under Directory > User Info > Email Address. Specify that account as the merge target.
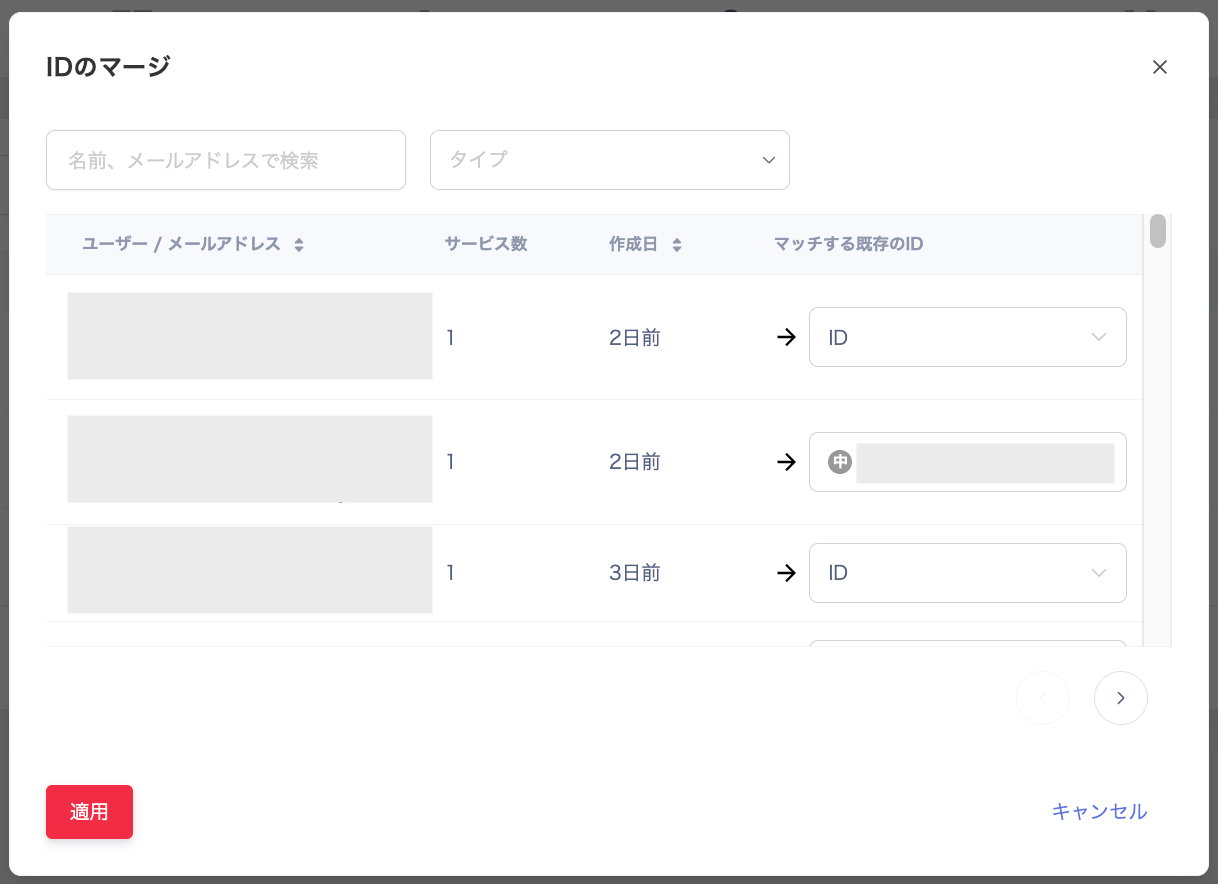
Select the target account and click [Apply].
A confirmation message appears when the merge succeeds.
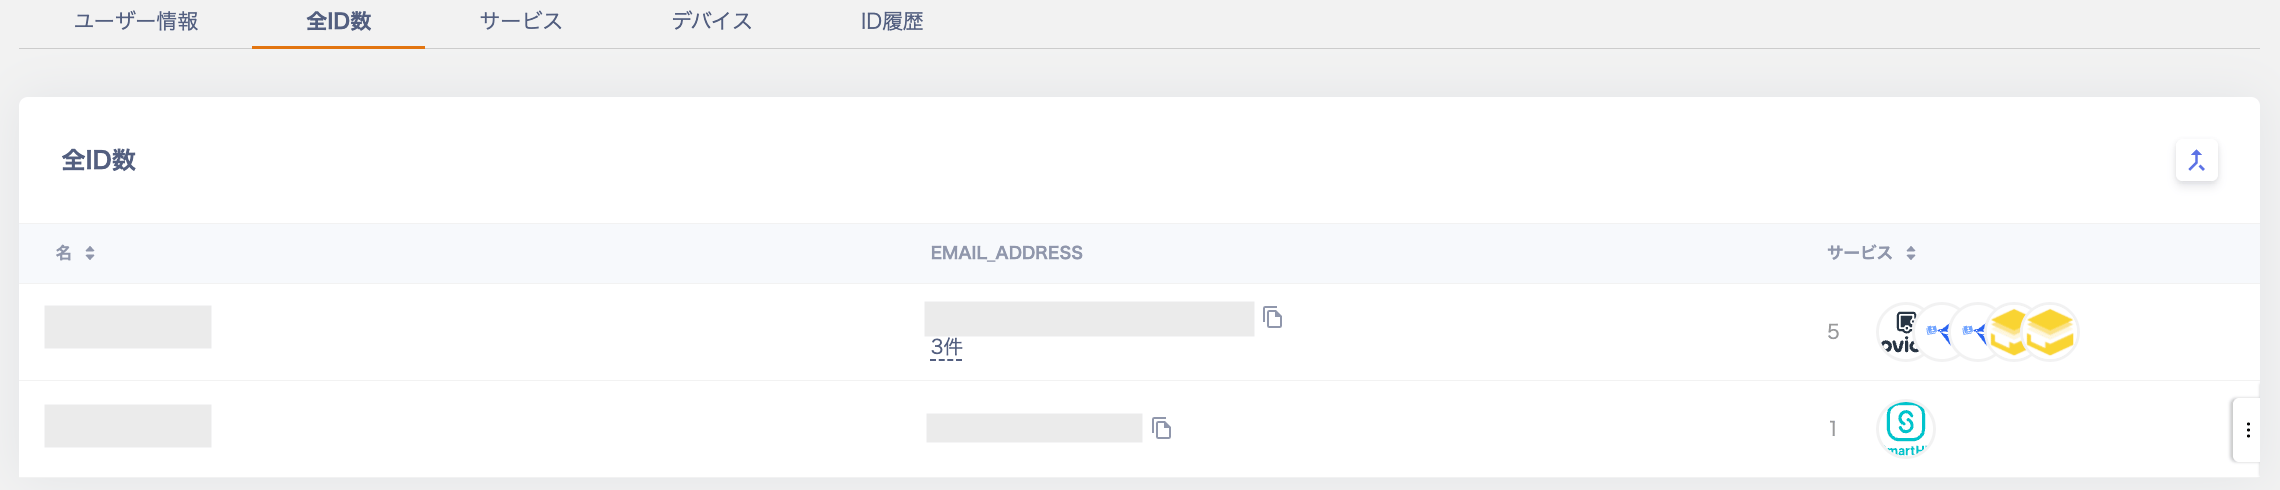
Check the target account in the Directory. After a successful merge, the merged account count appears as “N account(s)”.Click [Total IDs] to view the linked accounts.
Merged accounts no longer appear in the Directory list. Check the source account before merging.
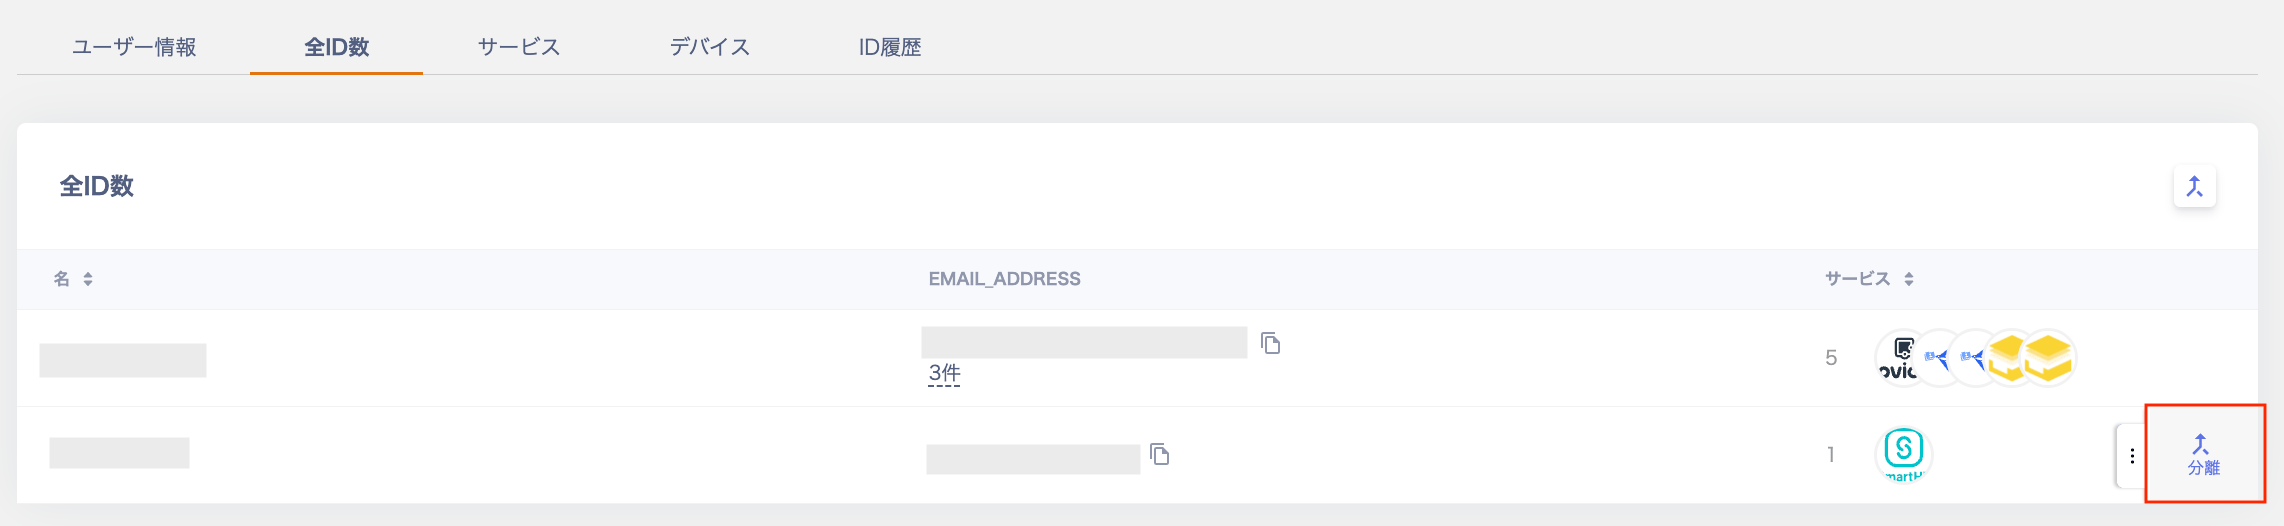
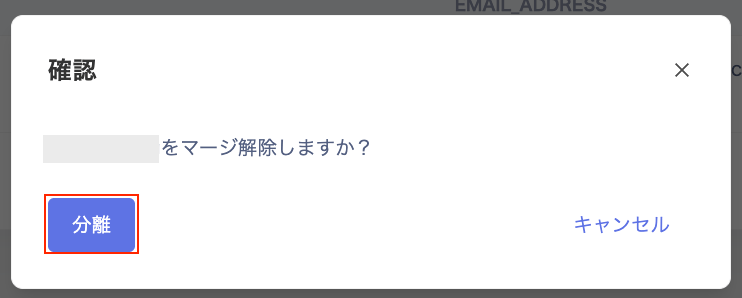
When you remove a merge, the account reappears in the Directory list.
Perform merges and unmerges while the connected SaaS is syncing normally.
The following table shows the ID types that can be used as merge source and merge target for manual linking.
See Supplement 2: Type for details on ID types.
Q. After merging, I try to change the primary/secondary email address. I see “A user with this email address already exists” and cannot proceed.
A. If that message appears after merging, perform an Account separation (unmerge).
Then specify the account to register as Primary under Directory > User Info > Email Address as the merge target. After that, run the merge again.