From the service view, you can register or add new accounts in supported SaaS applications. This page explains how to provision one account for a single SaaS service.
For supported SaaS services, see the “Provisioning” column under “Account Lifecycle” on the Connectable SaaS List. Support for additional services is expanding continuously.
Before registering a new account, go to Integrations > Status and check the integration status of the target SaaS.Some SaaS services require re-linking to grant additional permissions. If the integration status shows an error, you cannot provision accounts. See Troubleshoot / Re-link: Failing to Connect with a Cloud Service. Complete the re-linking process, then confirm the integration status is healthy before trying again.
Follow these steps to provision one account for a SaaS service.
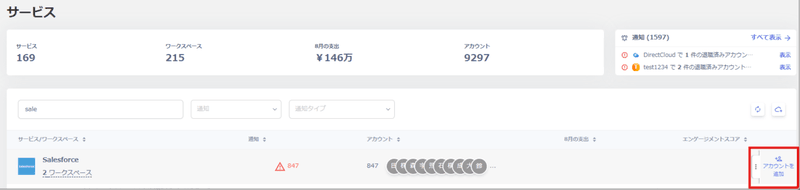
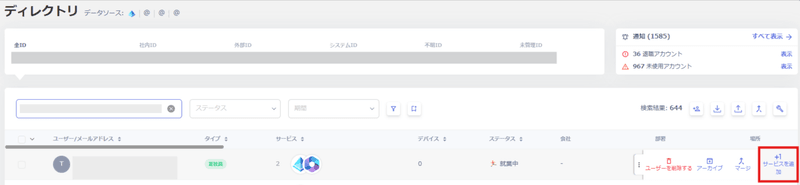
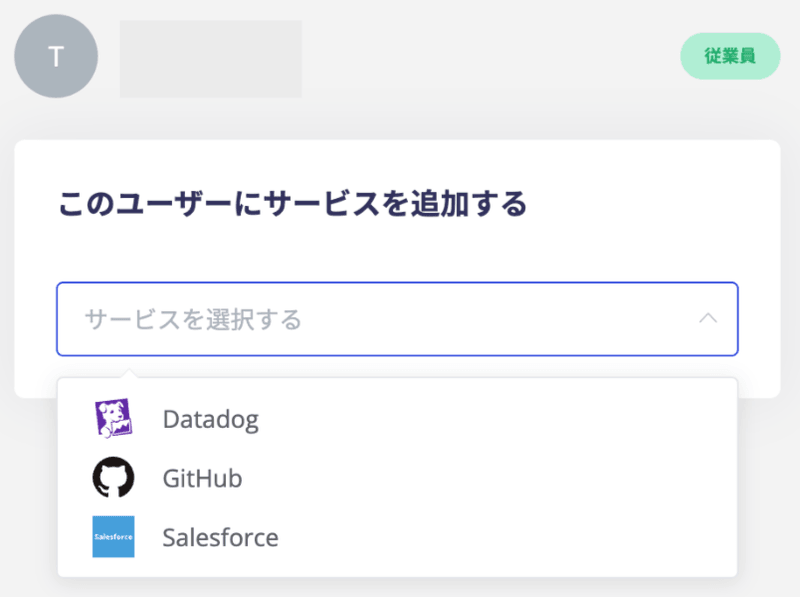
Go to Services, select the service, click the three-dot menu [︙] at the far right, and then click Add Account.
Note: The [Add Account] button only appears for services that support this feature. See the Connectable SaaS List for details.
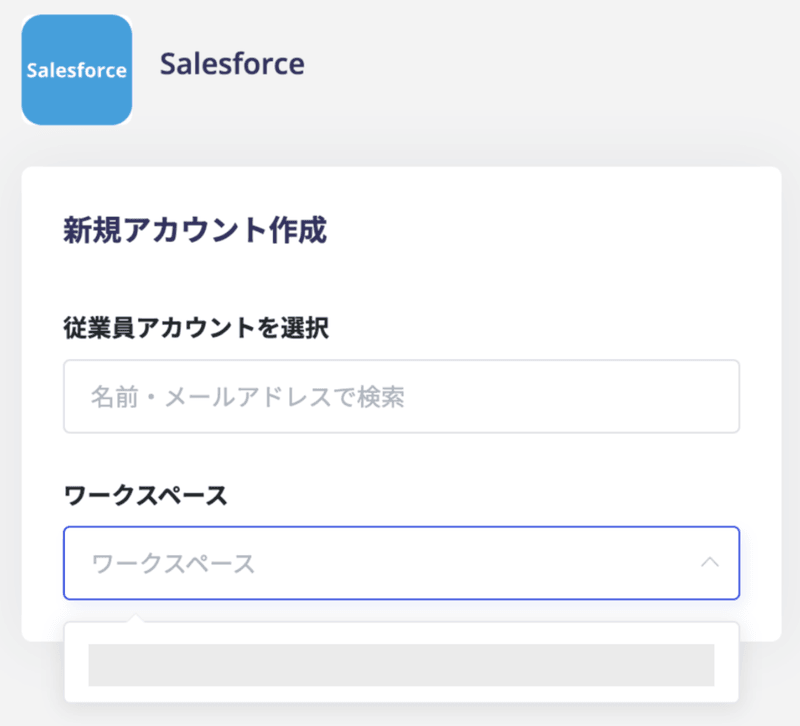
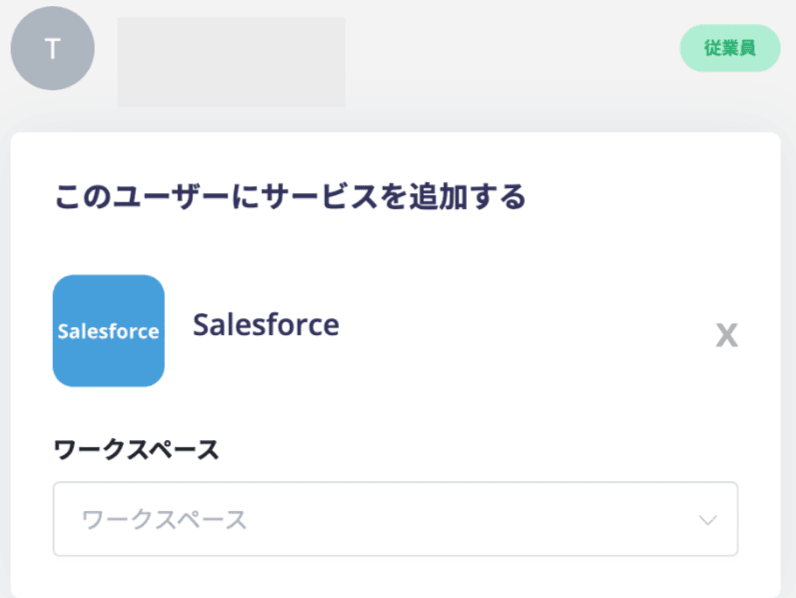
Select the workspace to add the account to. To add the account to an existing employee account, select the employee from Select Employee Account. For a brand-new registration, select only the workspace without choosing an employee.
Note: For custom apps, you cannot select a workspace.
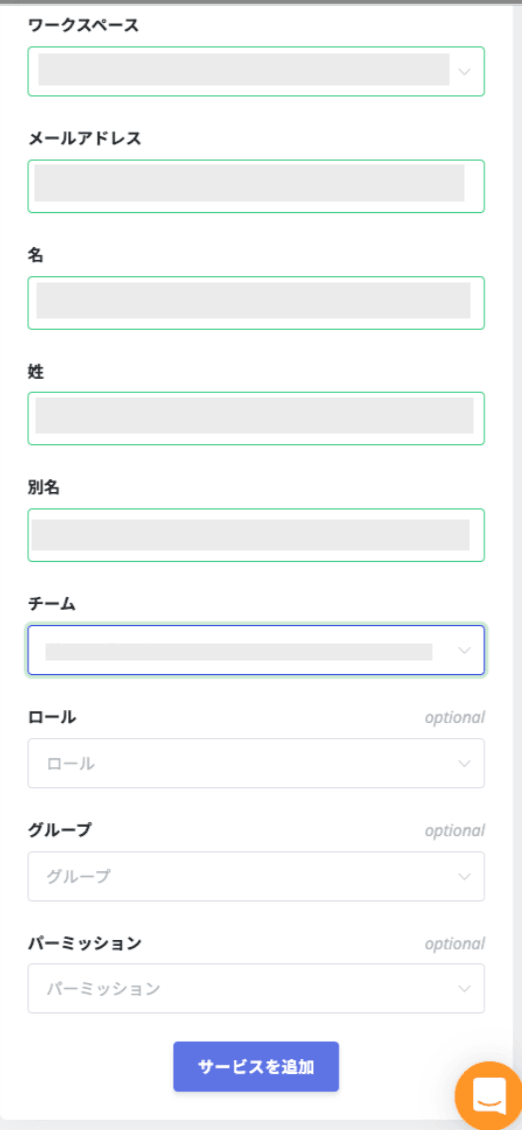
Fill in the required fields for the new account and click the Add Service button.
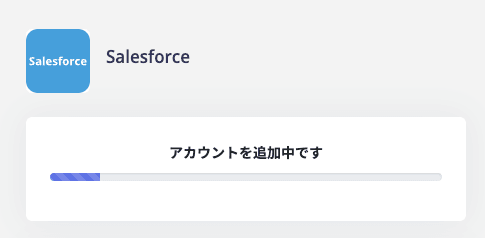
Confirm the account addition.
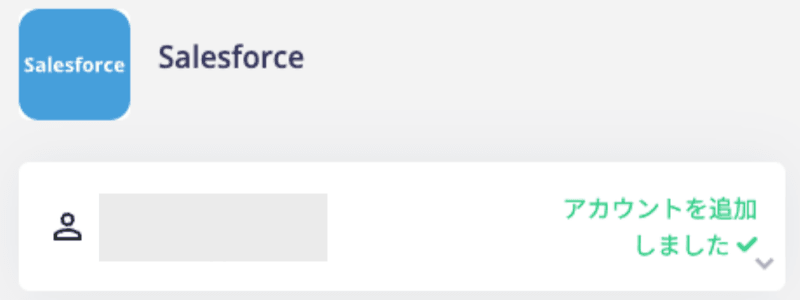
When registration completes successfully, a confirmation screen appears.
If it fails, an error message explains the cause — follow the instructions to resolve the issue.
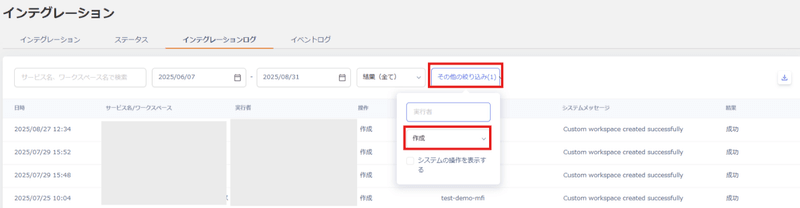
Confirm that the provisioned account appears in the SaaS service’s own interface.You can also check the result under Integrations > Integration Logs by filtering with Other Filters > Created.