

Choose an installation method
Windows solo setup
Download the installer from the console and install it manually on an individual Windows device.
Deployment via Microsoft Intune
Deploy Admina Tracker across Windows devices in your organization using Microsoft Intune.
Requirements
Required permissions
Admina Tracker requires the following permissions:- No admin rights needed: Administrator privileges (UAC) are not required for solo setup or Intune deployment.
- Per-user execution: Each user installs and runs the agent under their own standard account permissions.
Installed resources
Installing Admina Tracker creates the following resources on the computer:Processes
Both run as background processes with user permissions.
Folders and files
Scheduled tasks
Two tasks are registered in Windows Task Scheduler for each user and start automatically at logon:AdminaTracker-<username>AdminaTracker-<username>-Updater
Registry
How configuration values are resolved
The agent checksApiKey, OrganizationID, and UserEmail in the following priority order. It uses the first value found:
For how to deploy
USEREMAIL (priority 5), see the guide for your deployment method:
- Microsoft Intune (Step 3: Deploy the email address script)
- Group Policy (GPO) (3.5 Logon Script — USEREMAIL environment variable)
Policies settings are where configuration profile values deployed via Microsoft Intune are written. Tracker supports two ways to supply the address. One is %USEREMAIL% in the ADMX UserEmail field (priority 1–2). The other is HKCU\Environment\USEREMAIL, read directly (priority 5).
Automatic updates
Admina Tracker supports automatic updates. When a new version is available, it updates automatically in the background. No manual update is required. By default, it checks for updates about every 15 minutes.Checking operation
Log file locations
Admina Tracker logs are saved in the following directory. Check these log files when investigating issues or contacting support.
Logs rotate daily and the last 14 days are retained.
Check status
Run the following commands in Command Prompt or PowerShell to check the agent diagnostic state and connectivity. They use the full path so that they work right after installation and on devices deployed via Microsoft Intune. In Command Prompt:The standalone installer adds the install folder to the
PATH environment variable, so in a newly opened terminal you can also run the short form, such as admina-tracker status. Devices deployed via Microsoft Intune do not get the PATH entry.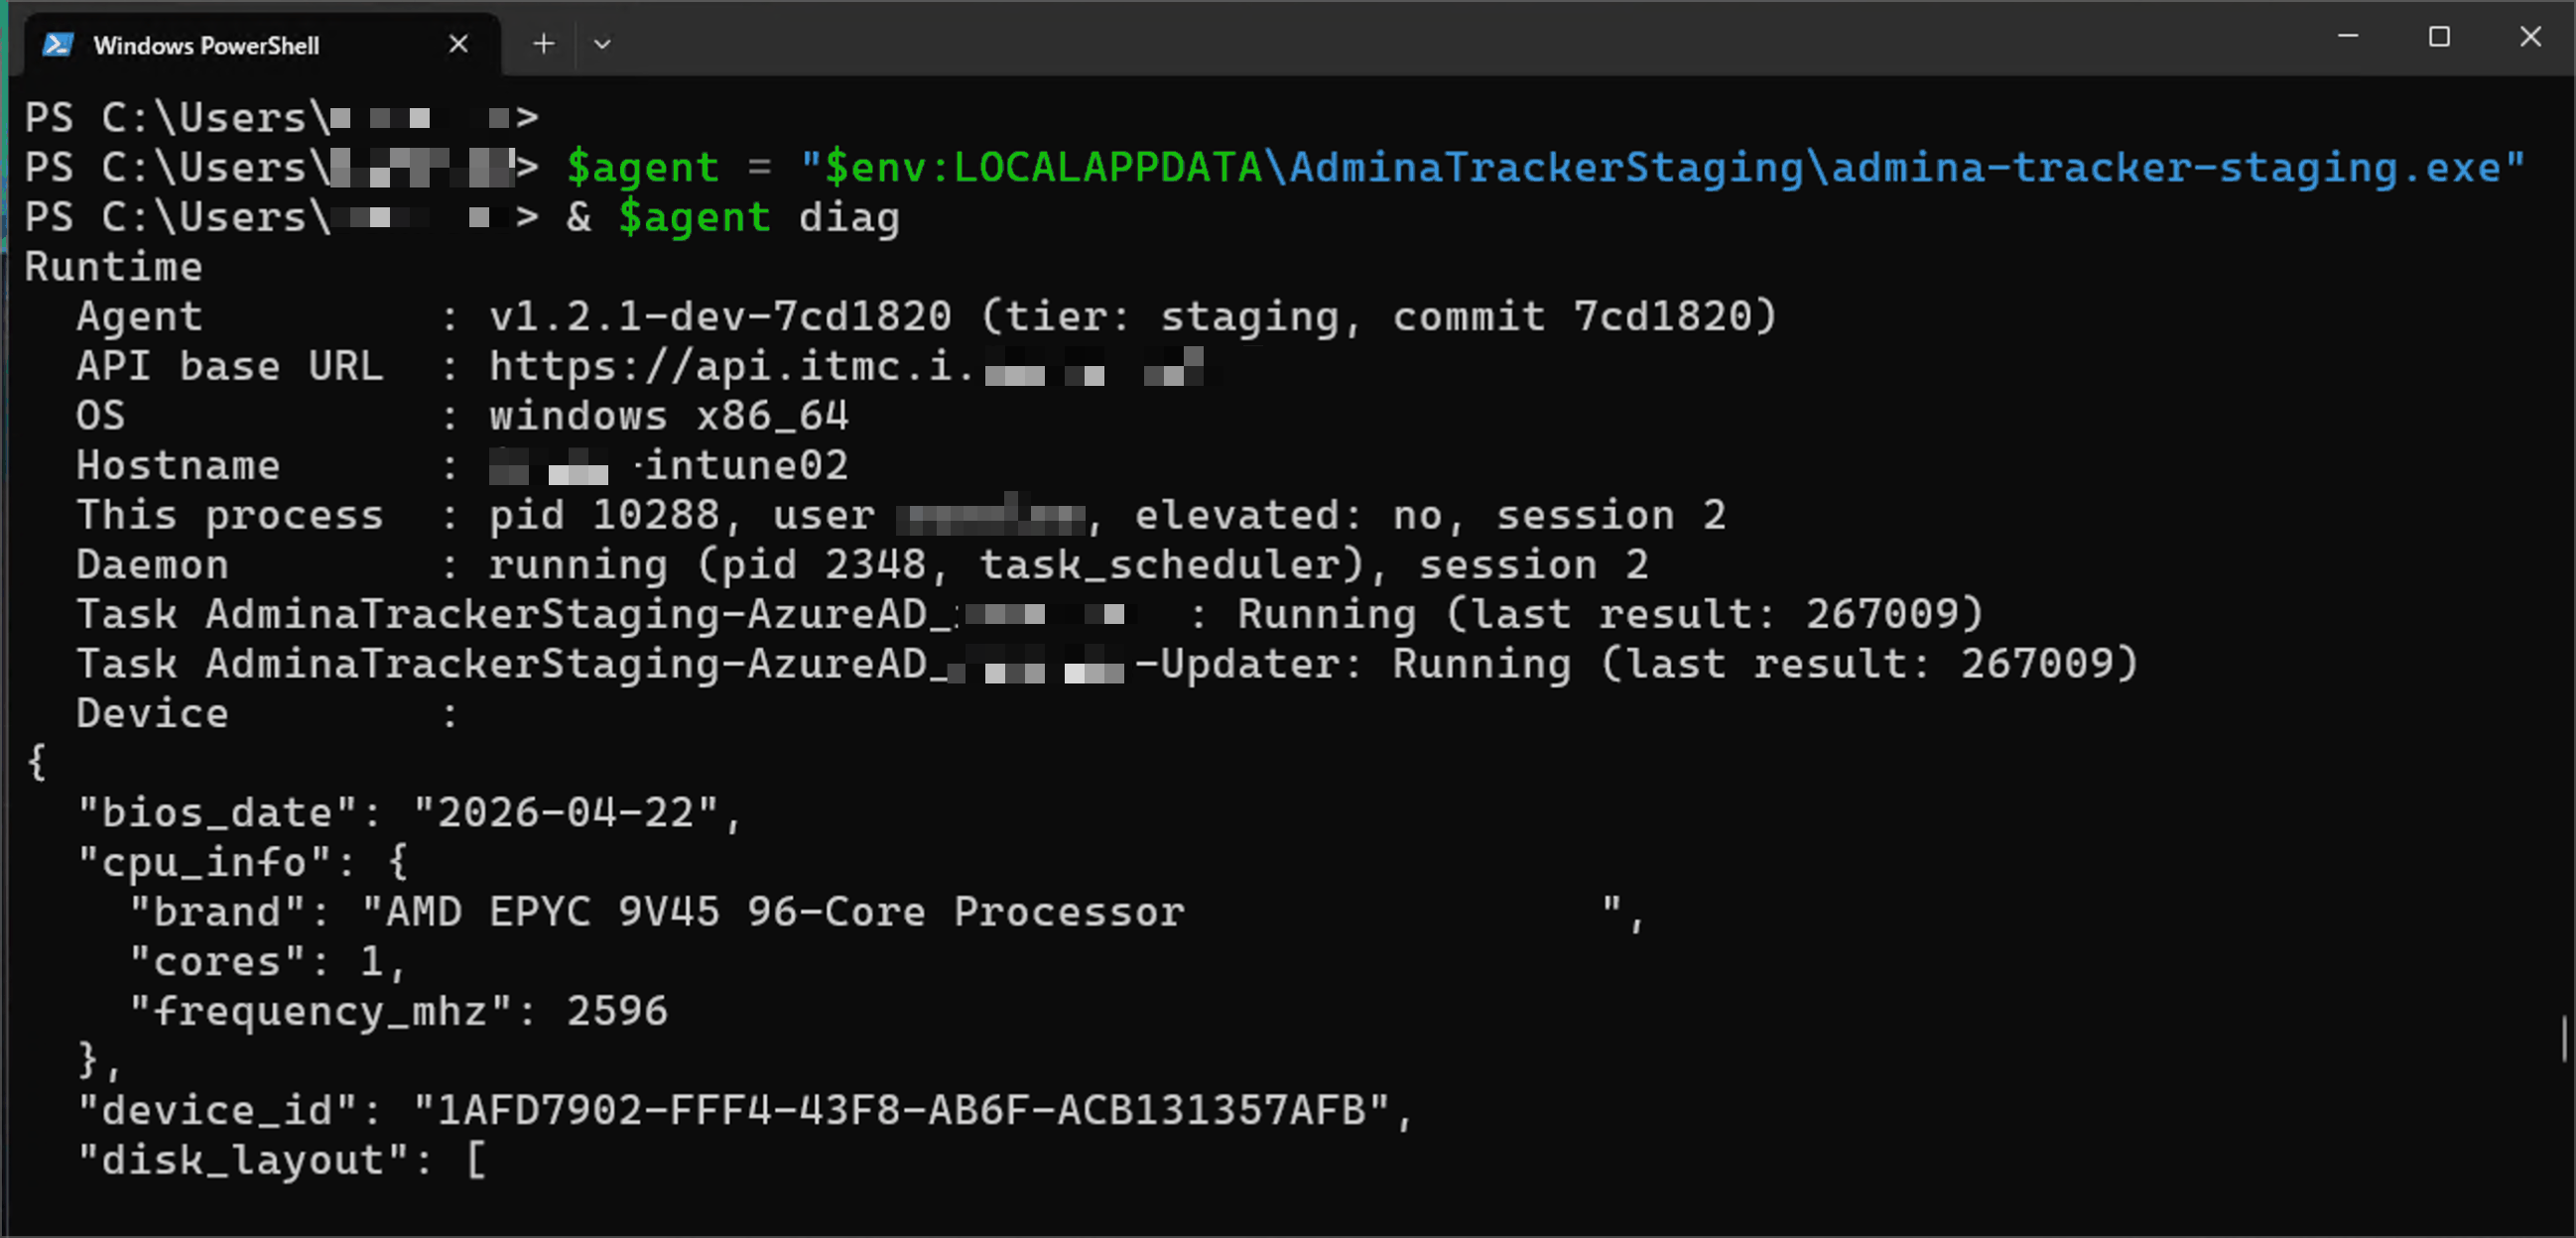
Running diag on Windows
Frequently asked questions (FAQ)
Can employees uninstall the agent on their own?
Uninstalling locally via Windows “Apps & features” is possible. However, this does not stick when Admina Tracker is deployed with a Required assignment in Microsoft Intune. By default, the Intune management agent re-evaluates the assignment roughly every 8 hours. If it detects that the agent is missing from a targeted device, it reinstalls the agent automatically. So even if the agent is uninstalled temporarily, it is restored automatically at the next evaluation. To reapply immediately, open PowerShell as an administrator on the target device and run:API key errors
Admina Tracker has stopped
Admina Tracker starts automatically via Windows Task Scheduler:- Both the agent and updater start automatically upon logon via scheduled tasks. No administrator privileges required.
& and replace %LOCALAPPDATA% with $env:LOCALAPPDATA.
If support requests logs
If requested by support, collect log files from%LOCALAPPDATA%\AdminaTracker\logs\ and send them.