

Add IDs
You can add IDs to the Directory individually or via CSV import.Create a new ID
Follow these steps to add an ID individually.-
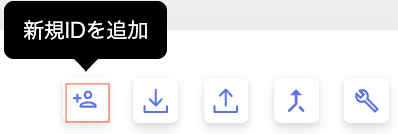
Click Add new ID in the upper-right corner of the Directory screen.
-
On the Create new ID screen, enter each item, then click Apply.
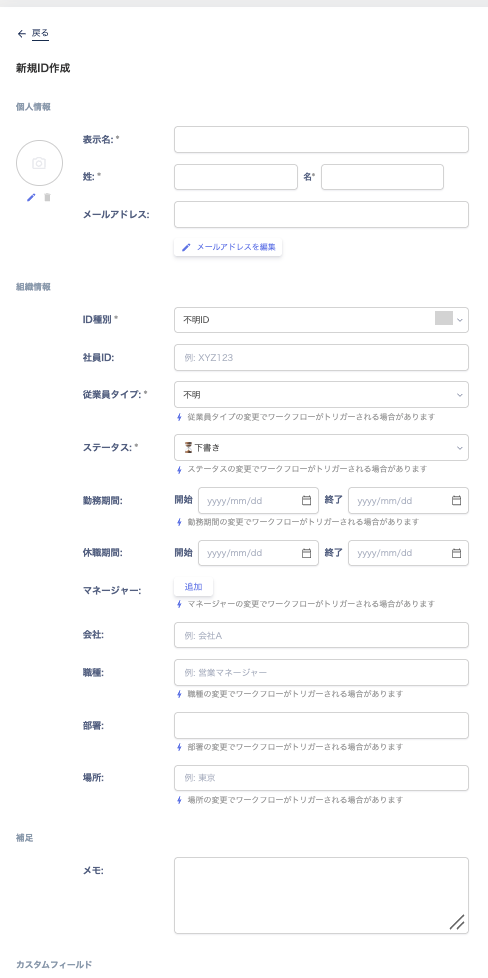
- The registered ID appears in the Directory list.
If you create an ID without an email address, it is not merged automatically when the same employee’s service account syncs later from the employee master (such as Google Workspace). The service account synced from the employee master is registered as a separate ID, so the same person appears as two IDs. Confirm that they are the same person, then link (merge) them manually. For details, see Manually merge SaaS accounts.
Edit IDs
-
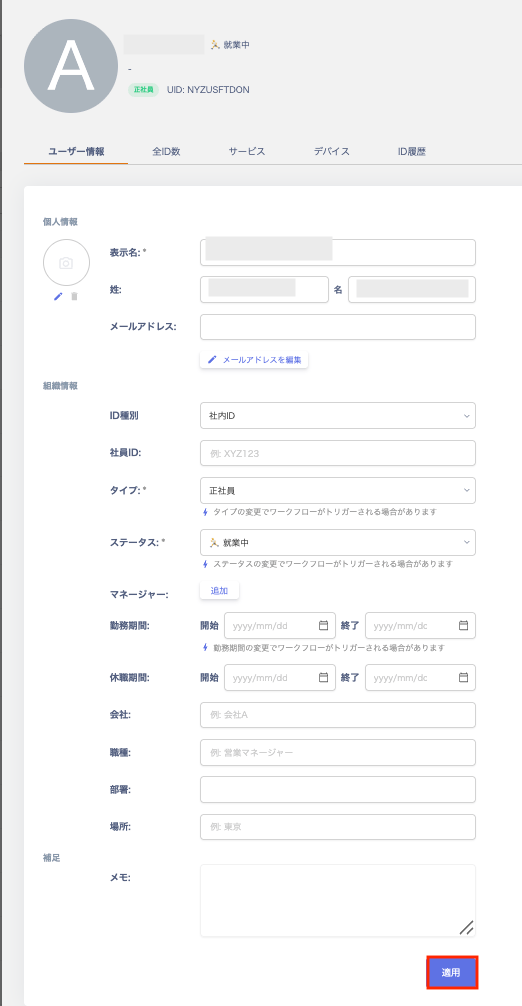
Go to Directory, select an ID, and edit the fields on the User Information tab.
-
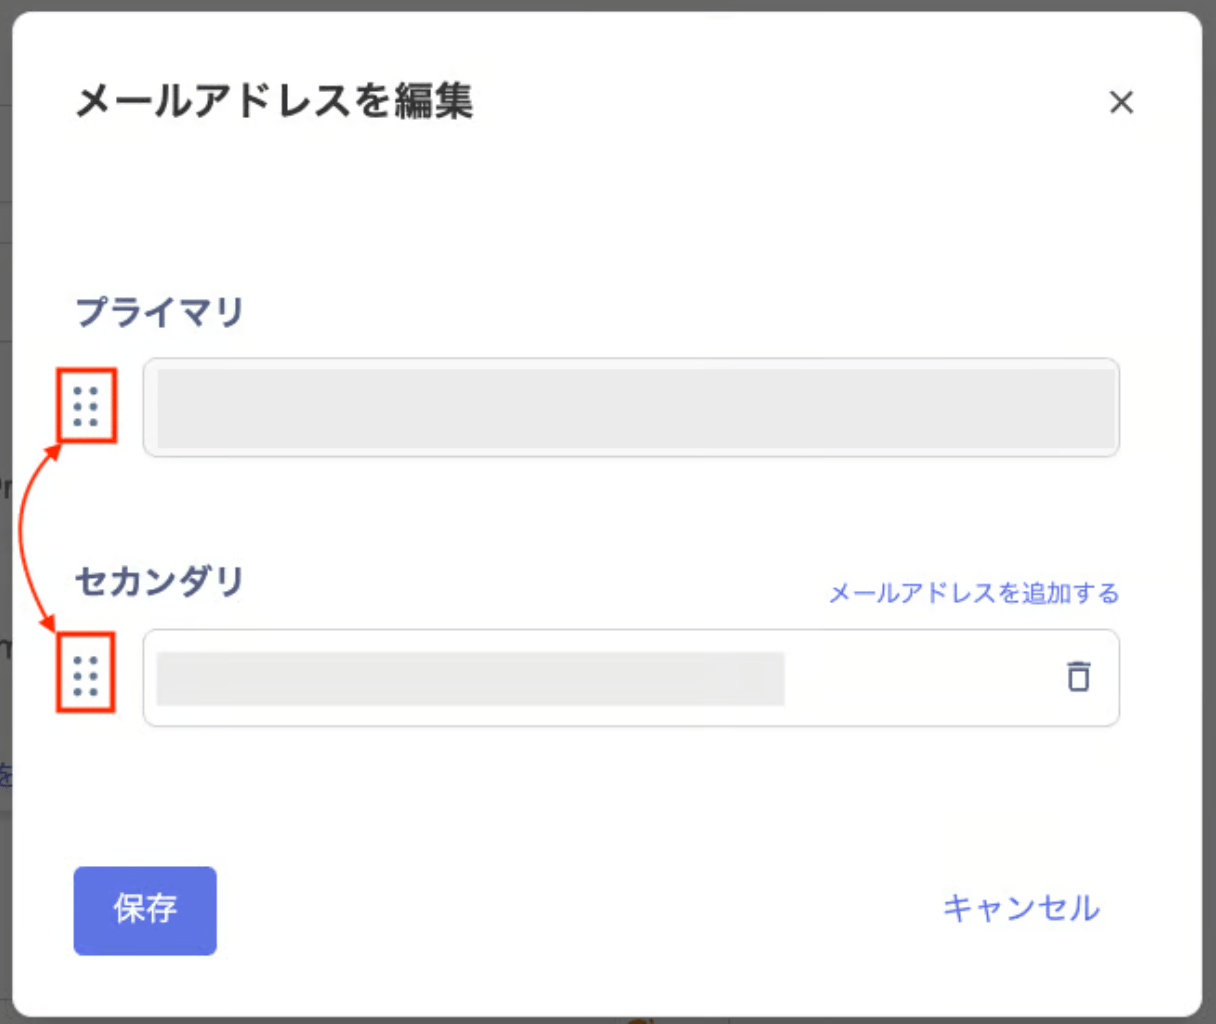
To edit an email address, go to User Information > Email address and click Edit email address. Edit the address on the Edit email address screen. To swap the primary and secondary addresses, use the up/down buttons on the left side. After editing, click Save.
-
To edit an email address, go to User Information > Email address and click Edit email address. Edit the address on the Edit email address screen. To swap the primary and secondary addresses, use the up/down buttons on the left side. After editing, click Save.
- Click Apply after making your edits.
Delete IDs
Archive
-
To hide unnecessary IDs, click ︙ (three-dot menu) in the Directory list and select Archive. You can archive IDs with 0 linked services.

-
A confirmation screen appears. Click Archive.
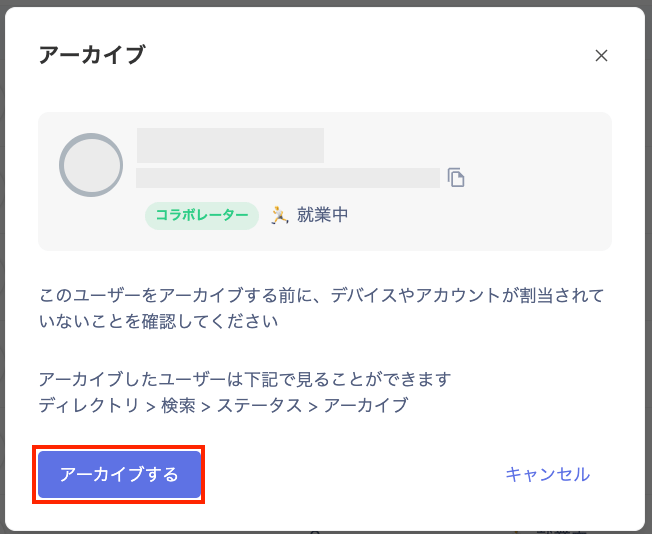
-
Click Confirm to complete the archive.
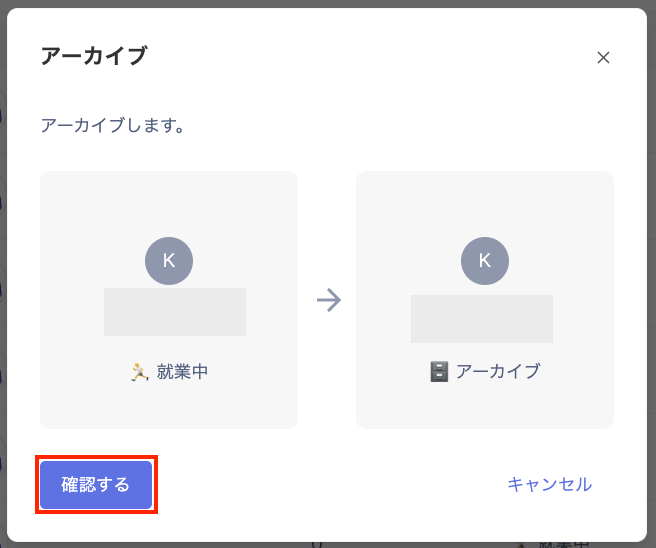

Delete
This permanently removes IDs from the Directory. Note that deleted user information no longer appears and cannot be recovered.-
Click ︙ (three-dot menu) in the Directory list and select Delete user.

-
A dialog appears. Click Delete user.
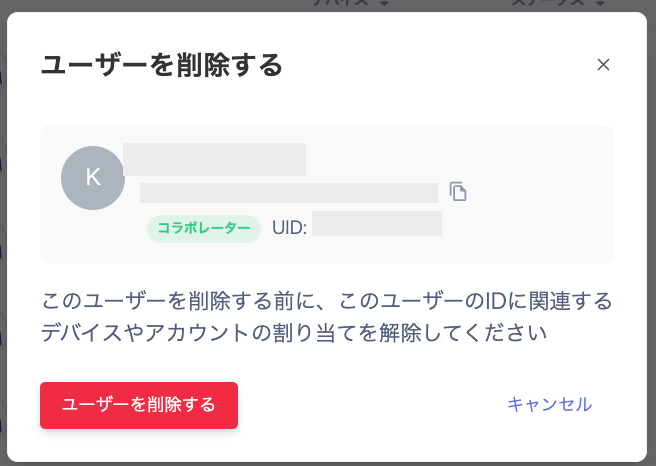
-
When the deletion succeeds, a message appears in the upper-right: “ID has been deleted successfully.”

Bulk operations
Bulk delete, bulk archive, and bulk edit
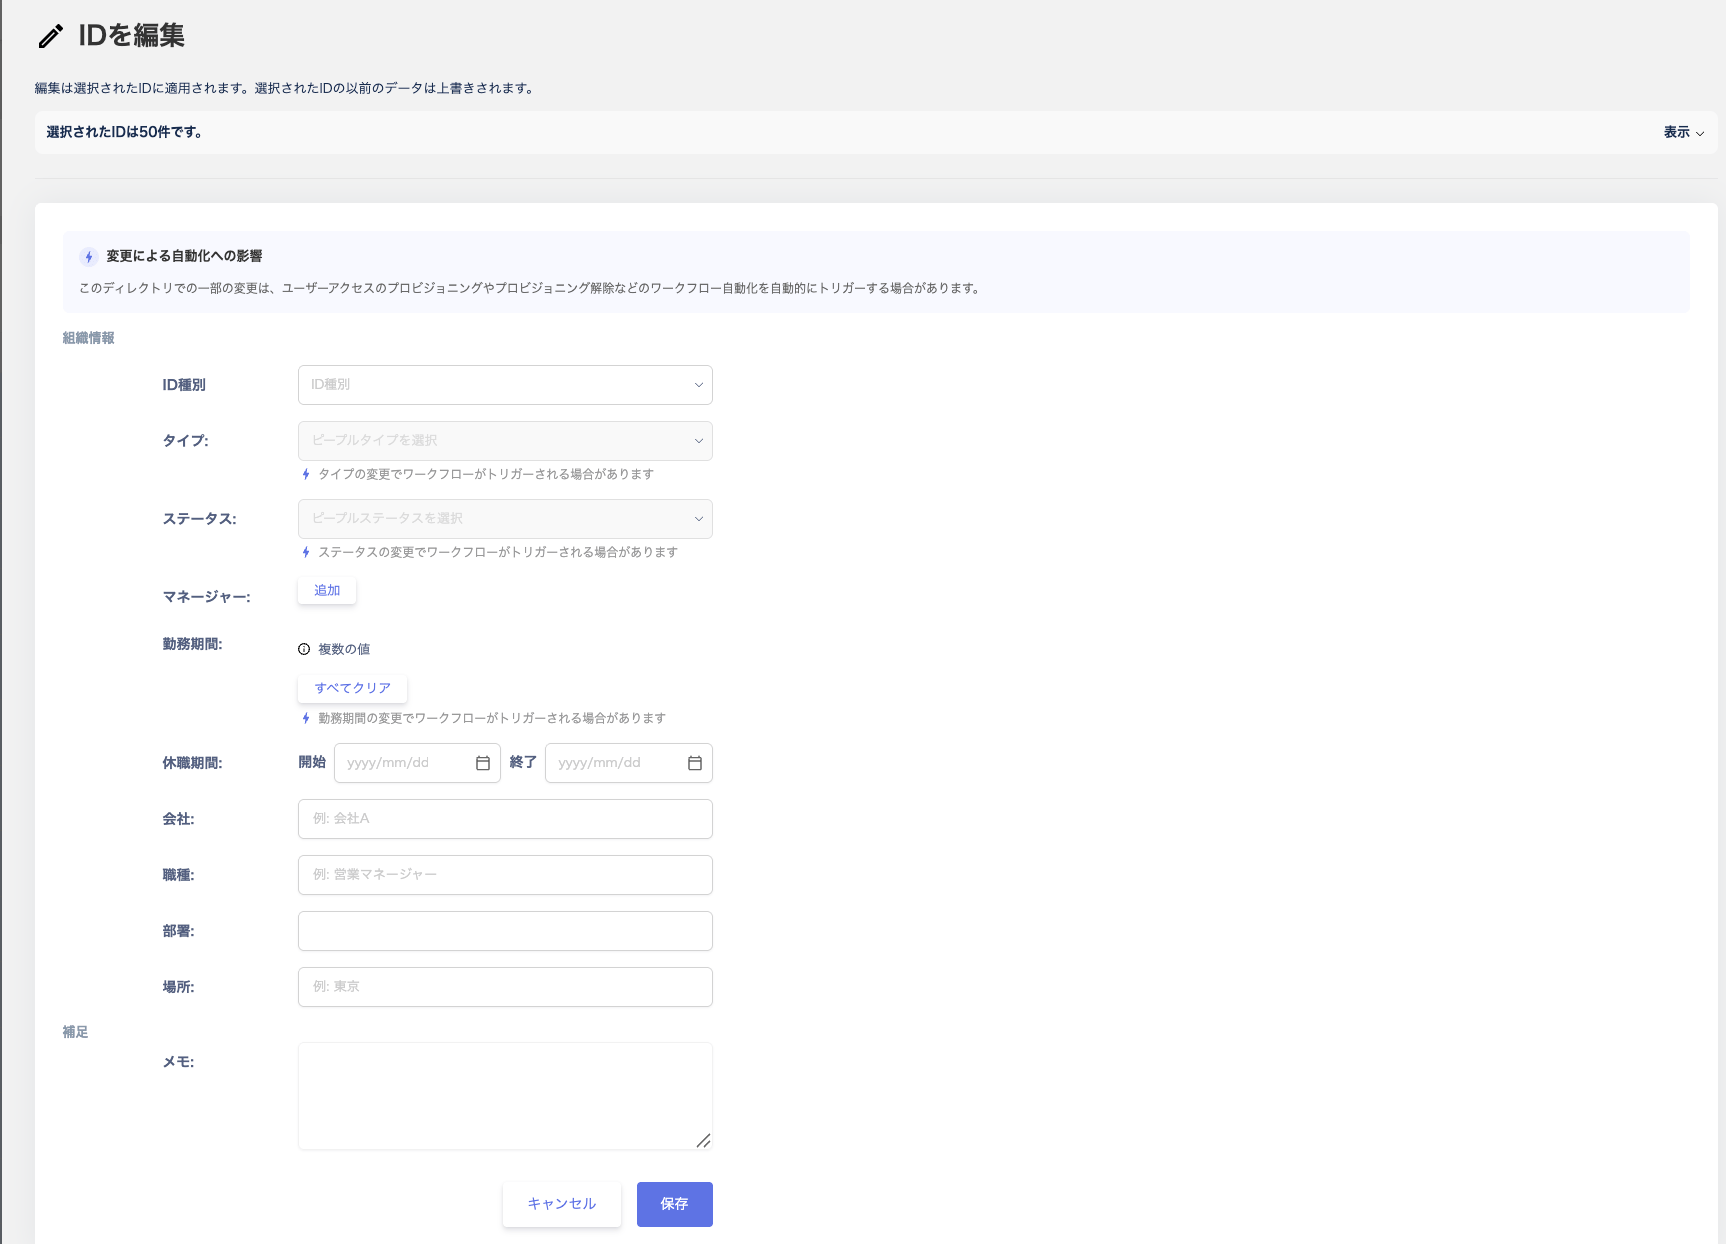
Click the checkboxes in the upper-left of the Directory. You can select up to 50 items at a time. When you select two or more items, the action menu appears in the upper-right.
The following is the Edit ID screen.
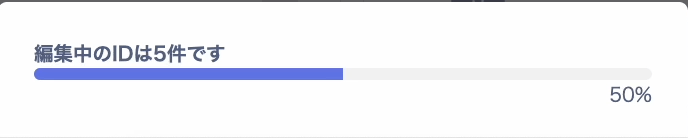
CSV import
Follow these steps to register People in bulk from a CSV file.-
Click Import in the Directory.

-
On the Import identity data screen, click Download template. Alternatively, export a CSV file via Export.
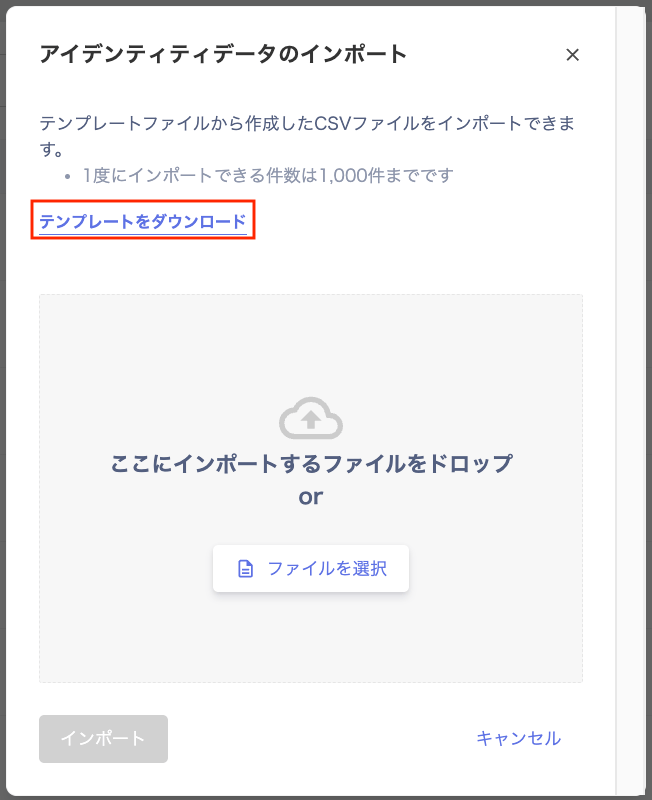
- Edit the downloaded template and save it as a CSV file. For details on each field and important notes, see [Directory] How to create a CSV for device inventory import.
-
Click Select file to choose the file to import, then run the import.
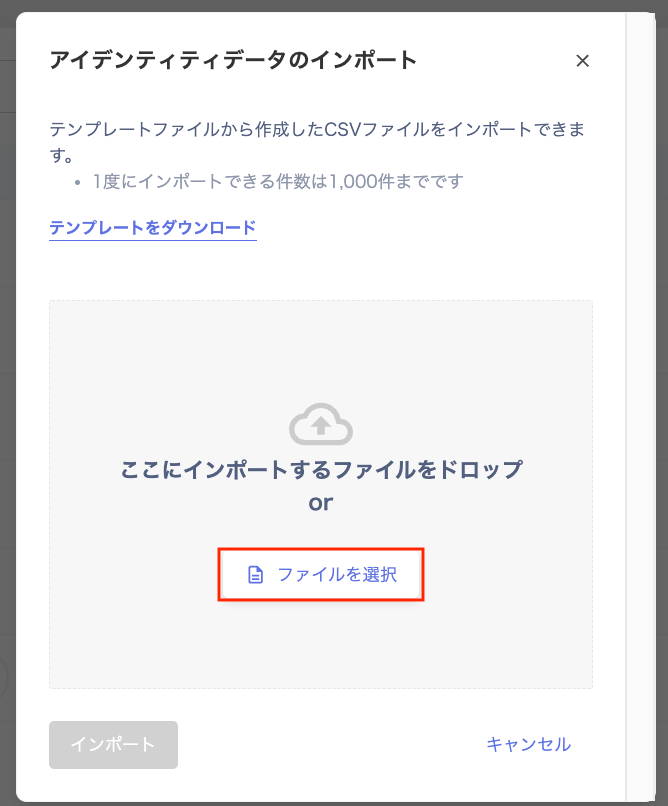
CSV export
Click Export in the Directory to export a CSV file.