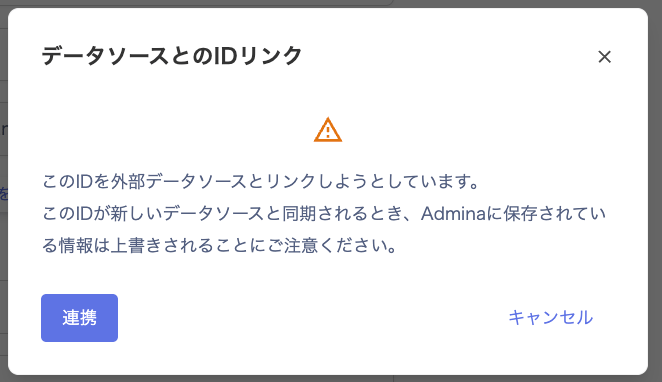
This feature resolves ID management issues in the directory. Set an account to UnLink if you want to manage it manually instead of syncing from the employee master, or set it to Link for automatic maintenance.
Use UnLink when the status or other user information in the directory is updated unintentionally after a sync.Example: an ID marked “On leave” in Entra ID or Google Workspace is unintentionally synced back to “Active”.
Click [UnLink] in the upper-right corner of the Directory > User information page.
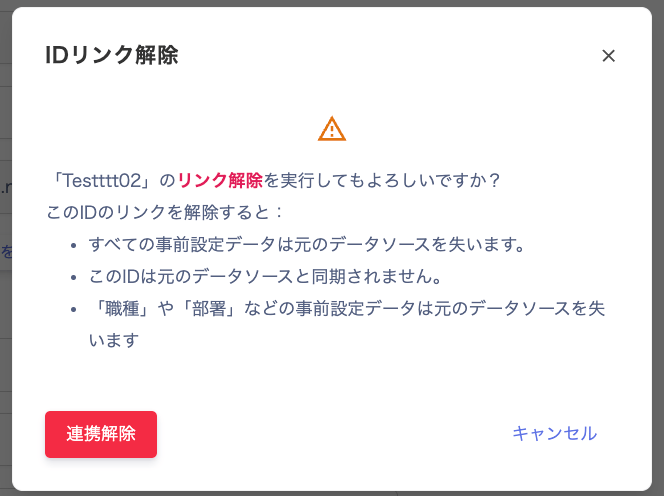
The “Unlink ID” dialog appears. Review the contents and click [Unlink].
In Directory information > User information, configure the following settings and click [Apply].
Status — set the correct status.
Leave period — set the start and end dates.
After the employee master sync, confirm that UnLink is active.
If the [ID history] shows “Synchronization”, the account is still being synced. Review the settings in step 3.
Q. How does the ID type change when I set UnLink or Link?A. The ID type is not affected by the UnLink/Link setting.Q. How do I change an account type from “Full-time employee” to “Collaborator” for an email under Settings > Domains?A. Set the account to UnLink first, then change the type.