

Only users with the Admin role can open the alert settings.
Alert types
Each system standard alert has a preset condition. You can change conditions such as thresholds.
Alerts appear on the [Critical] or [Warning] tab, depending on the urgency of the rule.
View alerts
Open the list from the Devices screen
-
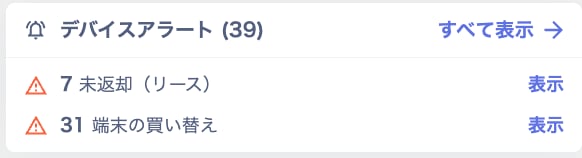
On the “Device alerts” card at the top right of the Devices screen, click [View all] to open the alert list.
The card shows up to two alert types that have alerts. To view one type, click [View] on its row.
-
Switch between [Critical / Warning / Muted] in the list to find the alert.
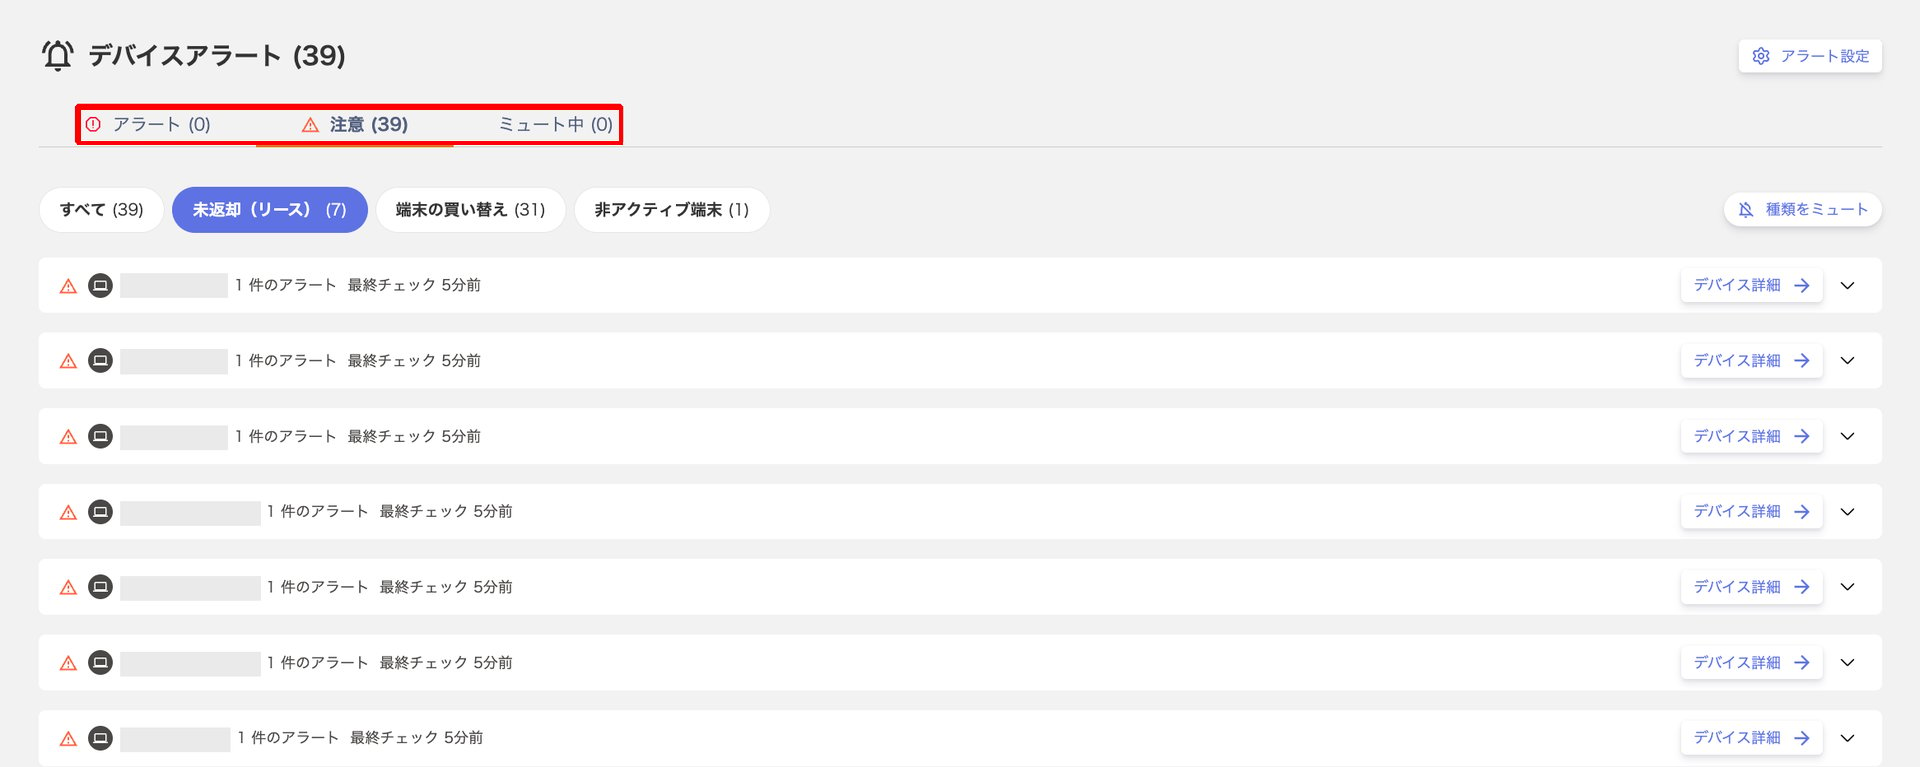
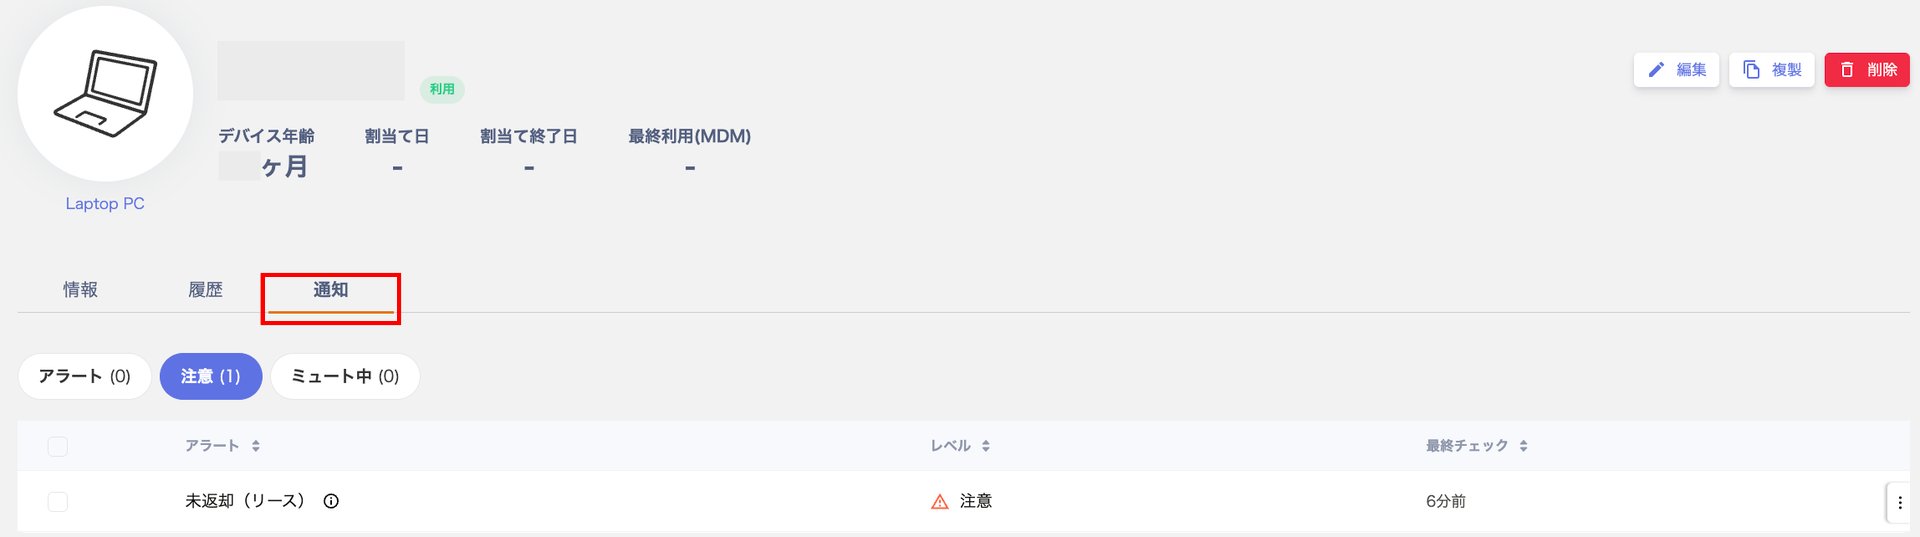
If you can’t find an alert, check the counts on the other tabs. You can view muted alerts on [Muted] or on the “Notifications” tab in the device details.If there are no alerts, or you muted all of them, the Devices screen shows “No device alerts”. [Alert settings] replaces [View all].
View alerts from the device list or details
View alerts in the device list-
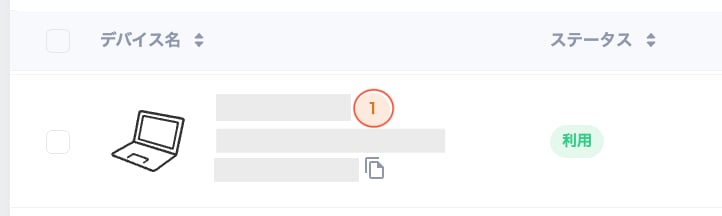
In the device list, click the count shown on the row of a device that has alerts.
-
The list narrows to the alerts of that device. To clear the filter, click [Show all devices] at the top of the screen.

Read the alert list
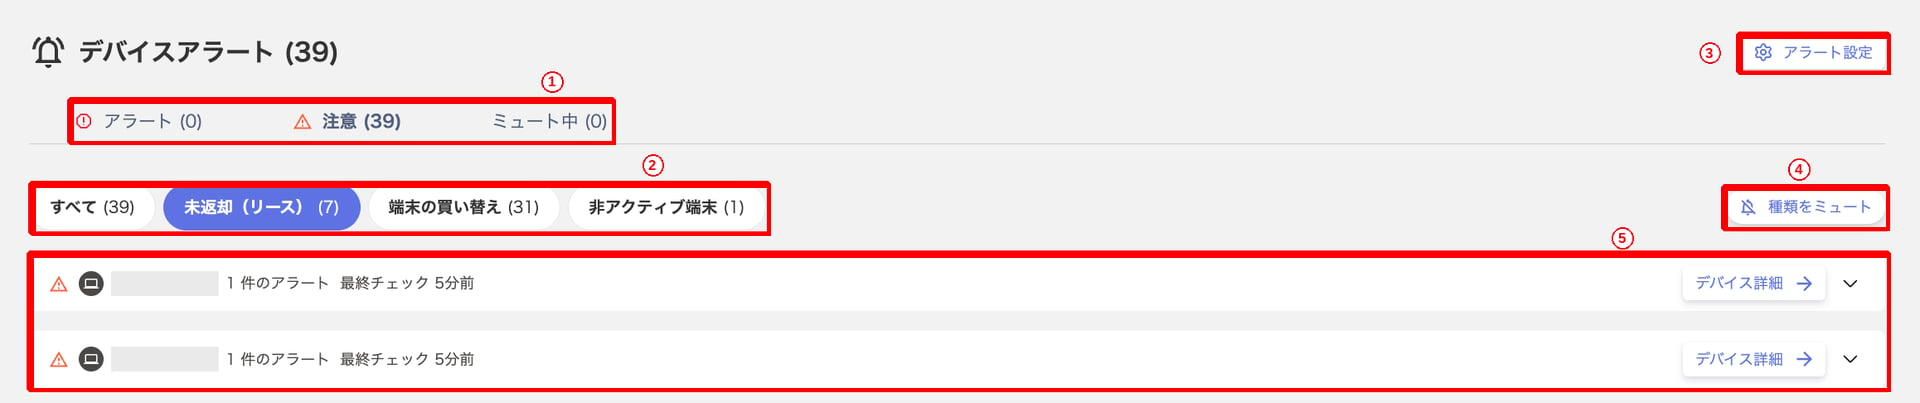
Mute alerts
You can mute alerts that need no action to remove them from the list. Muting doesn’t stop alerts from being raised. You can view them on [Muted]. You need permission to update devices to mute and unmute alerts.Mute one alert
- In the alert list, click the row of the device.
-
Hover over the alert and click [Mute], which appears at the right edge of the row.
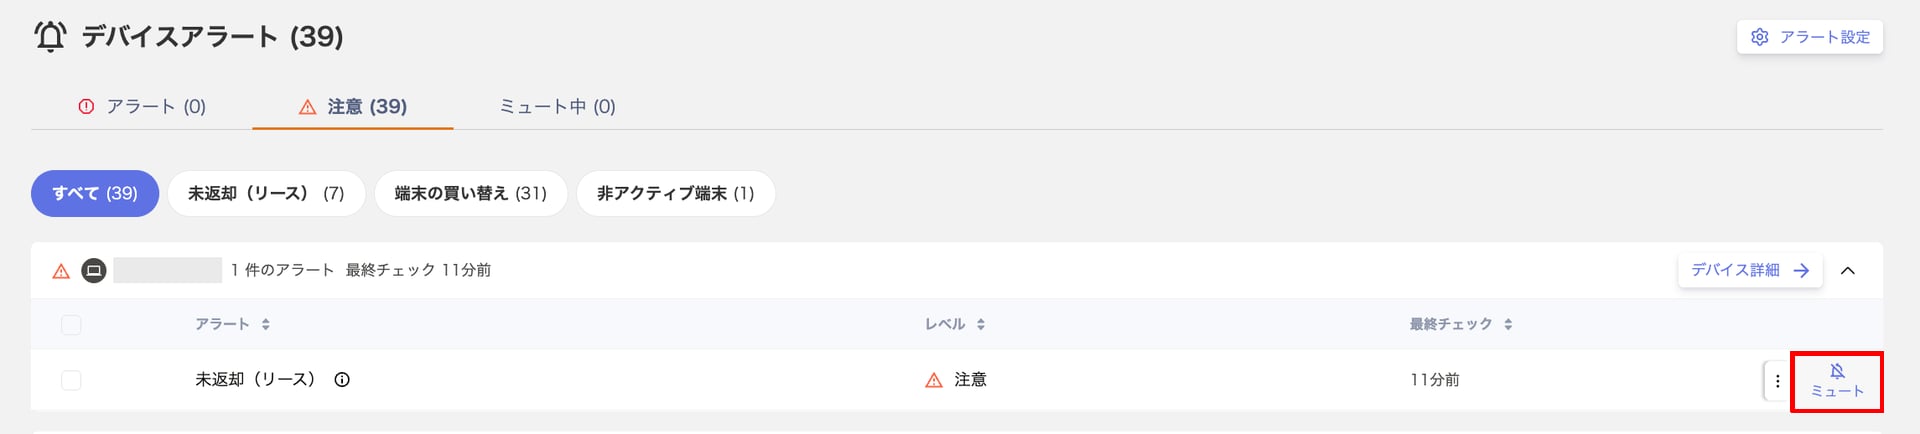
-
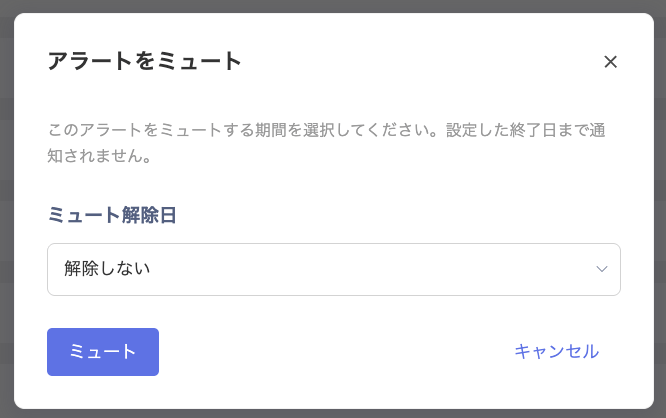
In the “Mute alert” dialog, choose when the mute ends and click [Mute].
- Check that the message “Alert muted” appears.
You can choose from [Forever / One week / Two weeks / One month / Three months / Custom]. For [Custom], enter an end date.
Mute an alert type
When you mute an alert type, alerts of that type are hidden from the normal list for all devices.- In the alert list, click the type you want to mute.
-
Click [Mute type].

-
Check the message and click [Mute].
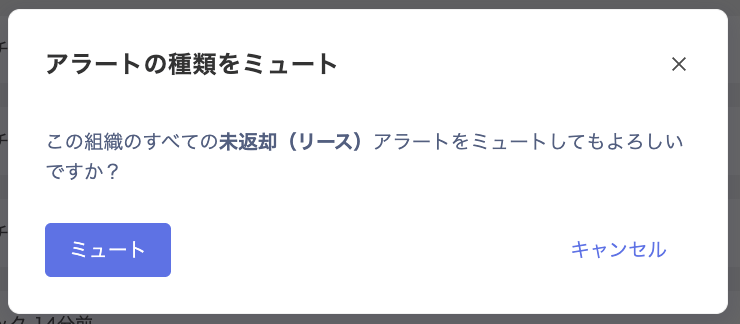
- Check that the message “Alert type muted” appears.
Unmute alerts
Unmute one alert
-
On [Muted], open the device row and click [Unmute] on the alert.
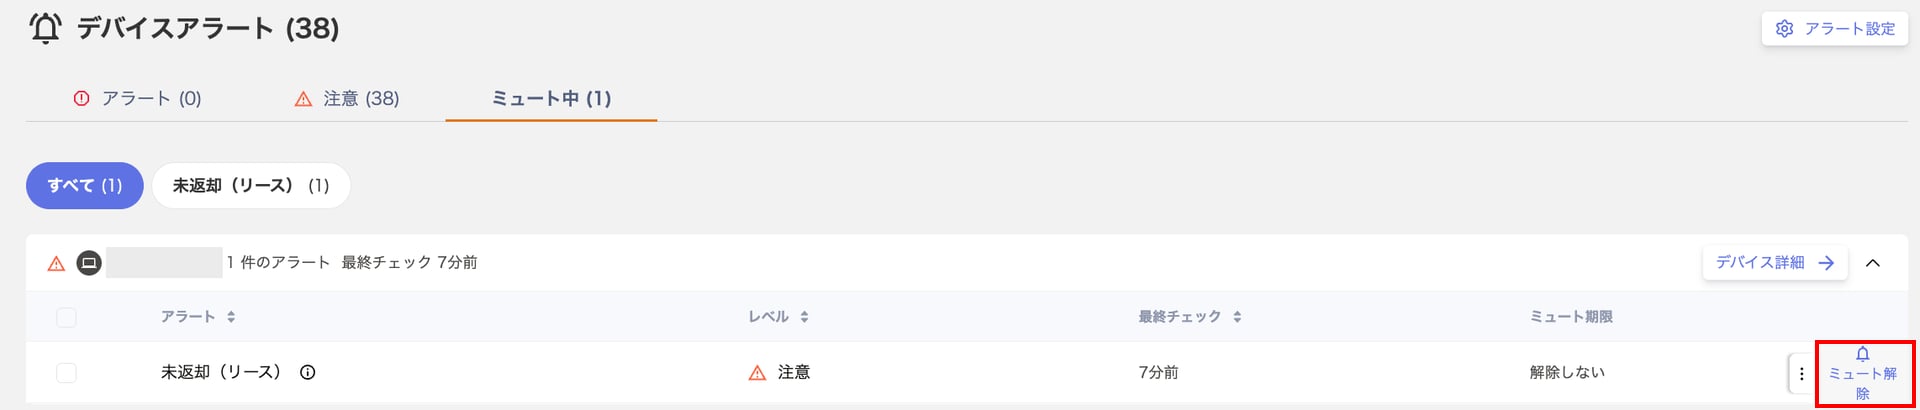
-
Click [Unmute] in the confirmation dialog.
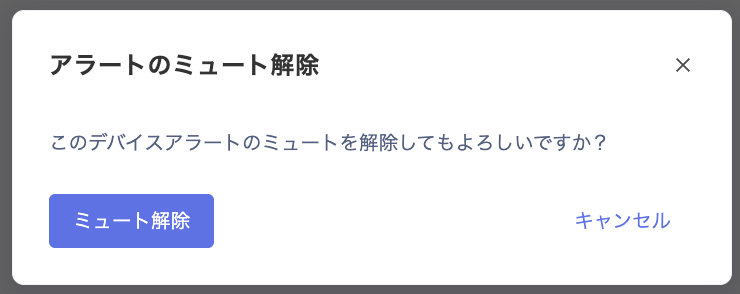
- Check that the message “Alert unmuted” appears.
- If you click [Unmute] on an alert that is muted by type, the confirmation dialog is “Unmute alert type”. This lifts the mute for the whole organization, and alerts of that type are raised again for every device.
- [Unmute] is disabled for an alert that is muted for a device group. Hover over the button to see that you cannot unmute it here and should contact an administrator.
Unmute an alert type
-
On [Muted], select the type and click [Unmute type].

-
Click [Unmute] in the confirmation dialog.
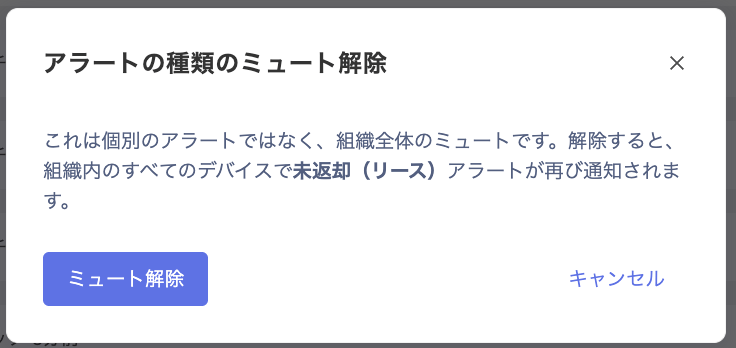
- Check that the message “Alert type unmuted” appears.
Open the alert settings
-
Click [Alert settings] at the top right of the alert list.
-
On the “Device alert settings” screen, check [System standard alerts] and [Custom alert rules].
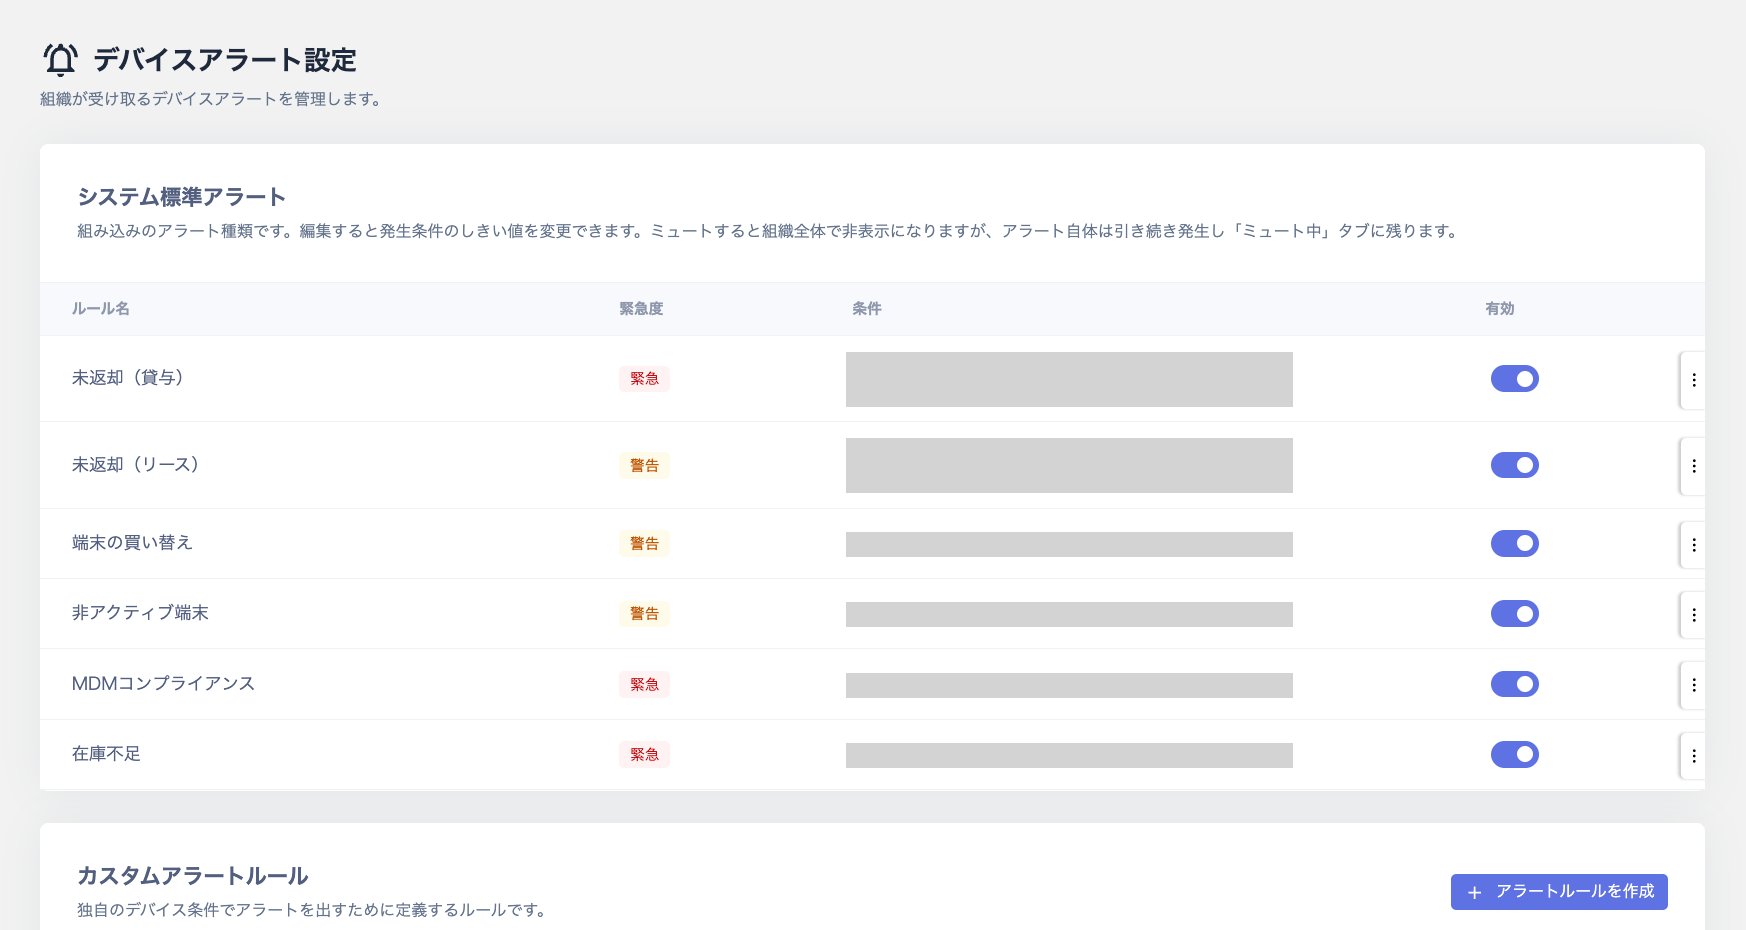
Change the conditions of a standard alert
A system standard alert always covers every device. You can’t change its target group or delete it. To limit the target to a device group, create a custom alert rule.-
In [System standard alerts], find the row of the type and click [⋮], then [Edit].
-
You can change the rule name, the description, and the urgency. To change only the threshold, go to step 3.
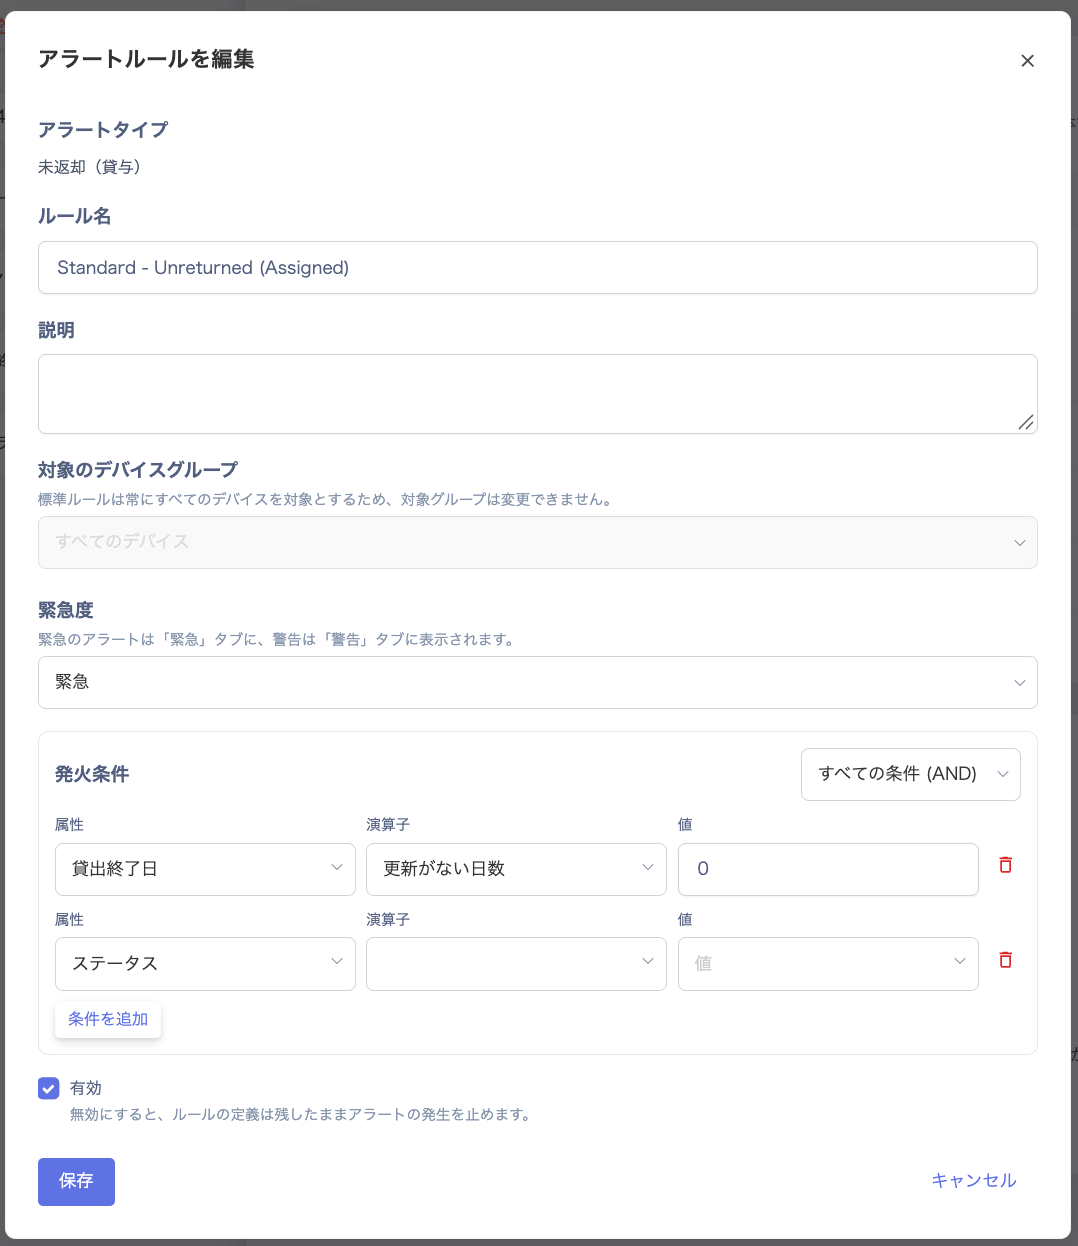
-
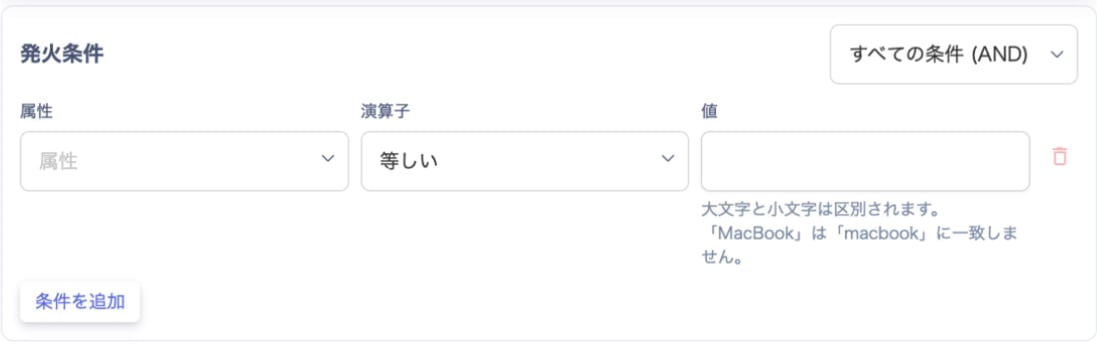
Check the attribute, operator, and value in [Trigger condition], and change the threshold.
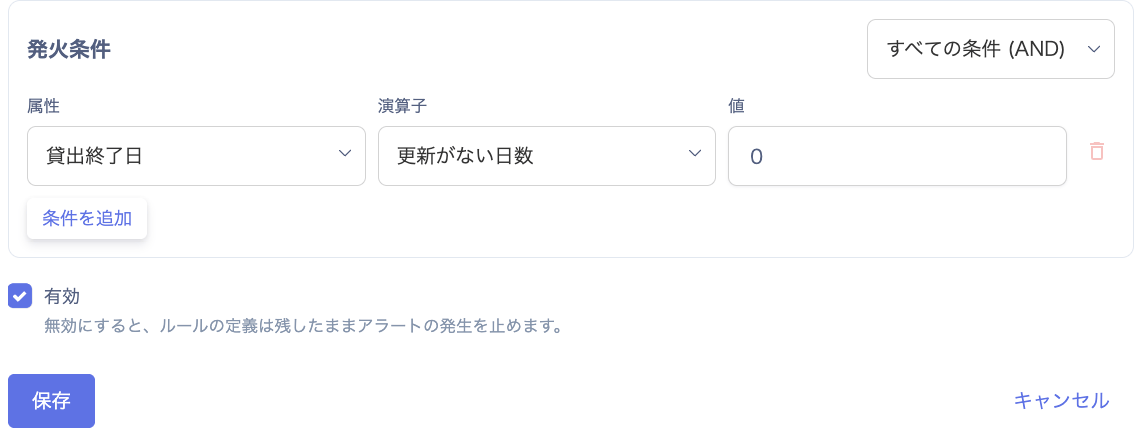
- To raise the alert, select [Enabled] and click [Save].
- Return to the list of settings and check your changes.
Difference between muting and disabling a rule
Create a custom alert rule
If the standard conditions don’t fit, or you want to target a specific device group, create a custom rule.-
In [Custom alert rules] of the alert settings, click [+ Create alert rule].

-
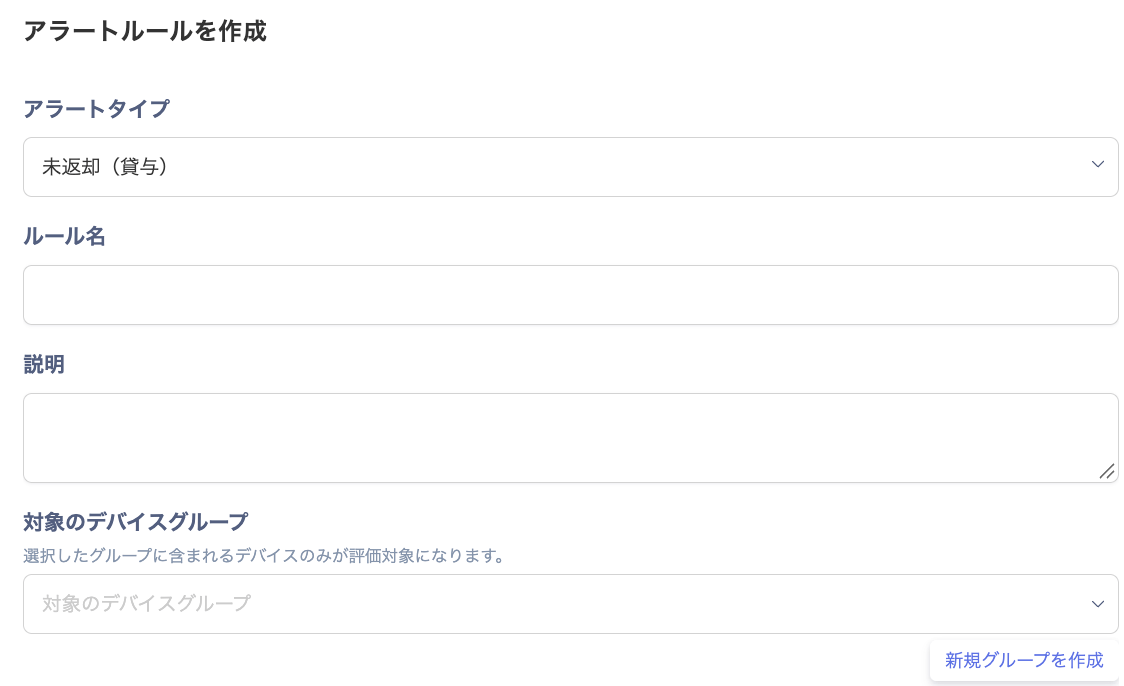
Set the alert type, rule name, description, target device group, and urgency.
-
Set [Trigger condition]. For details, see “Set trigger conditions”.
-
To raise the alert, select [Enabled], check what you entered, and click [Create].

- In the list of custom alert rules, check the rule you created and its settings.
Set trigger conditions
The operators for each attribute type are as follows.
For text, “equals” and “does not equal” are case-sensitive. “Contains”, “does not contain”, and “starts with” ignore case. When you set a condition, check how the value is written in the device.
For the [Inventory shortage] type, you set a [Threshold condition] instead of an attribute. The metric is [In-stock device count].
Enter a threshold of 0 or more.
Choose one of the following operators.
- [less than]
- [less than or equal to]
- [greater than]
- [greater than or equal to]
- [equals]
- [does not equal]