Use Cases
Available Triggers and Actions
A workflow built from scratch has a simple design. Start with a trigger, then add the actions you want to run one by one, from top to bottom. This lets you build an automation sequence intuitively.Setup Steps
-
Go to Automation > click [Create Automation], then select [Create New] from the dialog.

-
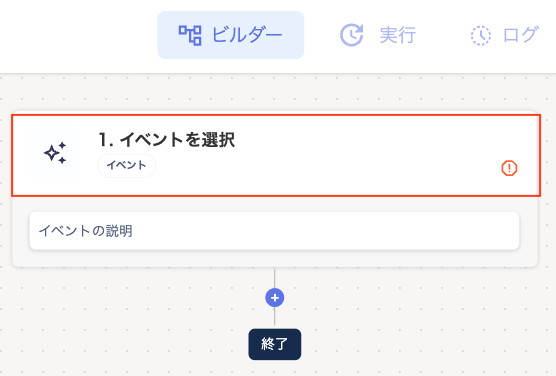
In the “Builder” screen, click “1. Select Event”.
-
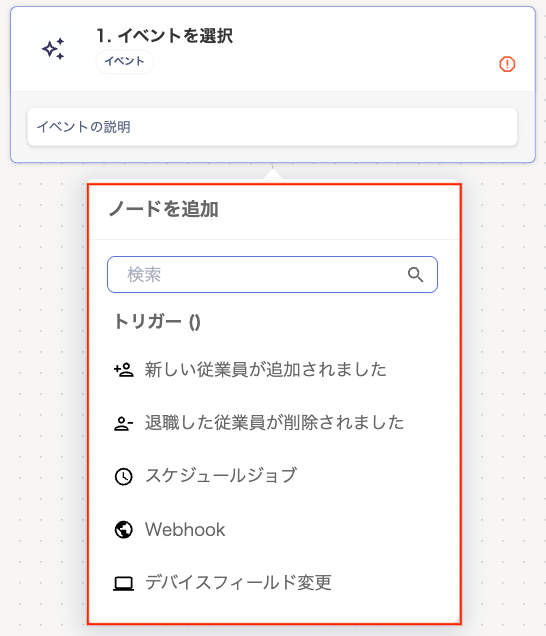
On the “Add Node” screen, select any trigger to display a detailed settings sidebar on the right side of the screen. Configure the trigger’s conditions and filters.
For setup steps for each trigger, see the following links.
-
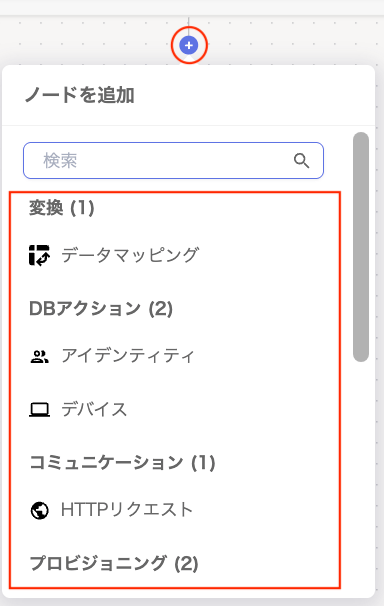
Select a node (+), then choose any action on the “Add Node” screen. A detailed settings sidebar appears on the right side of the screen. Configure the conditions there.
For setup steps for each action, see the following links.
If you configure a Provisioning / Deprovisioning action, you must place a “Data Mapping” node in the step right before it.If the following screen appears, click [Add Data Mapping] and configure “Data Mapping” in the panel on the right.

- Repeat these steps to add any other actions you need.
-
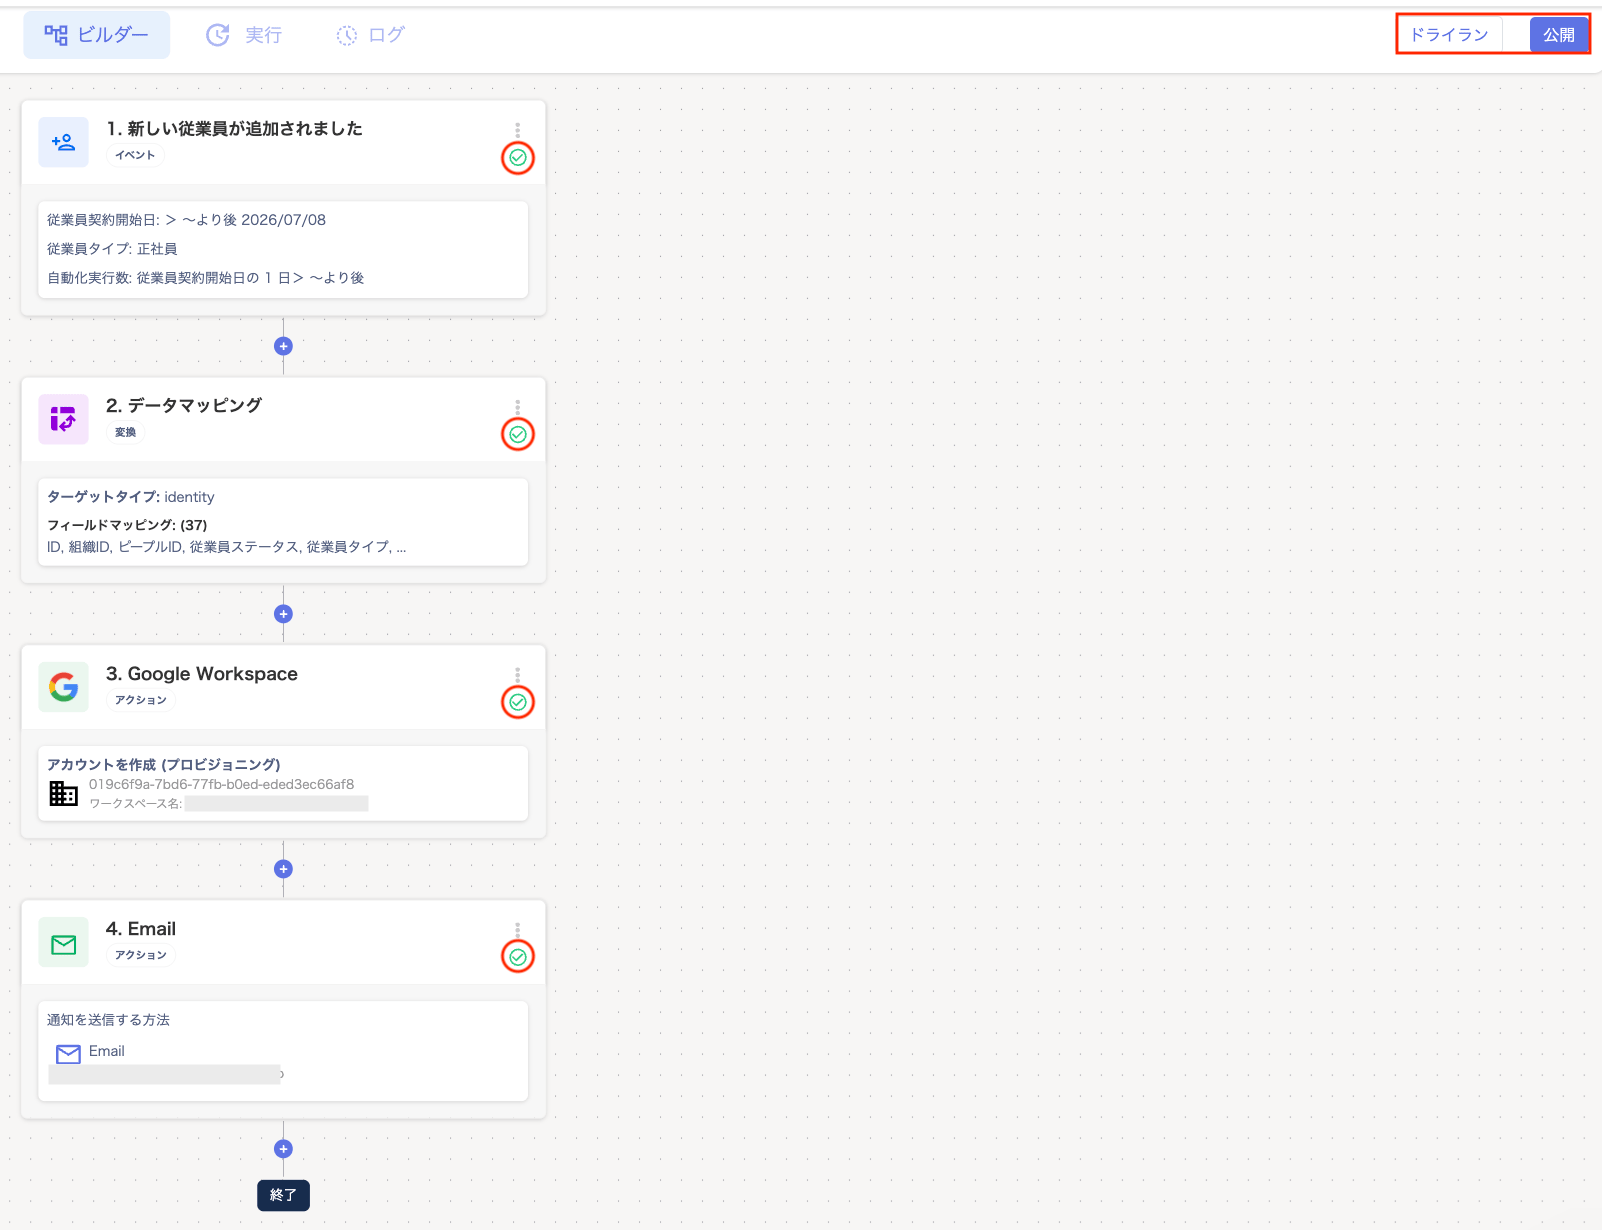
Once all checks in the “Builder” turn green, click [Dry Run] or [Publish].
For dry runs, see Dry-run a workflow.
-
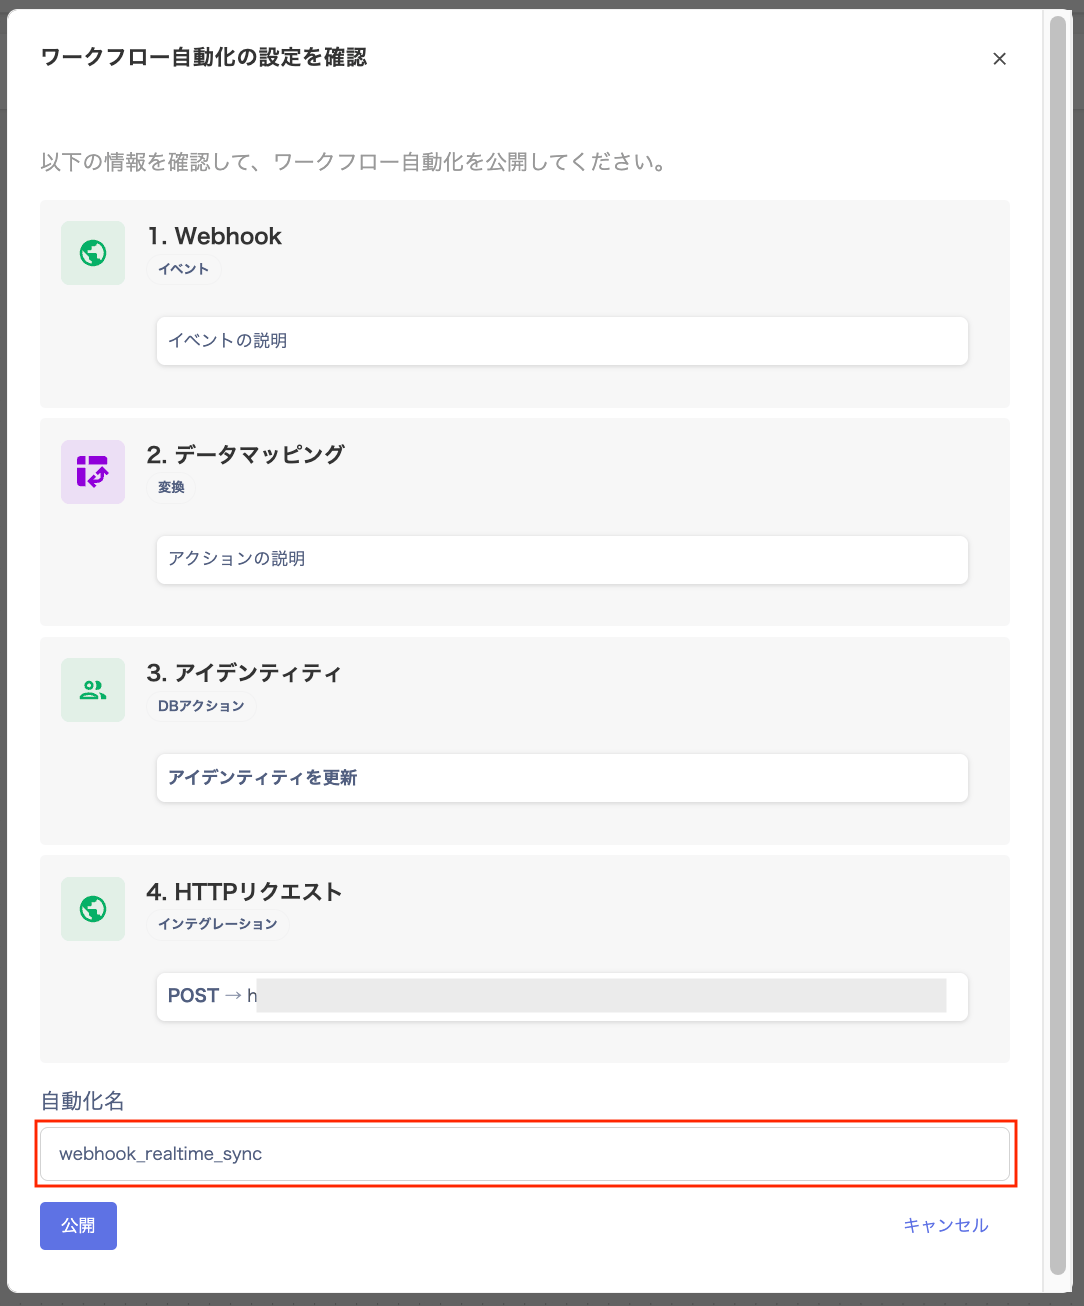
The “Confirm Workflow Automation Settings” screen appears. Enter an automation name and click [Publish].
Note: You cannot reuse a name that is already registered for the automation name.
-
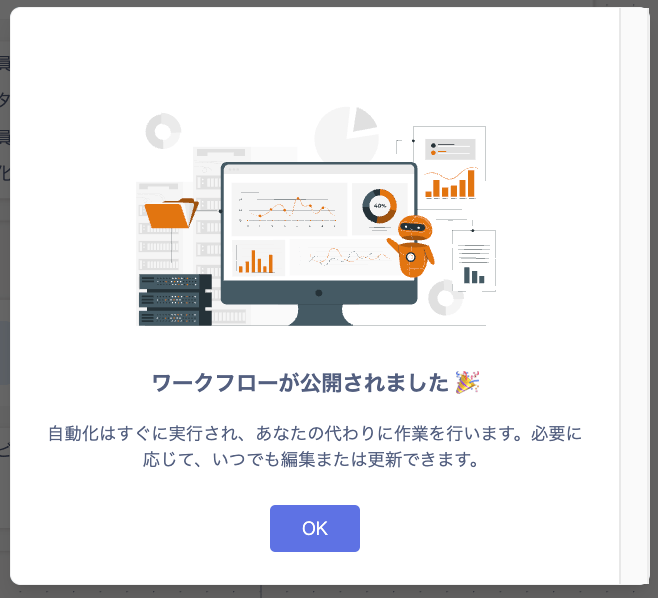
When “Workflow has been published” is displayed, click [OK].
Data Mapping
Select “Data Mapping” in the “Builder” screen to see a list of standard identity fields and your custom identity fields. Click [Auto-fill from Sample Payload] to automatically infer each field based on the keys received during the test. Matching priority is exact match, then prefix or suffix match.Be sure to review the content before saving. Fields that were not matched are left blank and are skipped at runtime.To override a field, click it and select a variable from [Insert Variable]. Alternatively, enter the path directly (e.g.,
{{trigger.user_displayName}}).Only one {{trigger.X}} can be set per field. Entering multiple values makes the field invalid.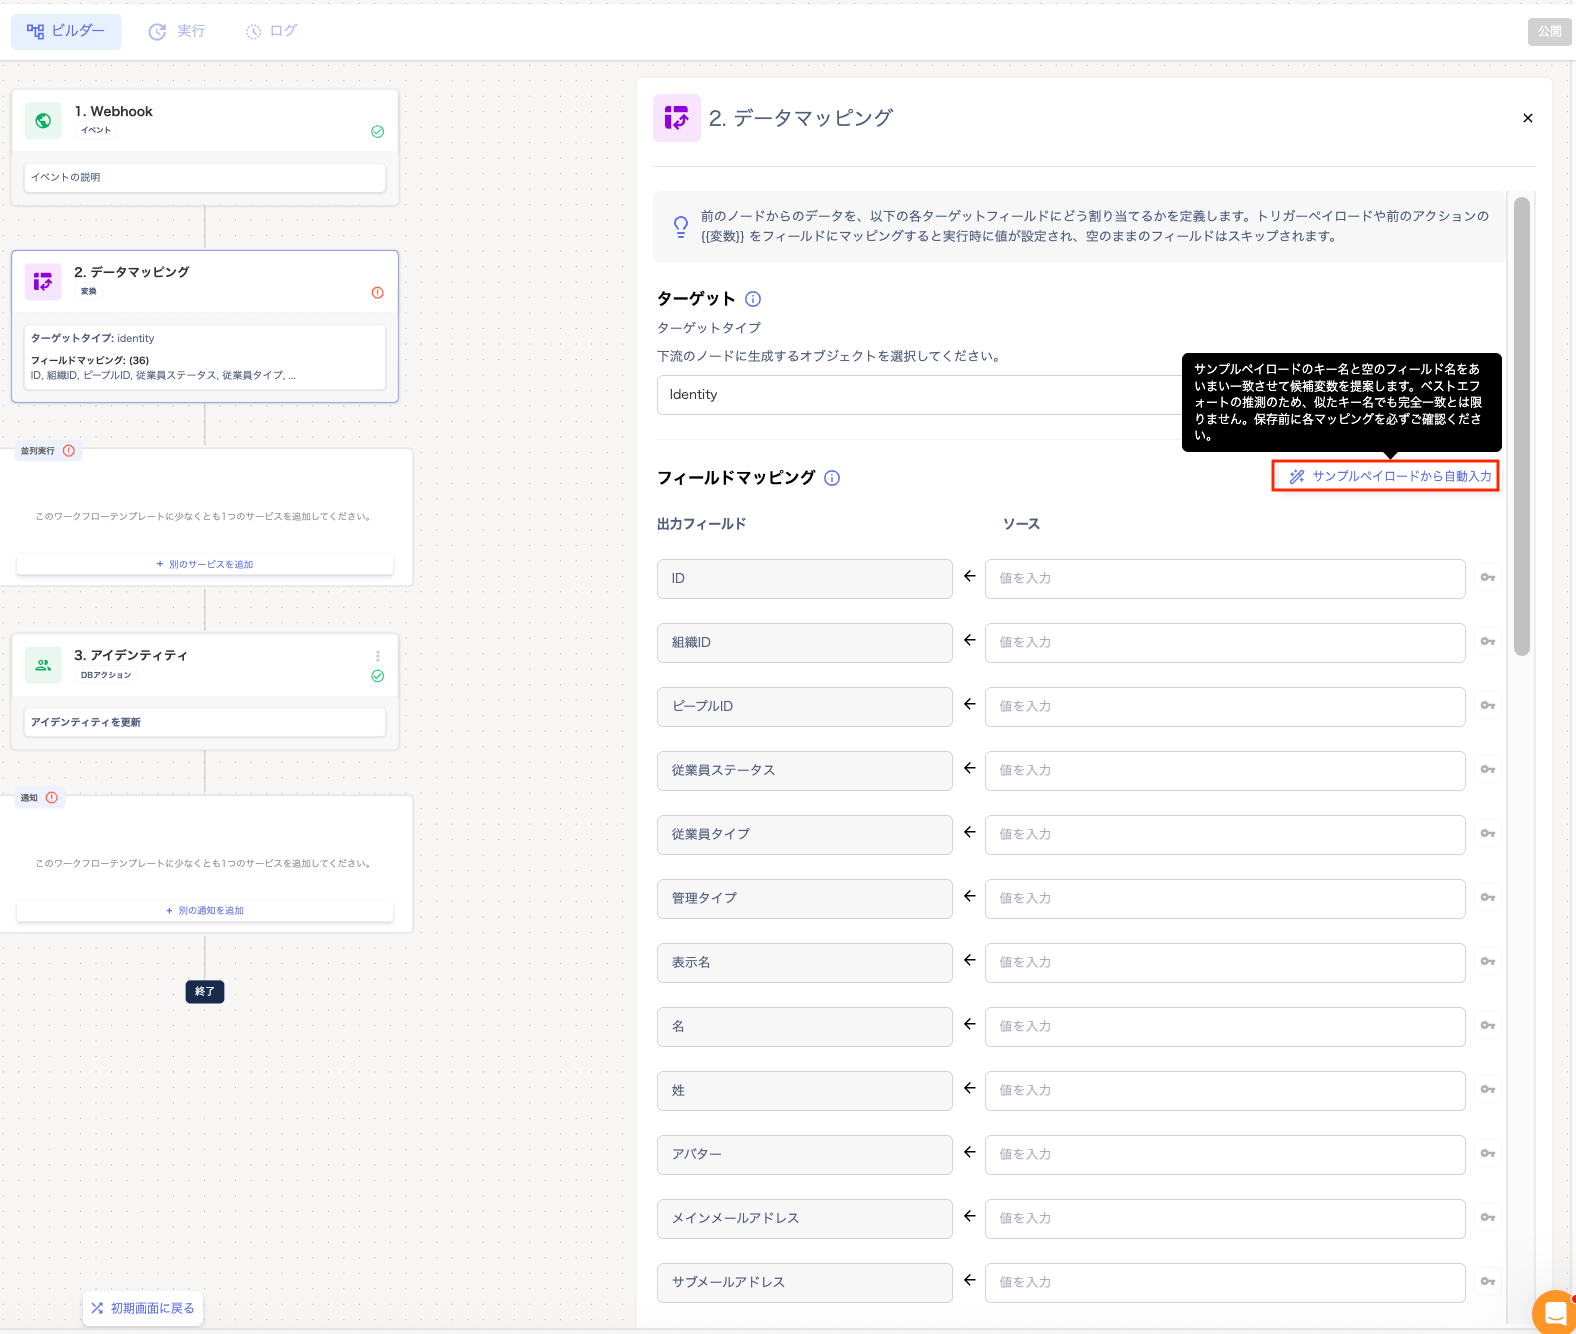
Identity
In the “Builder” screen, under “Identity”, perform the following actions on the target user.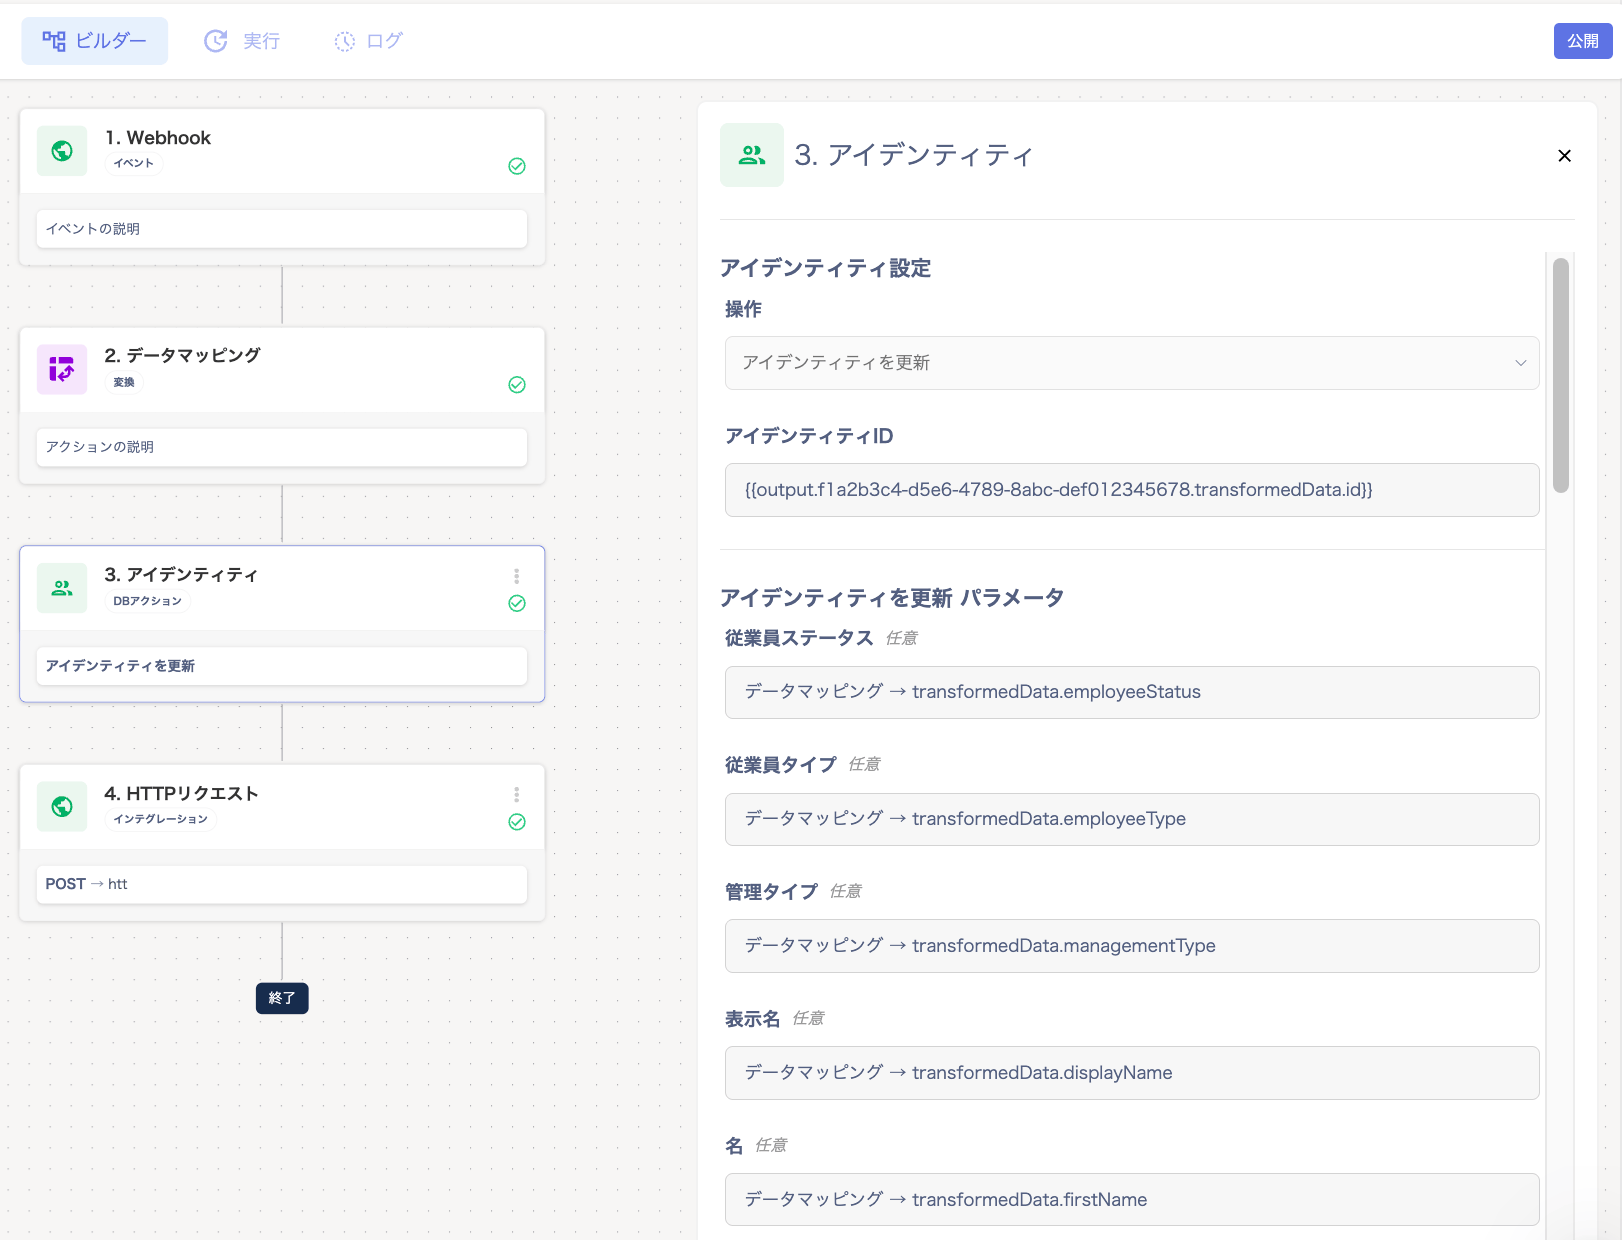
Service Selection (Parallel Execution)
-
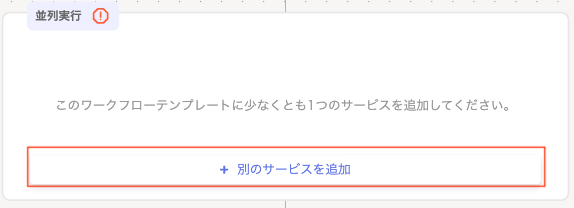
Under “Parallel Execution”, click [+ Add Another Service] to add the services you want to configure in the workflow.
-
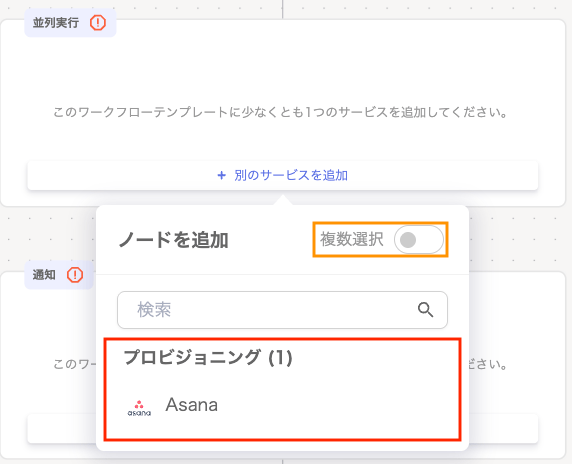
Select the service shown under “Provisioning” or “Deprovisioning”.
The displayed services are those preconfigured (mapped). If you configure multiple services in the workflow, turn on “Multiple Selection”.
-
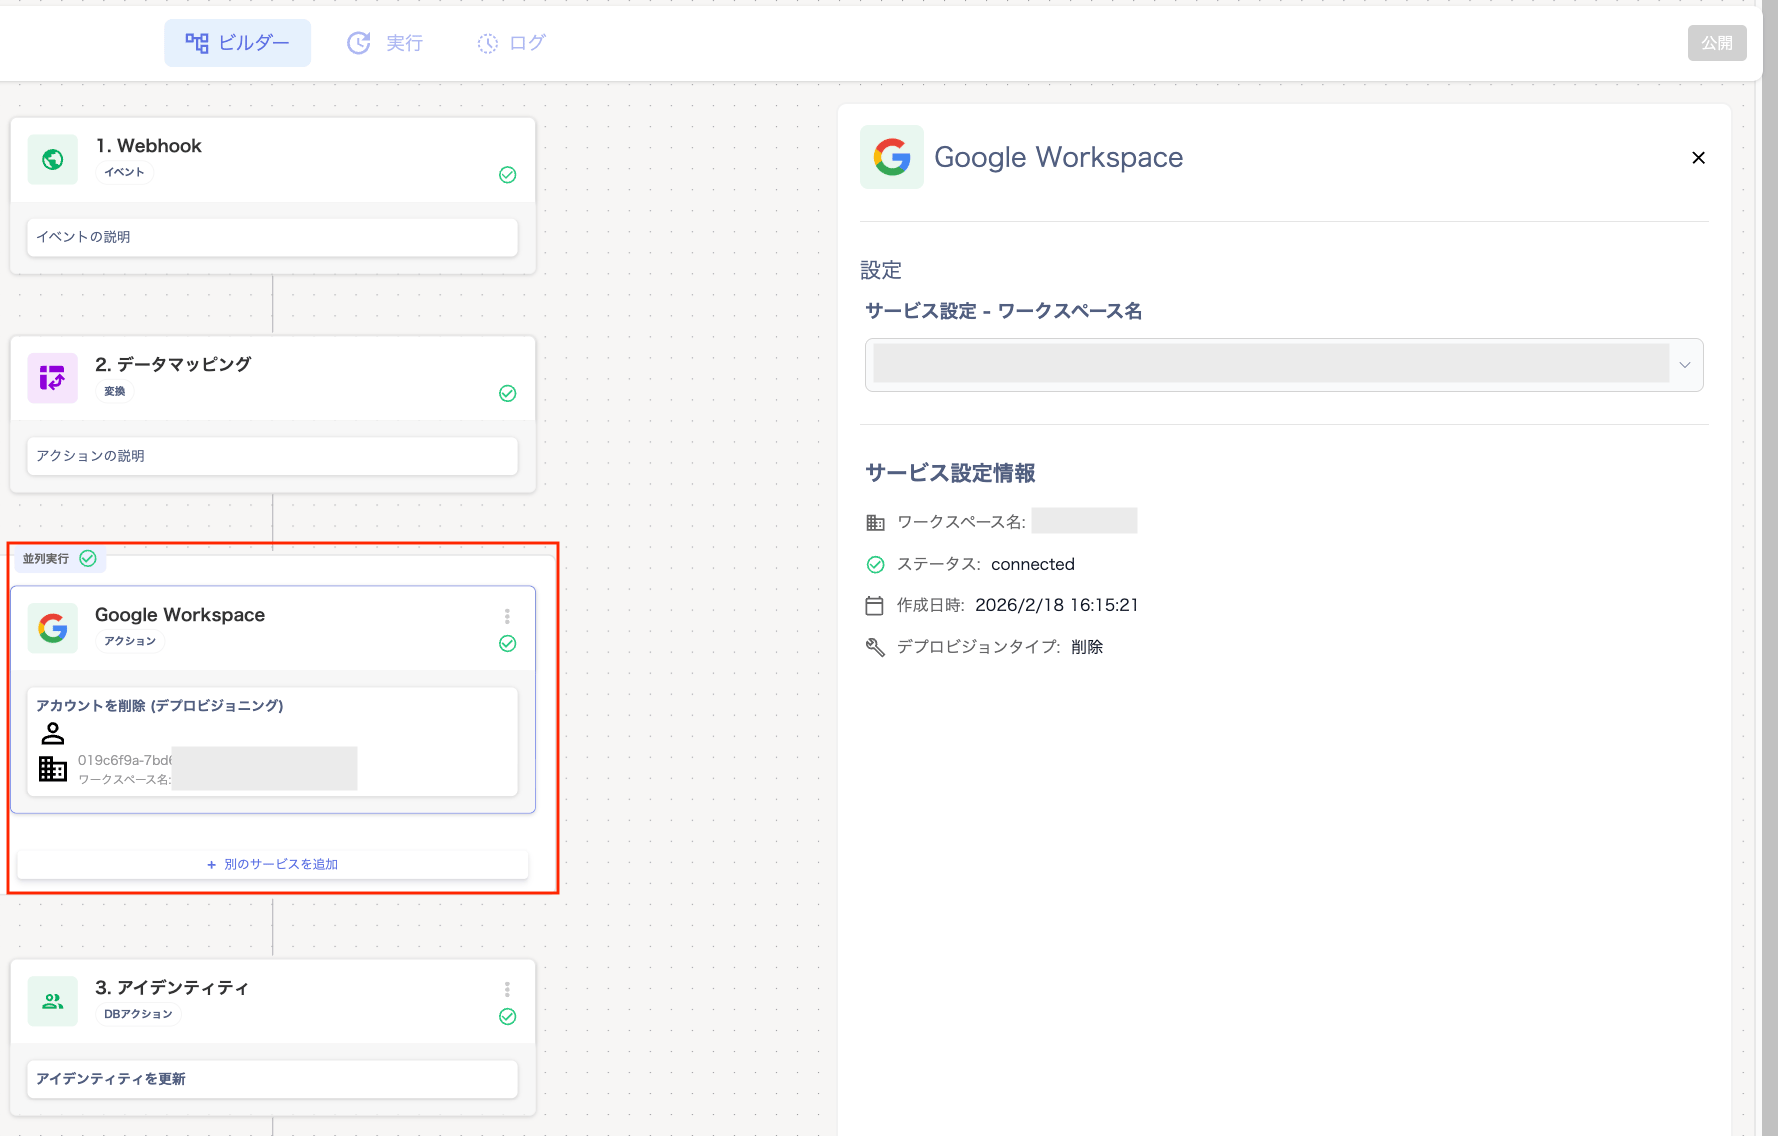
On the “Parallel Execution” screen, click a selected service to display the “Settings” panel on the right.
Select “Service Settings - Workspace Name” from the dropdown. To configure multiple services, click [+ Add Another Service].
Device
On the “Device Settings” screen, select the action: “Delete Device / Unassign Device / Update Device”.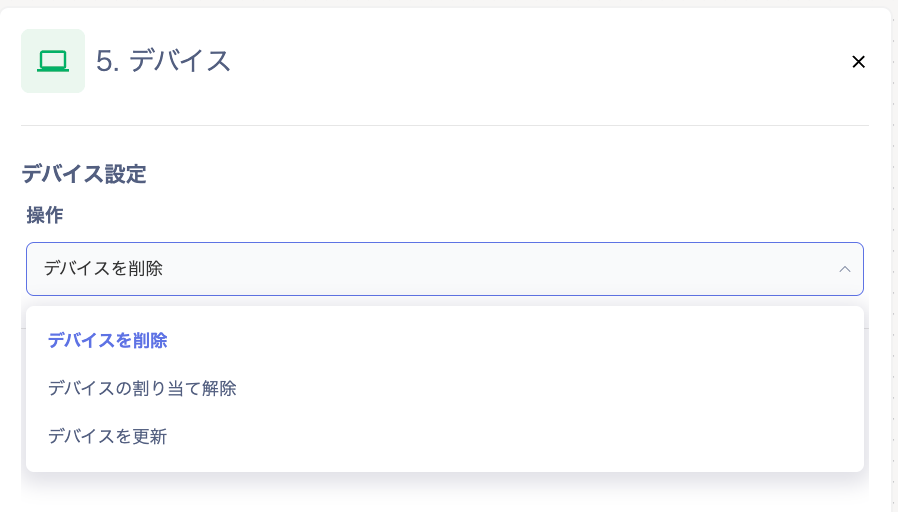
Notification
-
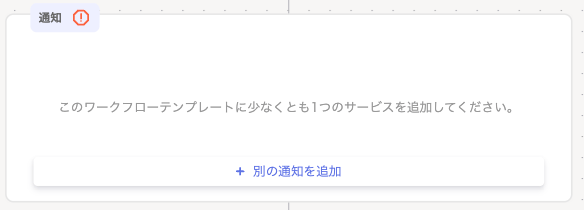
Under “Notification”, click [+ Add Another Notification].
-
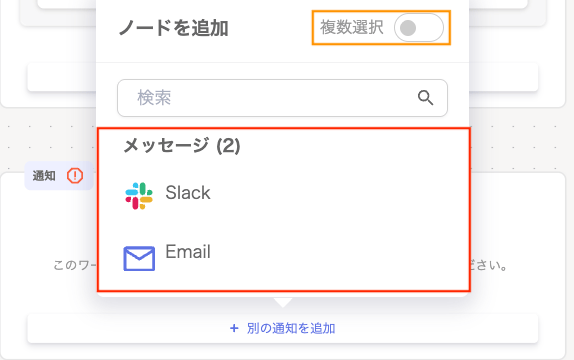
On the “Message” screen, select the notification method “Slack/Email”.
If you want to set up multiple notifications, turn on “Multiple Selection”. For Slack setup steps, see Notification Method “Slack” Setup Instructions.
-
On the “Notification” screen, click the selected message to display the “Settings” panel on the right.
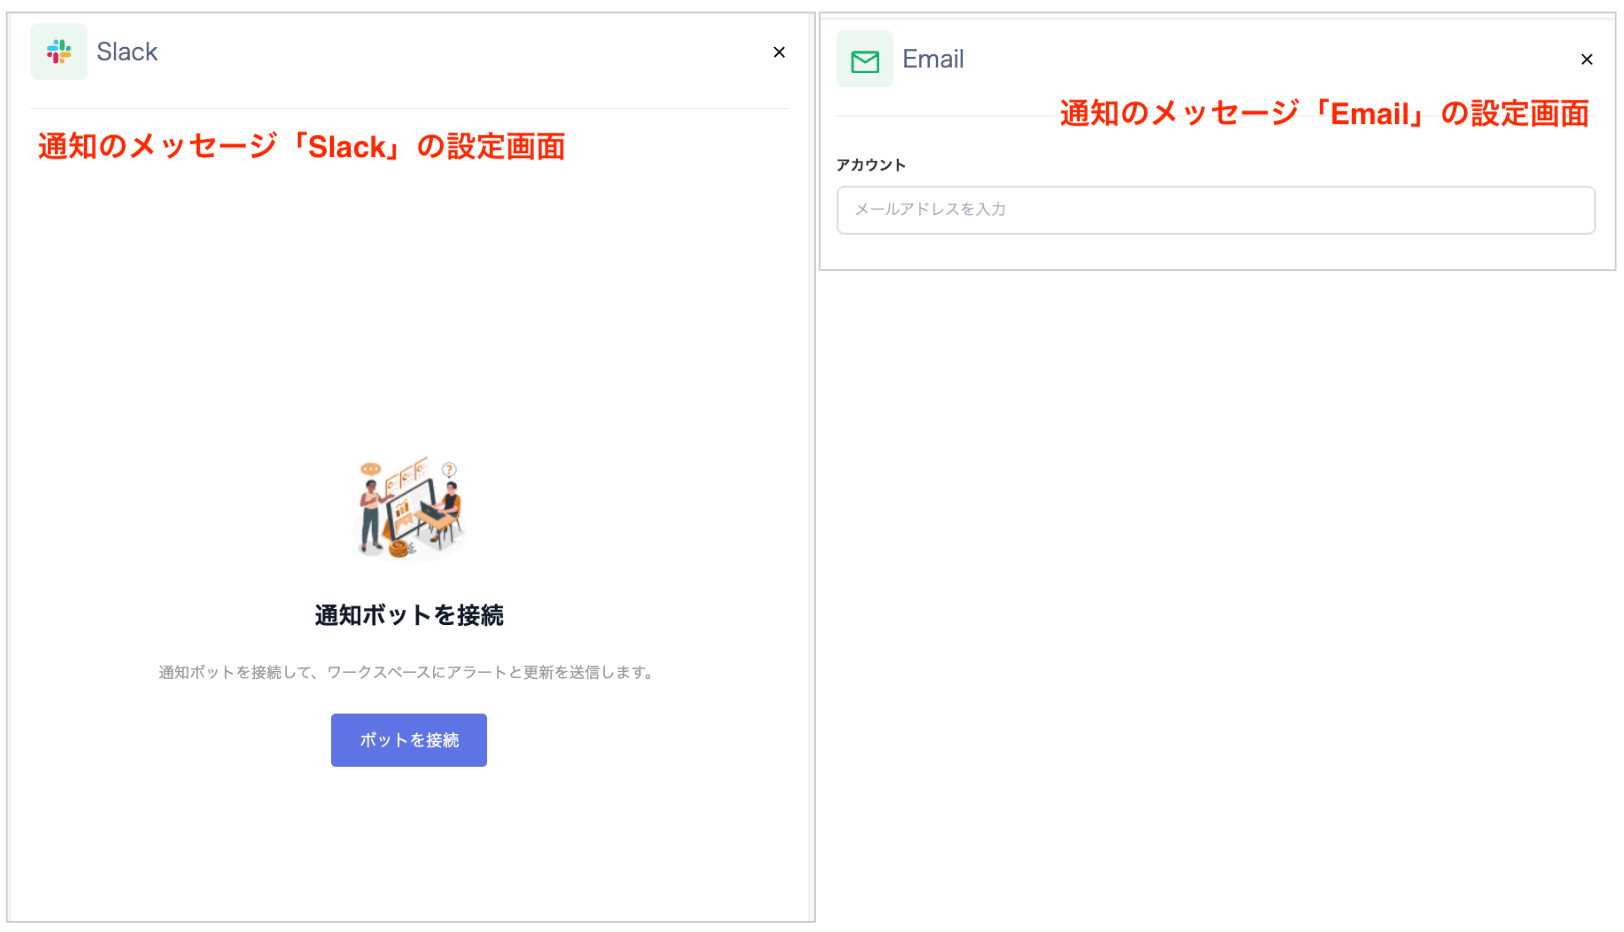
An email notification puts the results of earlier provisioning (or deprovisioning) steps in the workflow into one email. It sends this email to each recipient you set. The email shows the result for each target service, such as success, partial success, or failure. If no provisioning or deprovisioning step runs before it, the email notification sends nothing. In workflows with the “Device Change” trigger, the email contains the device changes instead.The workflow doesn’t send an email automatically when it completes. To receive the results by email, add a notification after the provisioning (or deprovisioning) step. Then select “Email” as its method.
HTTP Request
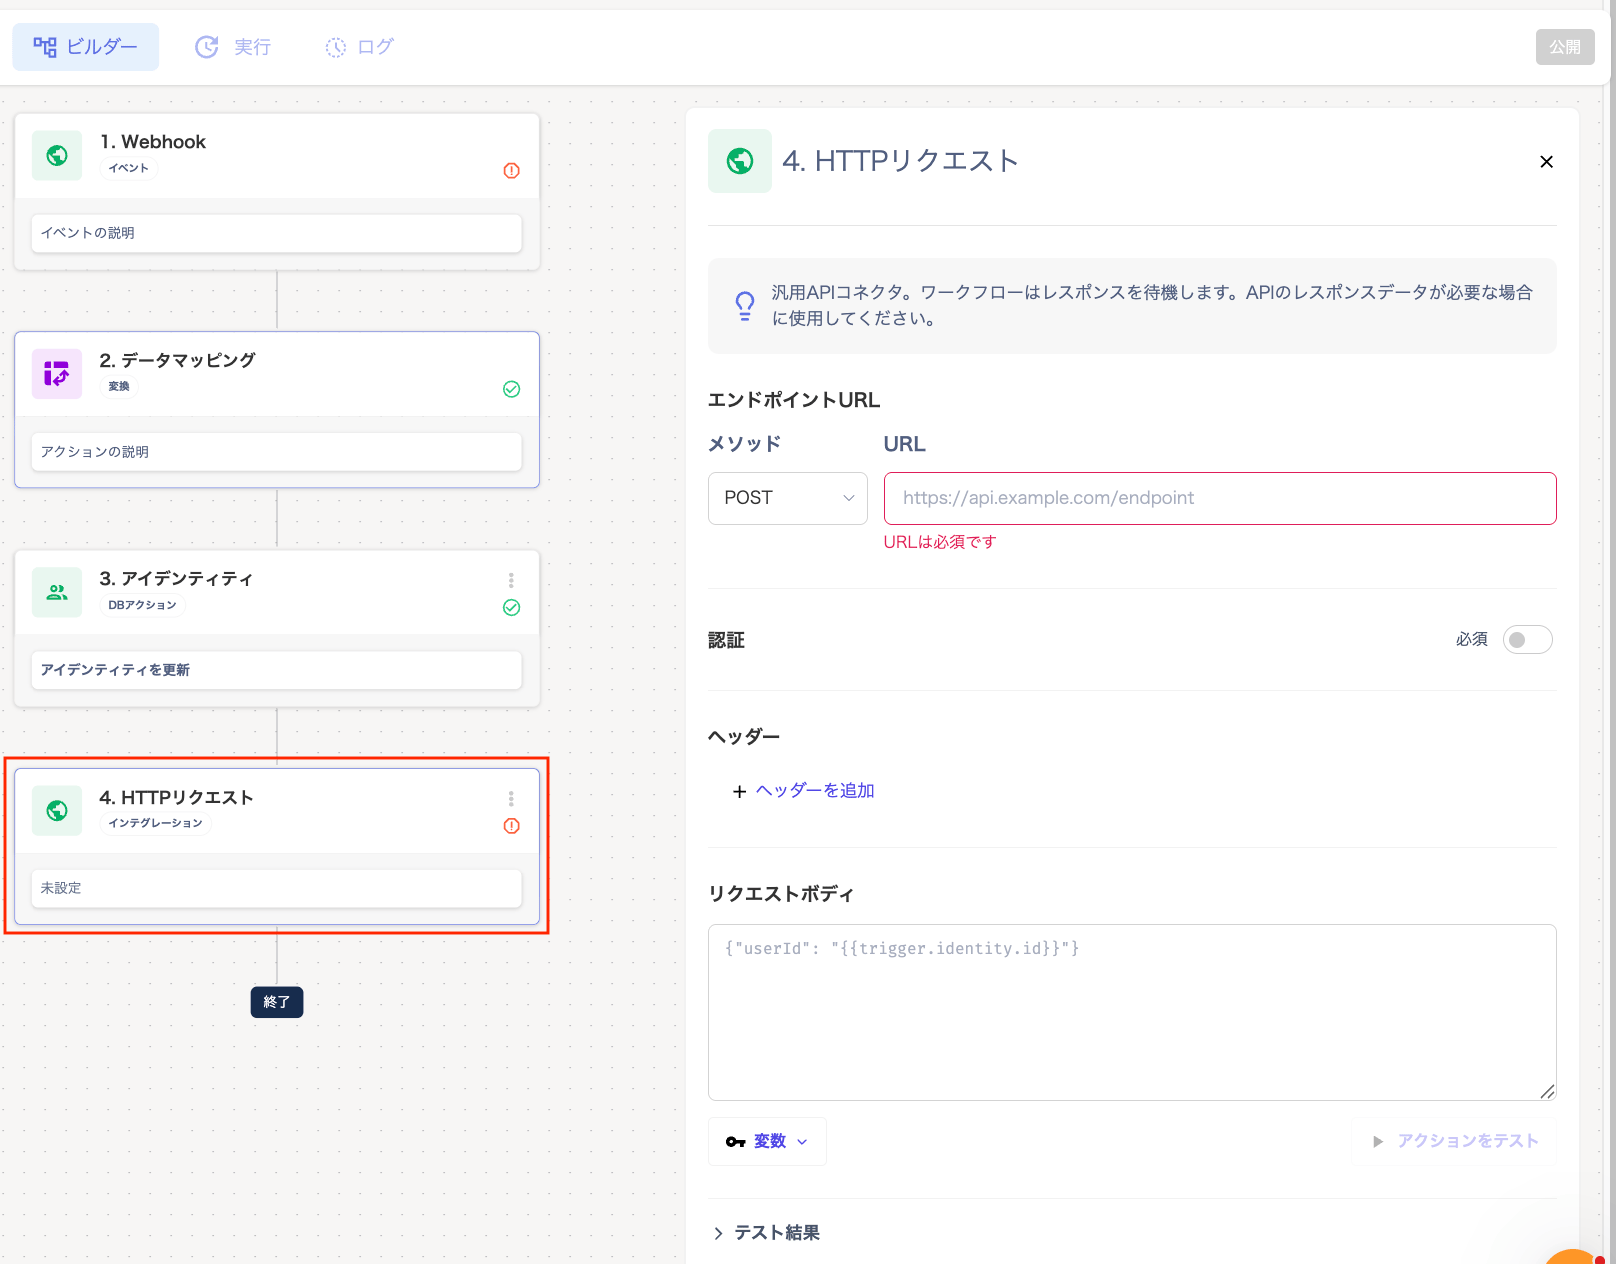
In “HTTP Request”, configure a request that calls an external system’s API. The workflow waits for the response before it continues.