Template overview and how to choose
We provide five prebuilt Schedule ID Update templates for different purposes.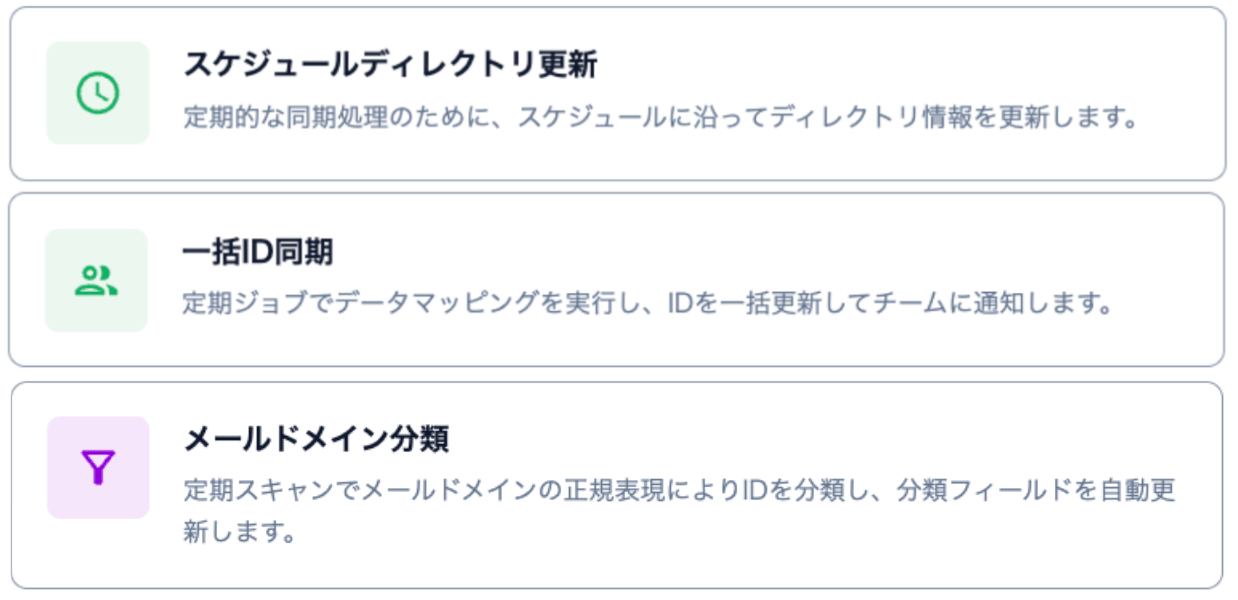
Setup steps
-
Go to Automation > click [Create Automation] in the upper right corner of the Automation Center screen.

- In the dialog, click the name of the Schedule ID Update template you want to use.
-
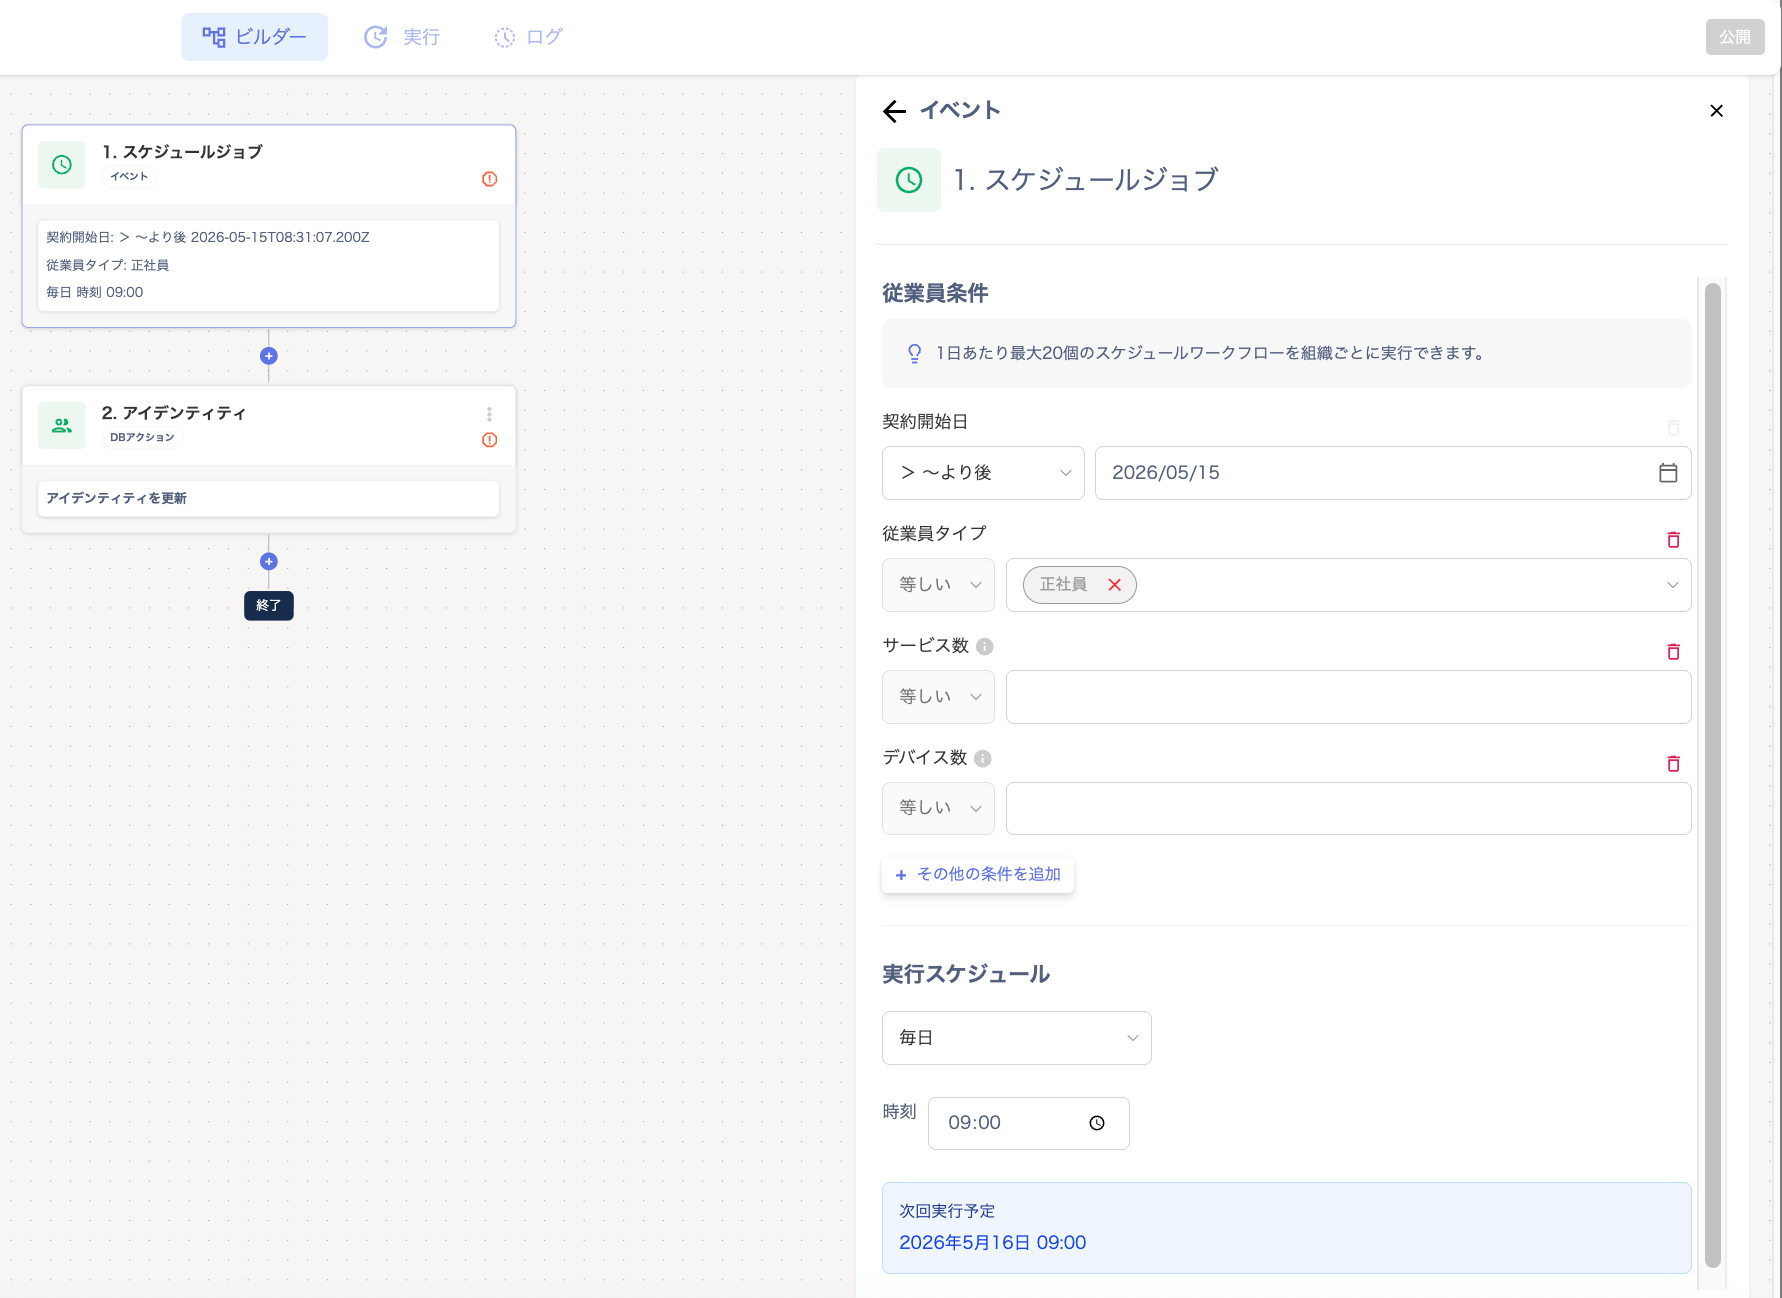
Set the employee conditions in “1. Scheduled Job” on the Builder screen.
-
The screens after “1. Scheduled Job” differ depending on the template you selected. See the linked steps for details.
- Scheduled directory update: Identity
- Bulk Identity Sync: Data Mapping
- Email Domain Classification: “Filter” > Identity
- Archive Inactive Employees: Identity > HTTP Request > Notification
- Unregistered Employee Migration: Identity > HTTP Request
-
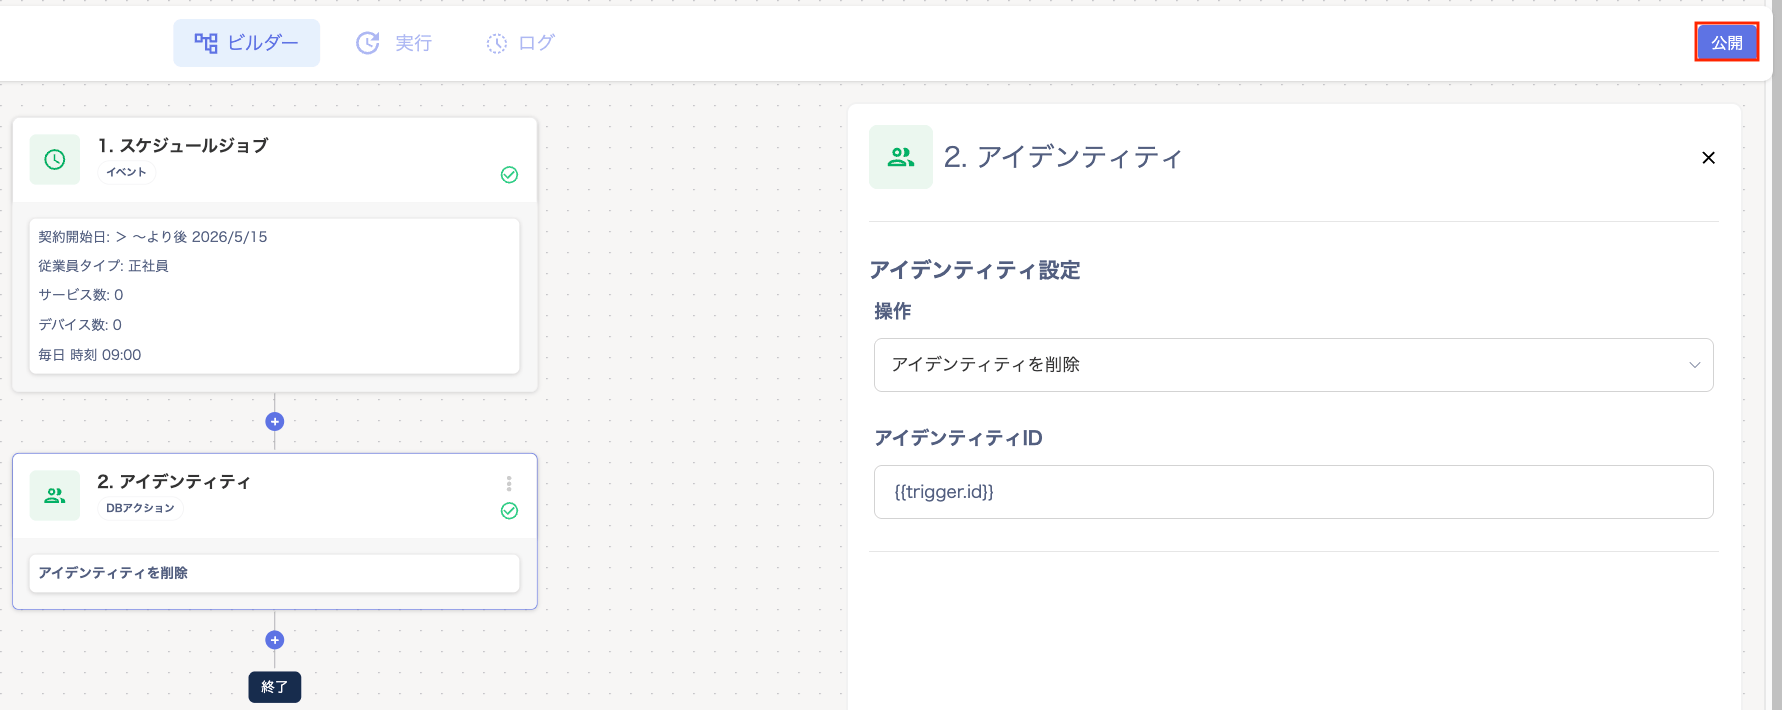
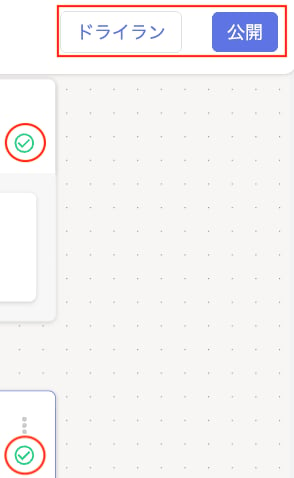
Click [Publish] in the upper right corner of the screen.
-
Once all checks in the builder turn green, click [Publish] or [Dry Run].
For dry runs, see Dry-run a workflow.
-
The “Confirm Workflow Automation Settings” screen appears. Set an automation name and click [Publish].
Automation Name: Enter an easily identifiable name (e.g.,
scheduled_update_identity).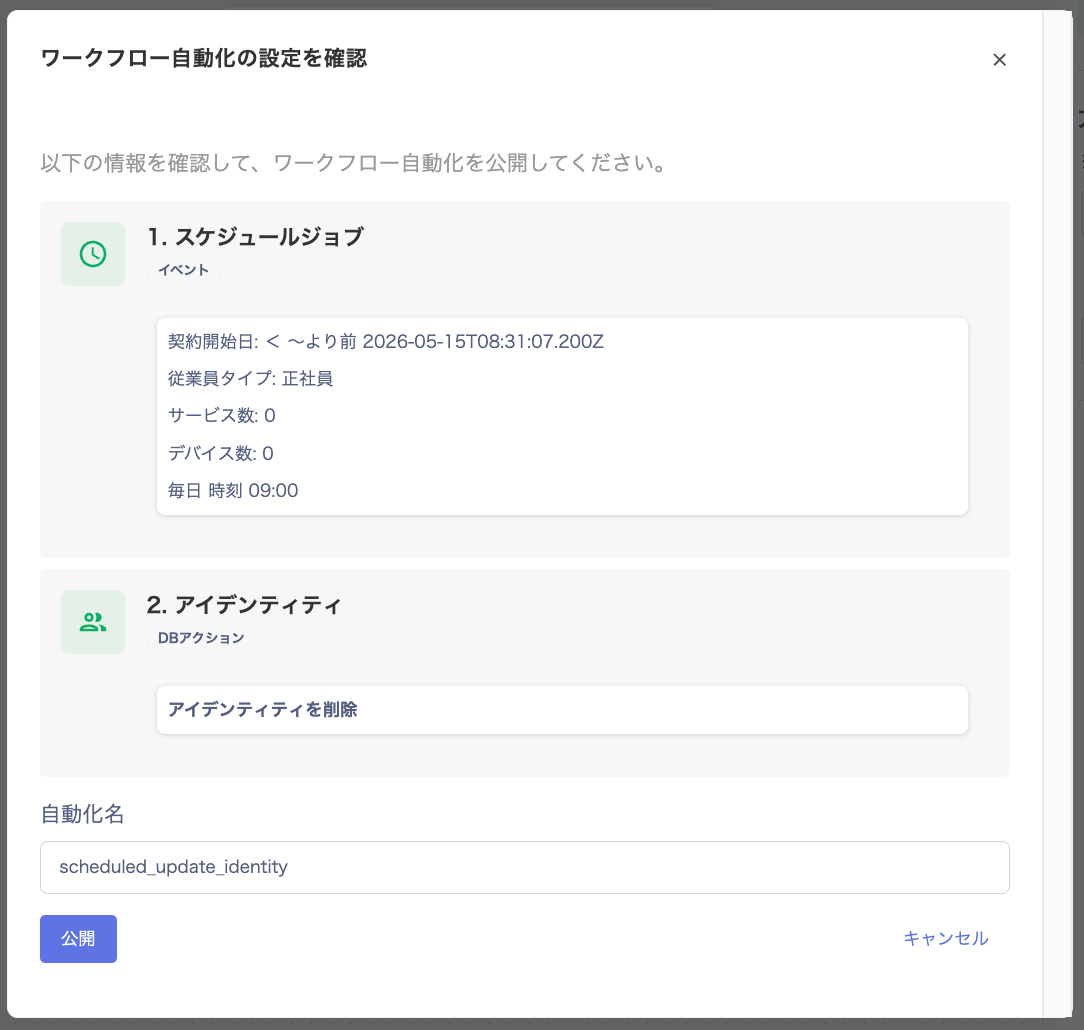
-
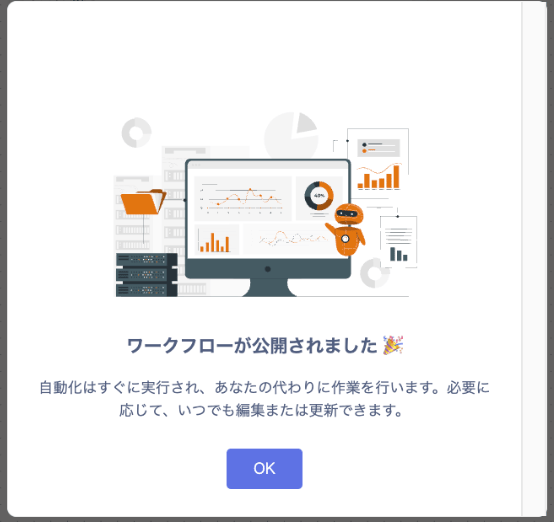
A message appears saying “Workflow has been published”. Click [OK].
On the workflow list in the Automation tab, find the workflow you created. Confirm that the toggle switch in the “Status” column is ON (enabled).
Identity
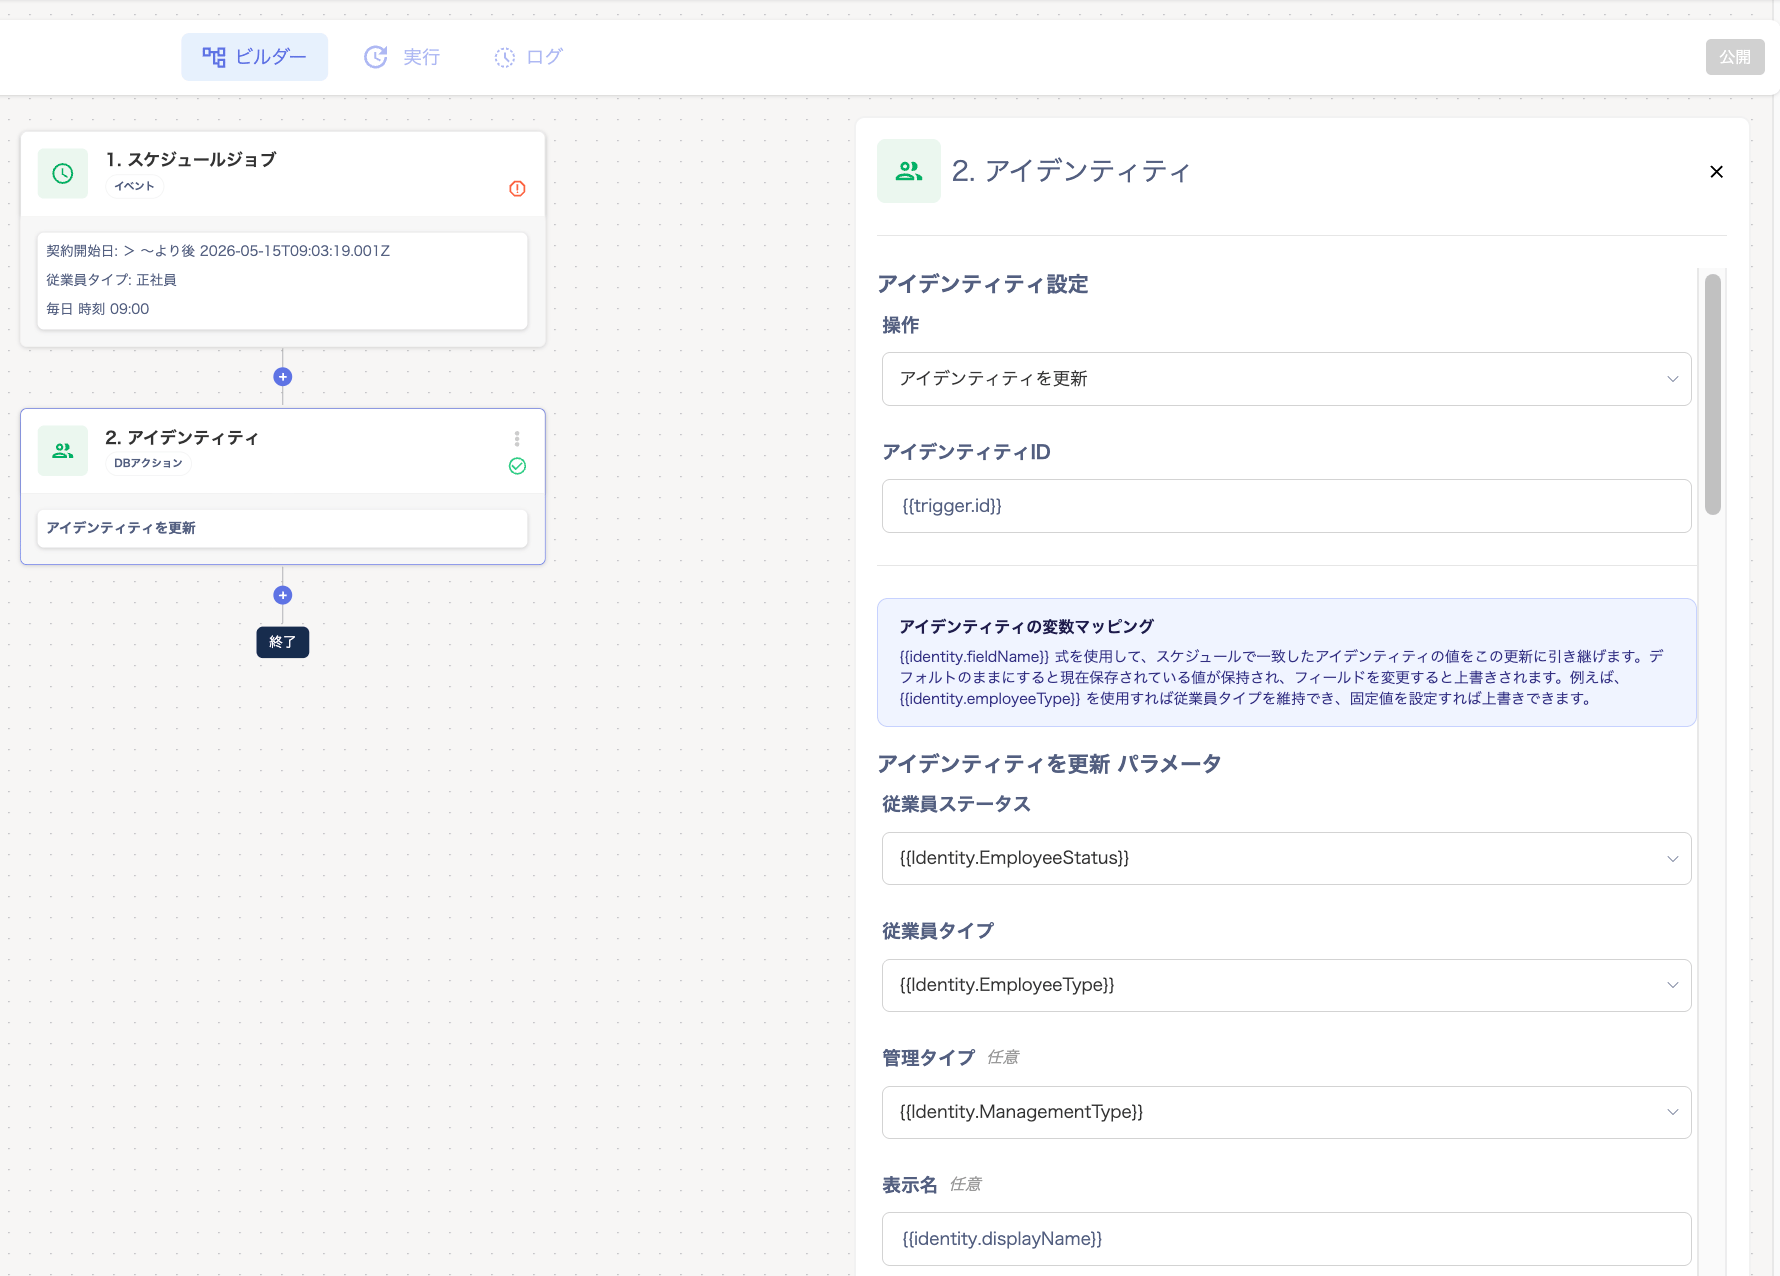
On the Builder screen, select Identity to configure what action to perform on the target users. Action: Select “Get Identity / Create Identity / Update Identity / Delete Identity”.- If you select “Get Identity / Delete Identity”, the Identity ID field appears.
- If you select “Create Identity / Update Identity”, the “Create Identity Parameters” screen appears. Review the “Identity Variable Mapping” explanation. Check that variables such as
{{identity.displayName}}(display name) are linked correctly. Also check{{identity.primaryEmail}}(primary email address) is linked correctly. You can also map fields such as job title, department, employee ID, and contract end date as needed.
Data mapping
On the Builder screen, select Data Mapping. This shows a list of the standard identity fields and your company’s custom identity fields. Click [Autofill from Sample Payload] to automatically infer each field based on the keys received in a test payload. Fields are matched in order of priority: exact match, then partial prefix/suffix match.Always review the results before saving. Fields with no match are left blank and are skipped at run time.To override a field, click it and select a variable from [Insert Variable]. You can also enter a direct path (e.g.,
{{trigger.user_displayName}}) to override or specify the value. Each field can hold only one {{trigger.X}} variable — entering more than one makes the field invalid.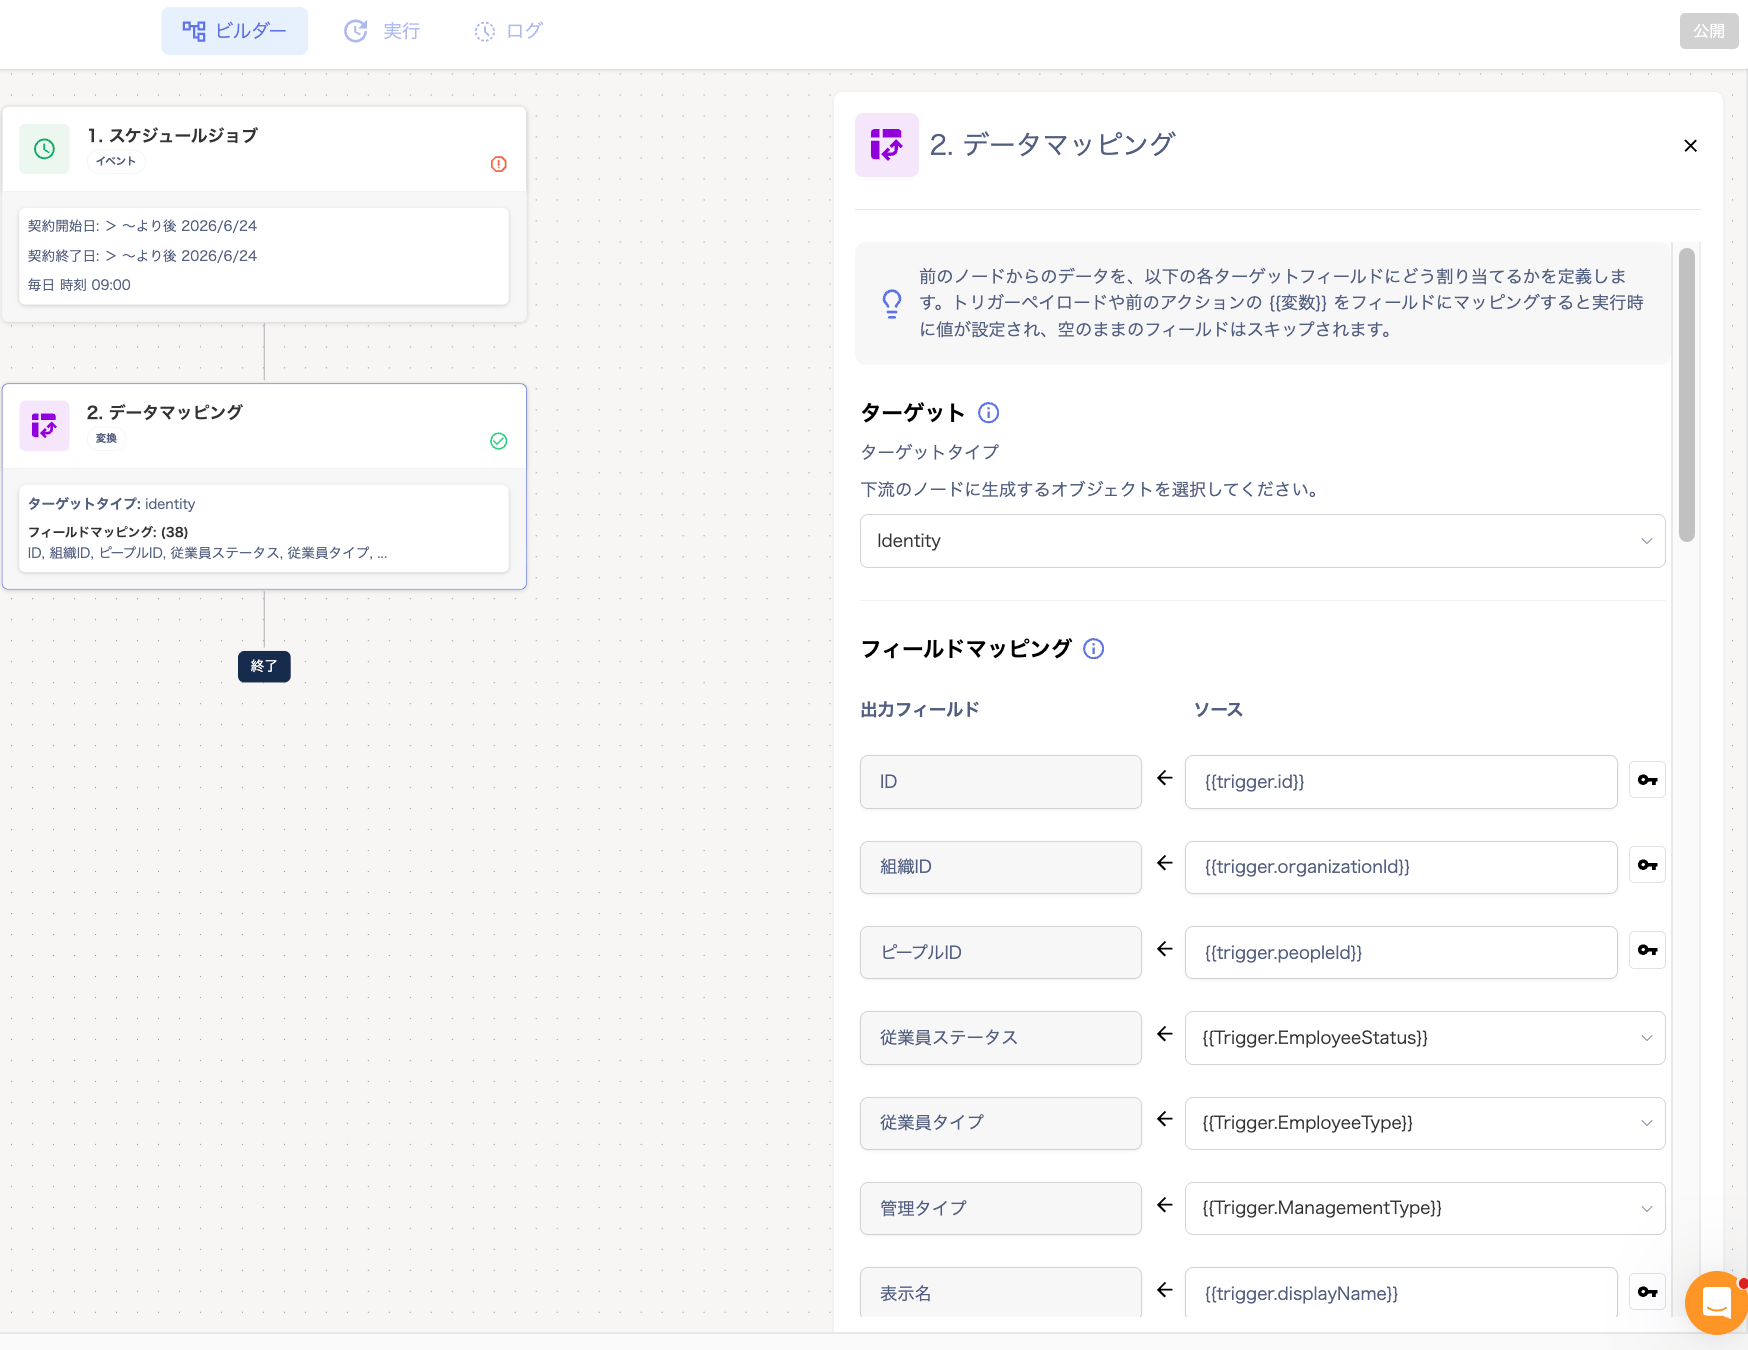
How to automatically delete accounts with no service integrations (0 services)
You can automatically extract and delete accounts that are not linked to any SaaS (0 services). Use this to clean up unnecessary data. Set the conditions to extract users with “0 services” as the target. For how to check “0 services” in the directory, see Other filters.- Go to Automation > click [Create Automation] in the upper right corner of the Automation Center screen.
- Once the template selection screen appears, click Scheduled directory update.
- Use the spin button (up/down arrow) to the right of the number of services to set the threshold to “0”. This targets accounts with no connected SaaS applications.
- On the Builder screen, under “2. Identity”, select [Delete Identity].
- Click [Publish] in the upper right corner of the screen.
- The “Confirm Workflow Automation Settings” screen appears. Set an automation name and click [Publish].
- A message appears saying “Workflow has been published”. Click [OK].
Check the automation execution history
Go to Automation > Automation tab > check the “Last Run” column in the workflow list to view the execution status.
Check the execution log
Go to Automation > select the workflow > Run to view the execution details.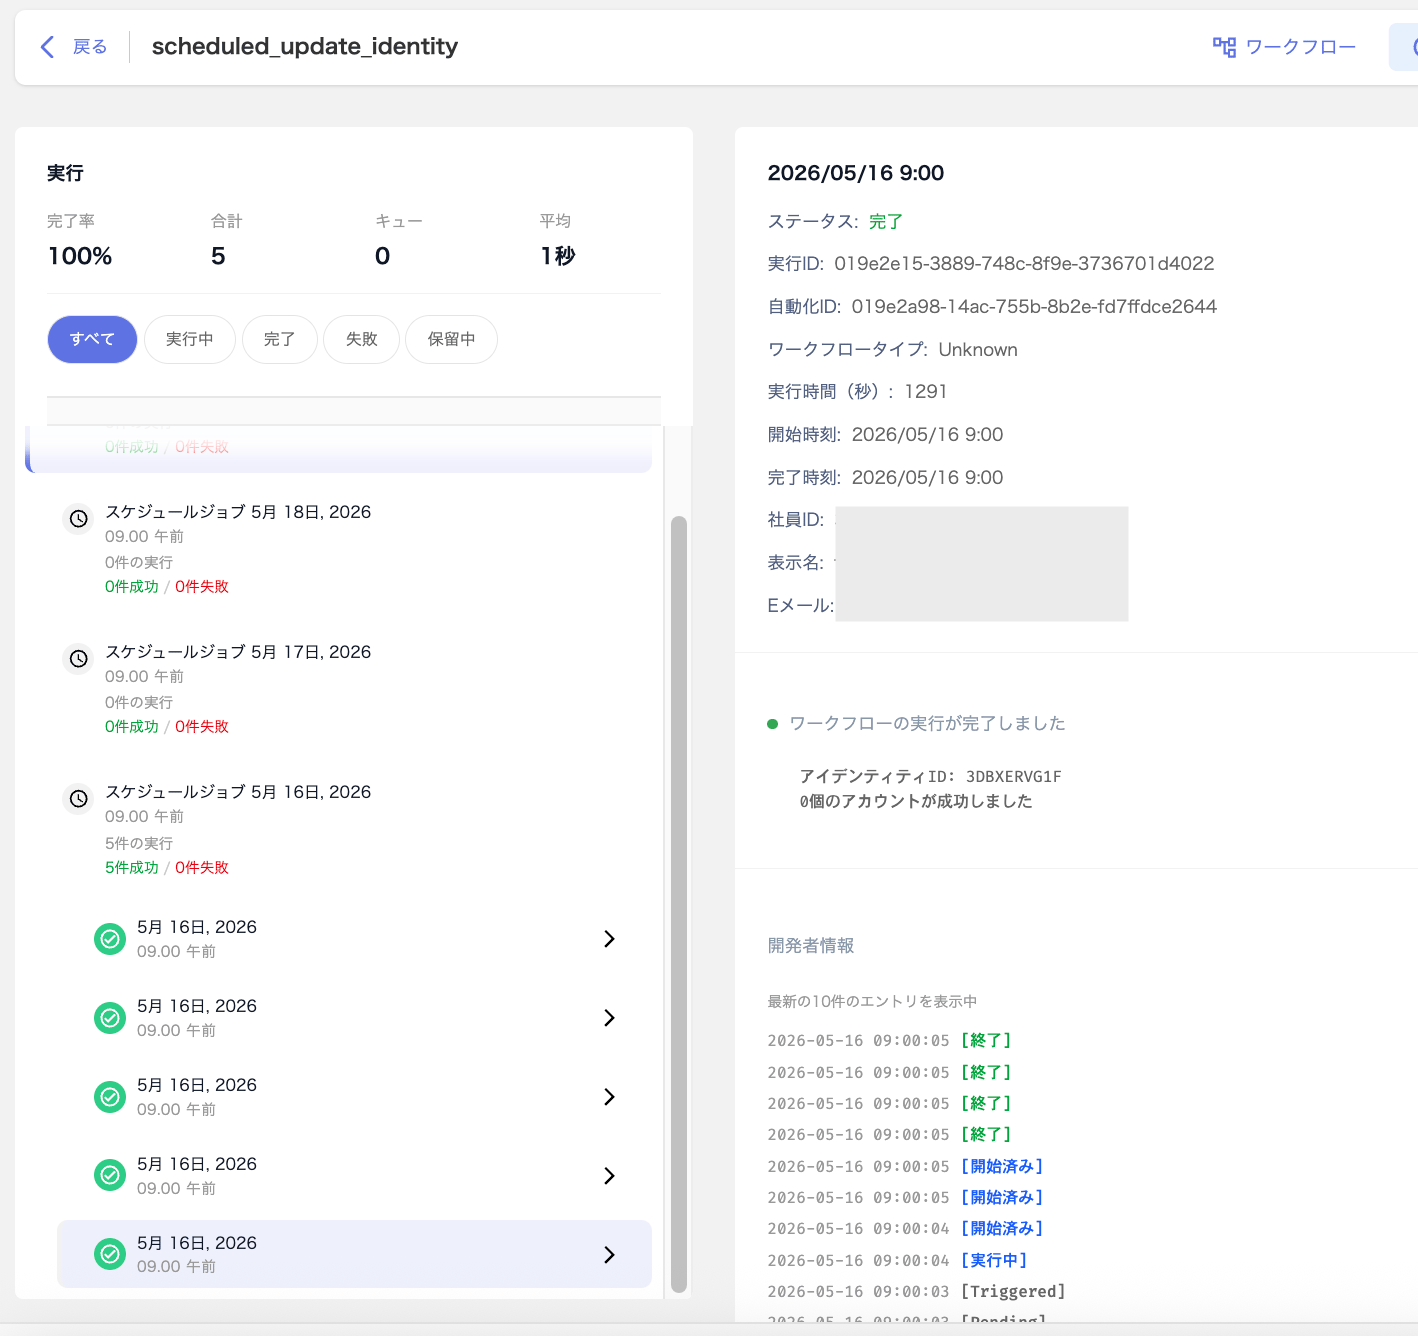
Check the execution history in the logs
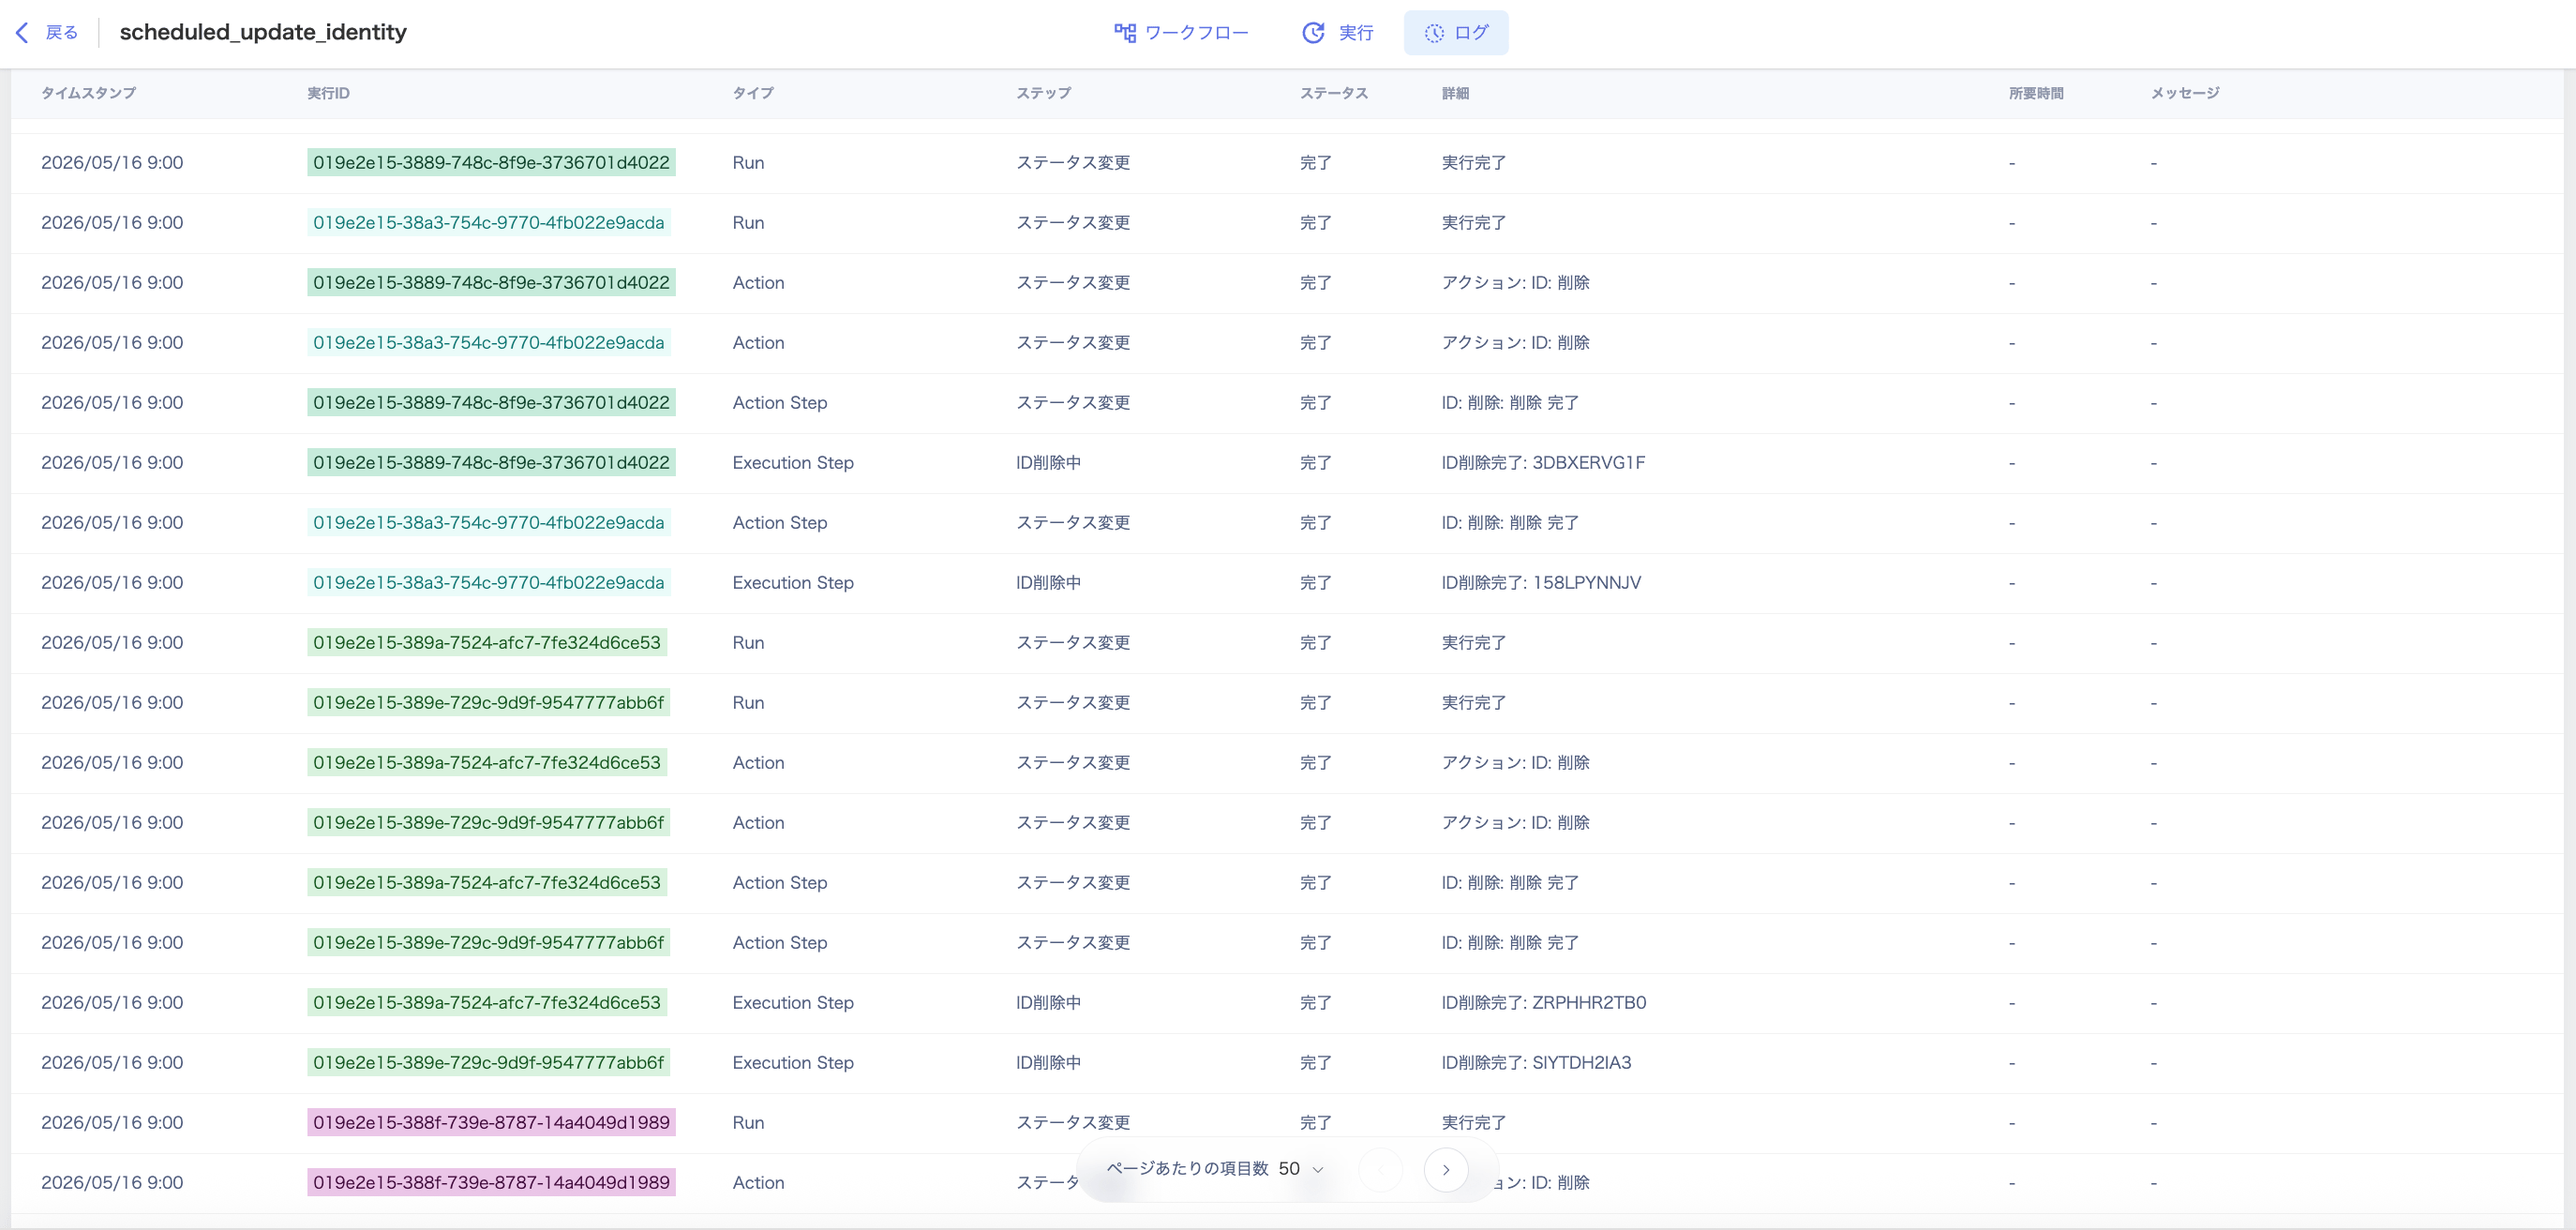
Go to Automation > Automation tab > select the workflow > “Logs” to view the execution history.