

SaaS status: The target SaaS must be connected with administrator privileges (including API permissions) sufficient to create and delete accounts.
Check supported SaaS for automation
Check which connected SaaS, and which environment (workspace) for each, you want to include in the automation. You can check which SaaS support automation on the following screens.Mapping methods
Configure which permission, group, or role to include in the automation. This service offers two mapping methods to match your operations. The fields available for static or dynamic mapping vary by service. You can typically configure roles, groups, teams, permissions, and licenses.Setup steps
-
Go to Automation Center > Services > Connection settings, then click [Add connection].

-
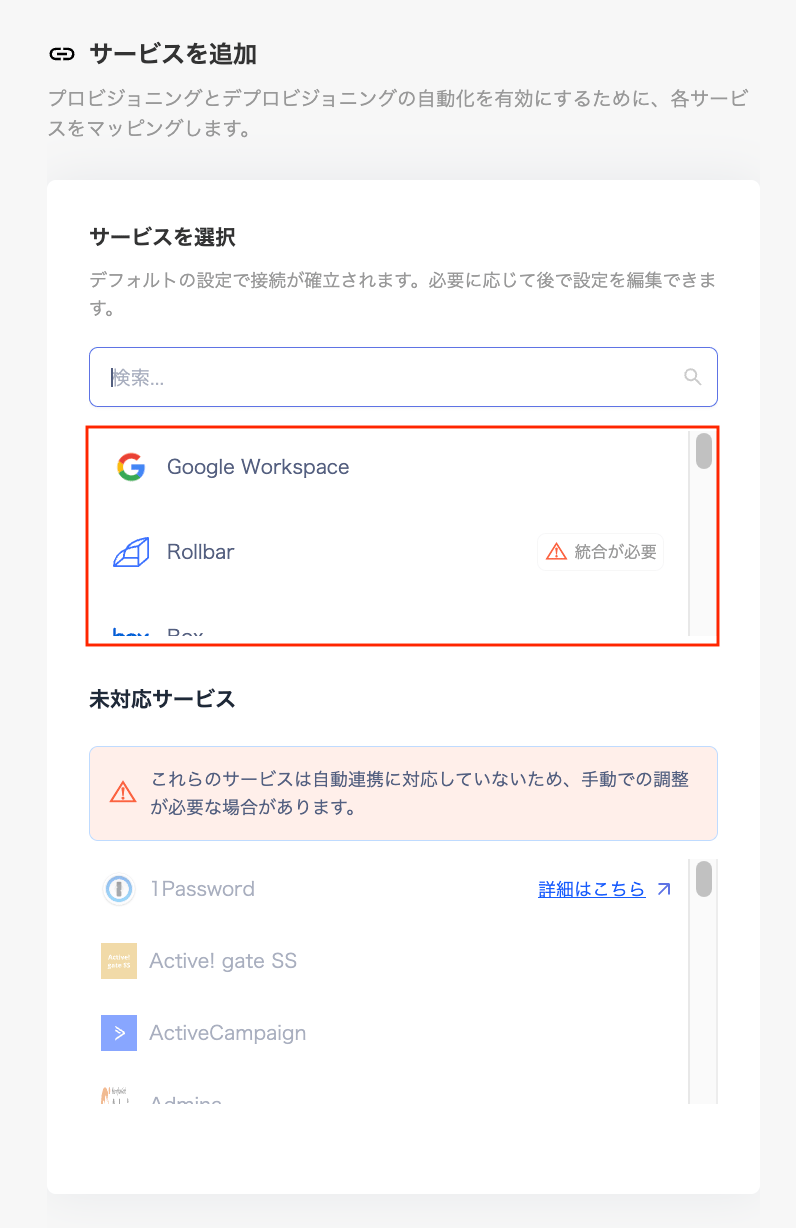
Select a service on the Add service screen.
The services listed under Select service are the currently supported services. Services not listed are not yet supported.
-
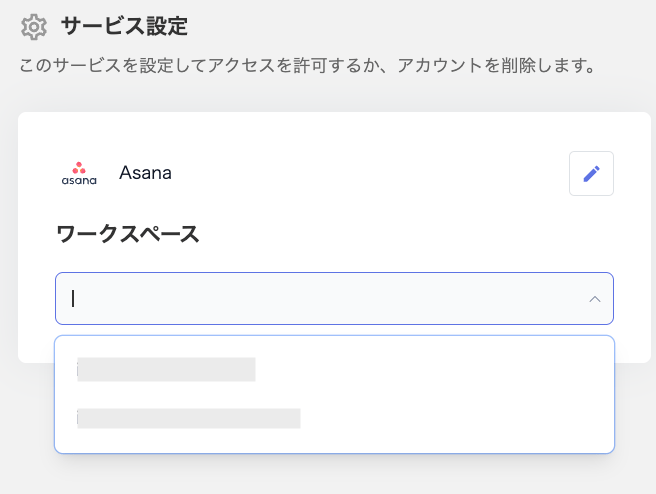
Select a workspace on the Service settings screen.
If you have multiple workspaces, configure each one separately.
-
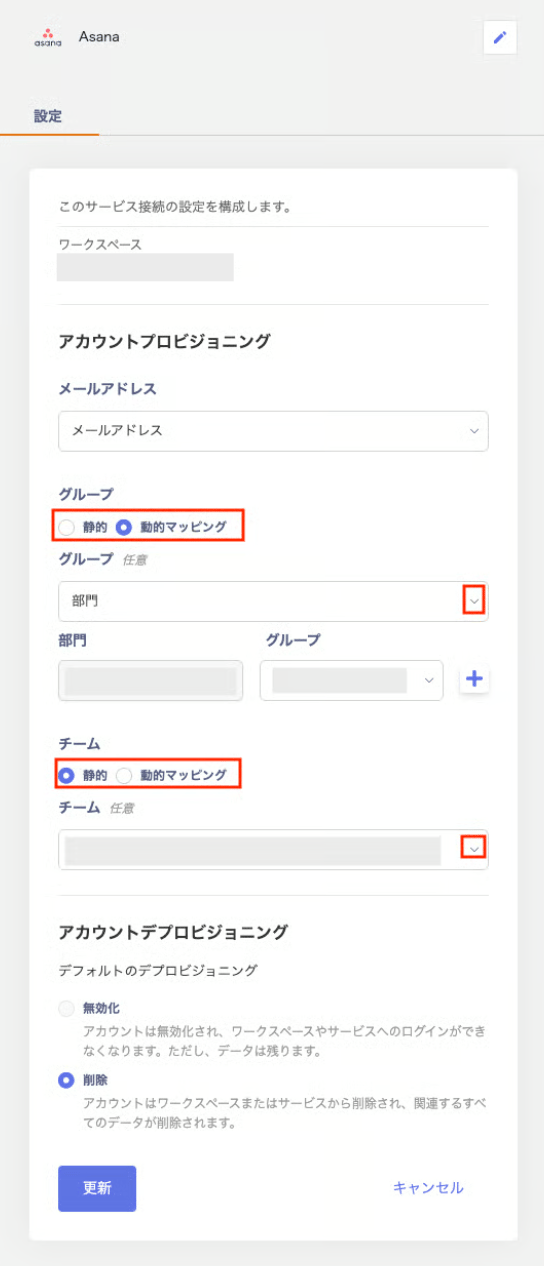
Configure each field on the Service settings screen, then click [Save].
Select static or dynamic mapping with the radio button, then configure it in the dropdown menu that appears below.
For details on static and dynamic mapping, see Mapping methods. For custom fields, see the configuration steps.
-
The mapped service appears on the Connection settings screen under the Services tab.

Connection settings when a SaaS integration stops
You can check the status of an integrated SaaS in Integrations > Status. If it changes to Stopped, Suspended, or System Maintenance, that workspace’s connection setting becomes Unavailable. For the meaning of each status, see View integration logs.- While the connection setting is Unavailable, workflow steps that create, deactivate, or delete accounts fail.
- Retrieved account information and mapping settings are not deleted. When the SaaS syncs successfully again, the connection setting automatically returns to Connected.
- If you click [Delete] in Integrations > Status to disconnect the integration, its mapping settings are also deleted. For details, see Disconnect a SaaS integration.