

Integration Specifications
When you create a Zoom account, you can set the following fields. They are available when you add an account from the Services screen and in automation service connection settings.
- Select Basic or Licensed in User Type (required)
- Select Zoom Phone in Enable (optional) to assign Zoom Phone
What is the Zoom Integration?
This is a SaaS management platform. As SaaS tool usage grows, it helps IT administrators discover, optimize, and manage SaaS usage and costs. This helps companies make better use of their software assets. With the Zoom integration, users can view and manage access and license usage within the dashboard. It analyzes access counts, utilization rates, and license consumption to determine the optimal Zoom plan. The following features support corporate governance, cost reduction, security, and lighter SaaS management workloads:- SaaS discovery
- Centralized SaaS management and database
- SaaS and employee lifecycle management
- Integration with 200+ SaaS applications
Uninstalling requires deletion on both the Zoom side and this service’s side. See the instructions below for details.
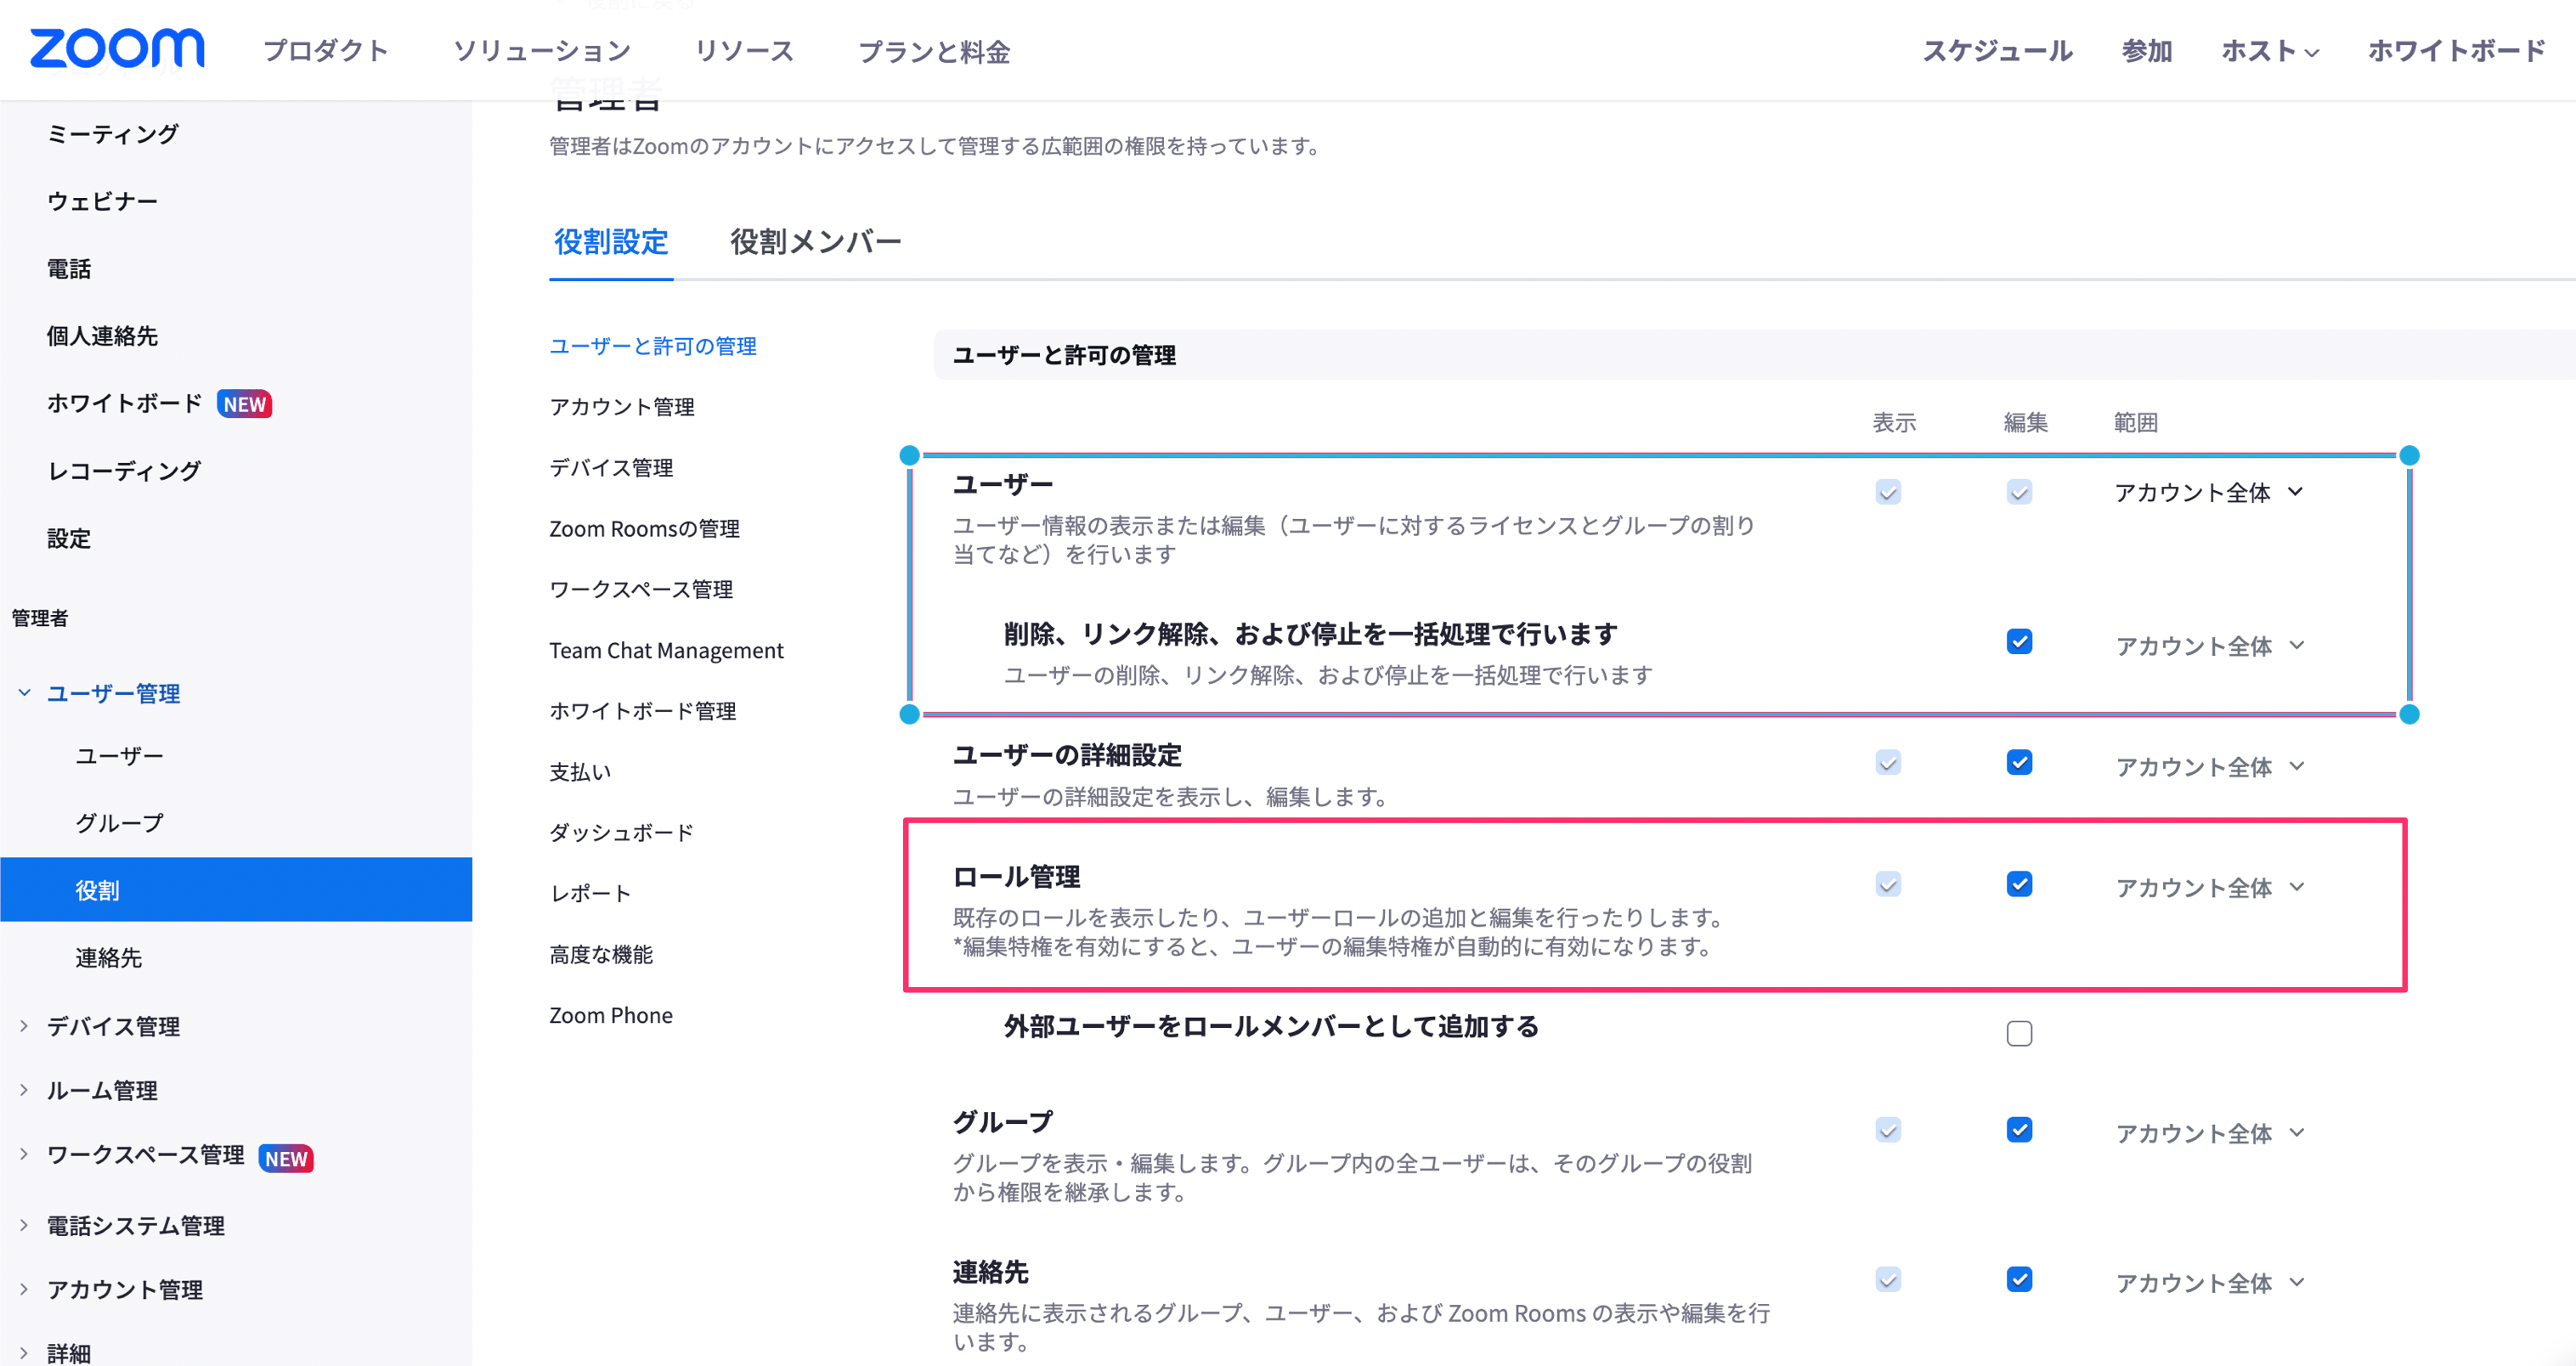
Owner-level permissions are required for this integration. If you do not have owner permissions, ask a user with owner permissions to change the connecting user’s permissions in the following location:Admin > Roles > Members > Role Settings > User and Permission Management
- User, role management: Check View
- Perform deletion, unlinking, and suspension in bulk: Check Edit (required if adding or deleting accounts)
- Scope: Entire account
Integration Setup
- In the integrations screen, search for Zoom.
-
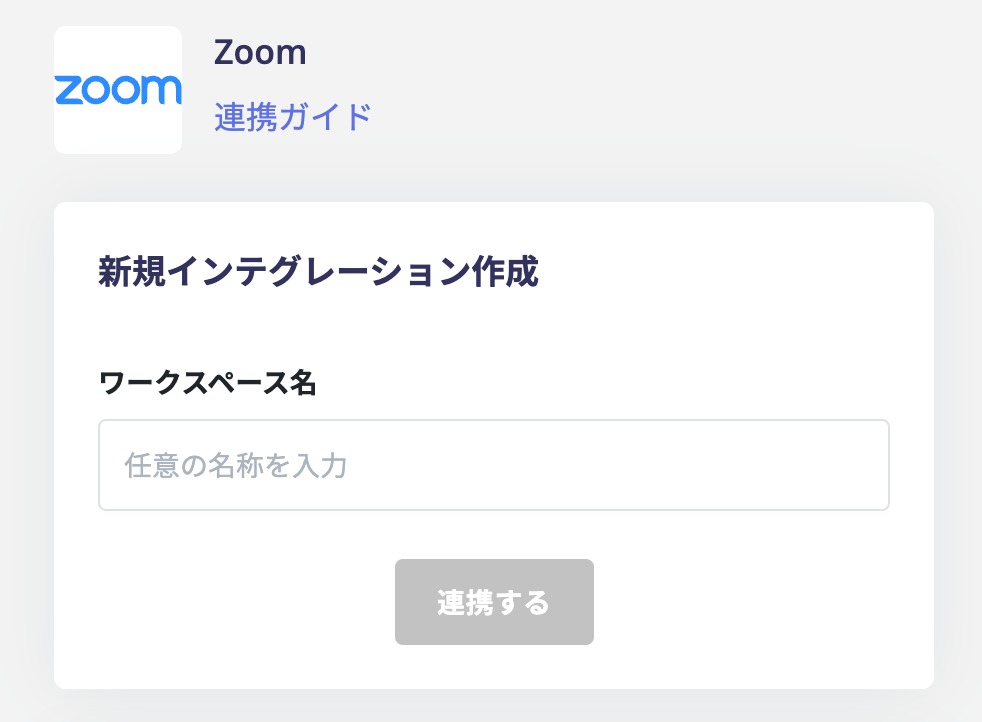
Enter any string for the workspace name (e.g., your company name) and click Connect.
-
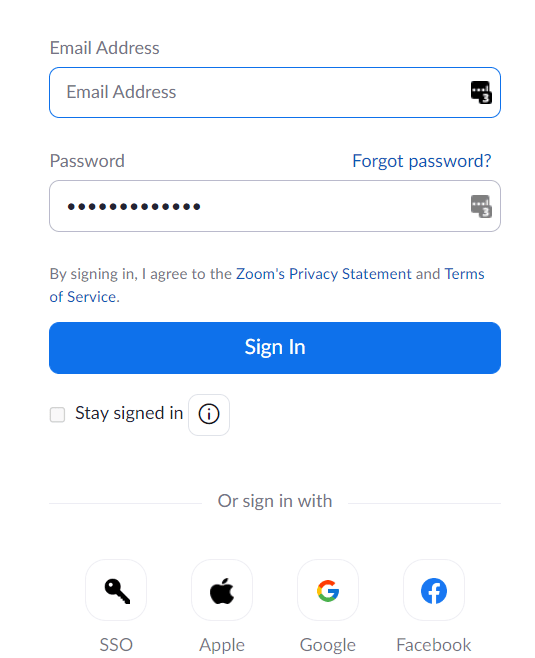
You will be redirected to the Zoom login screen. Sign in using your preferred login method or Zoom email address and password.
-
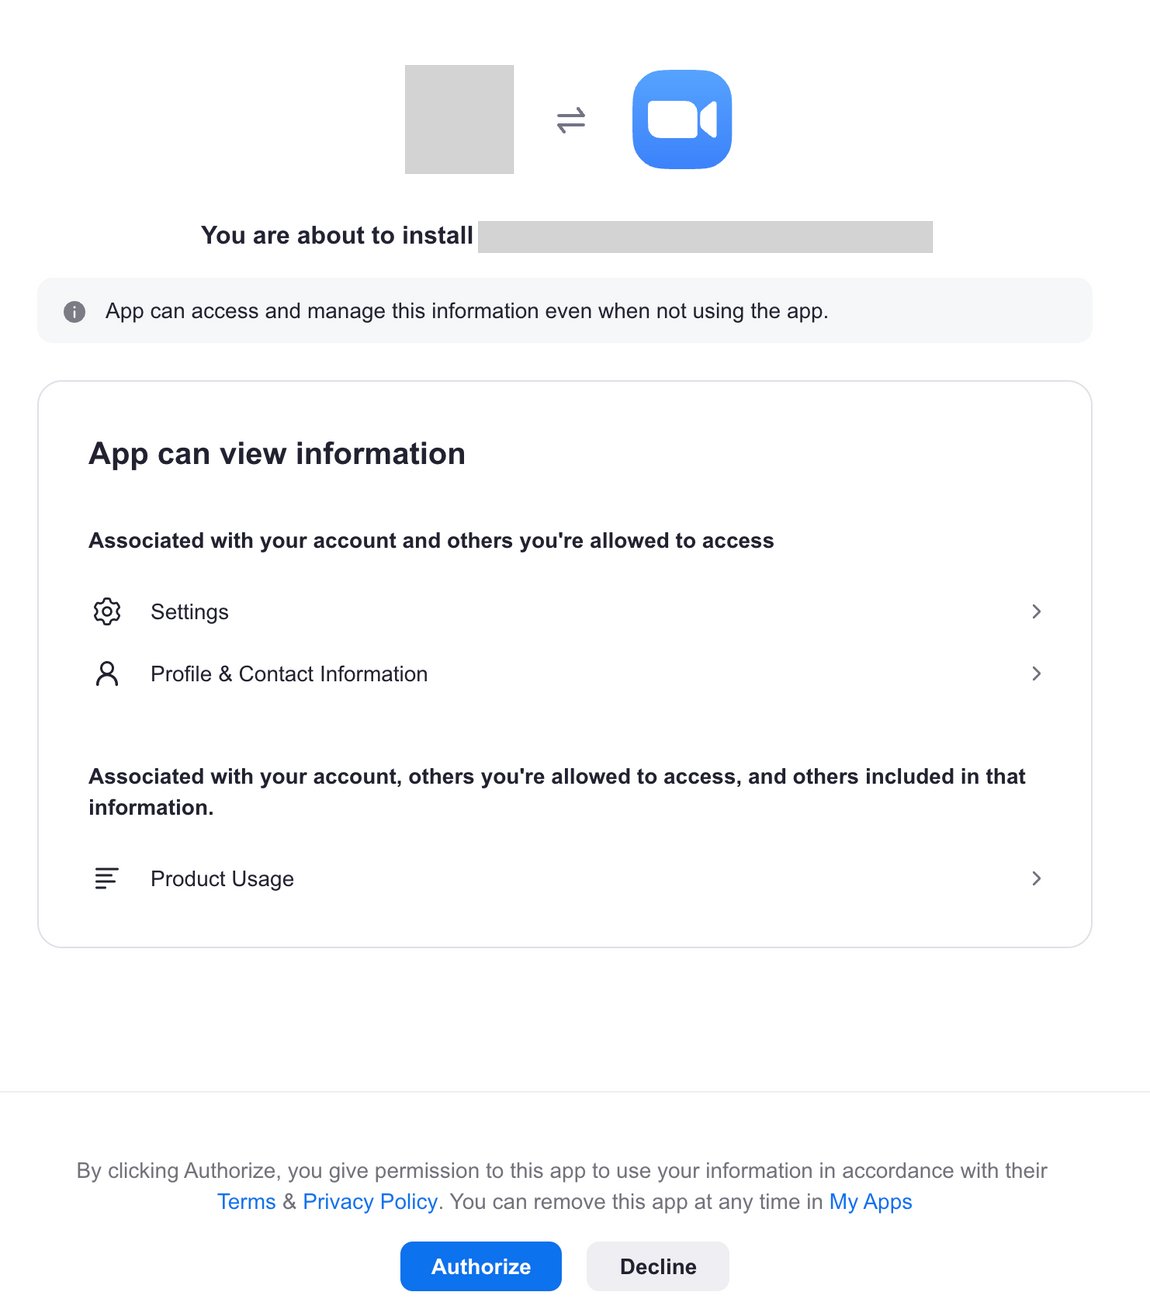
After logging in, a permission confirmation screen will appear. Review the content and click Authorise.
-
If you see the following screen instead of the one above, click Approve for all users.
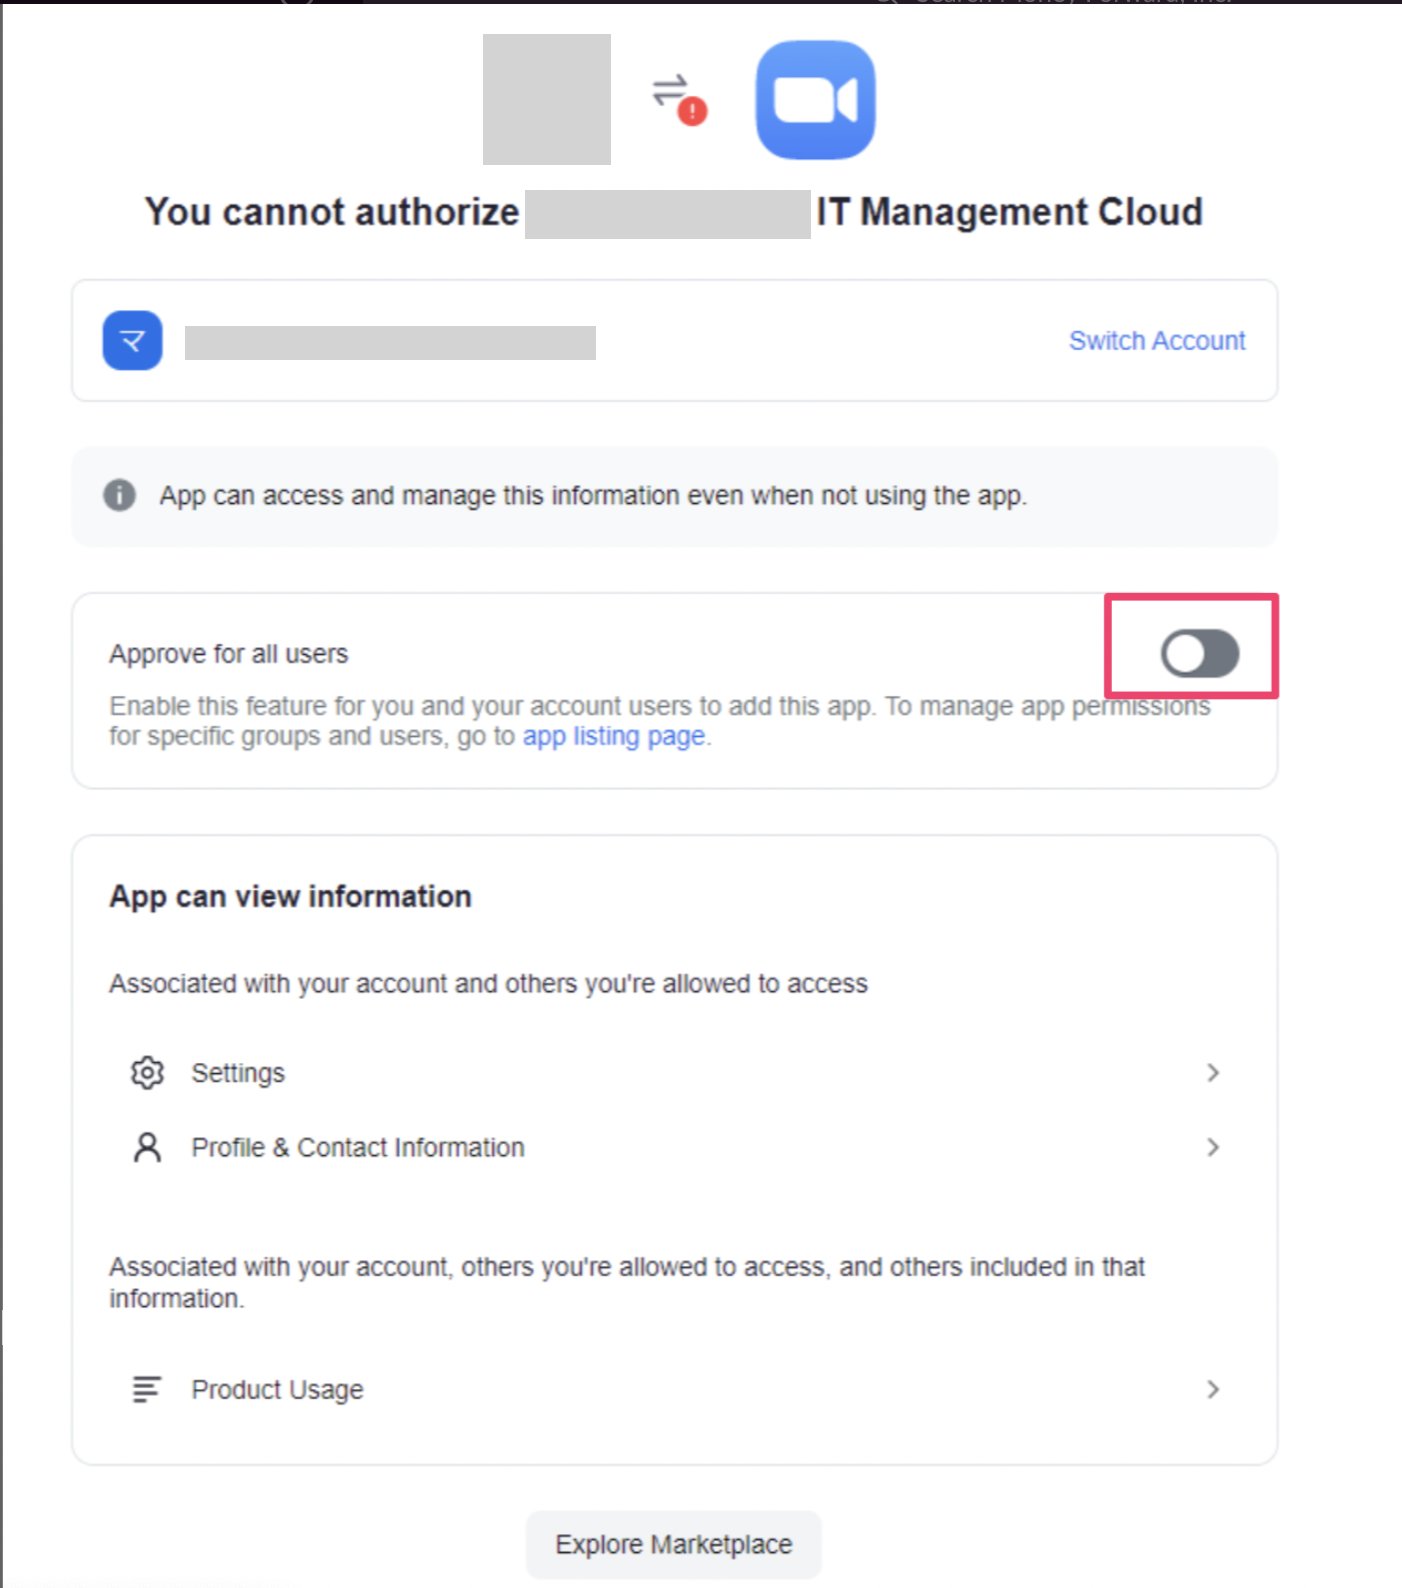
-
Click Enable.
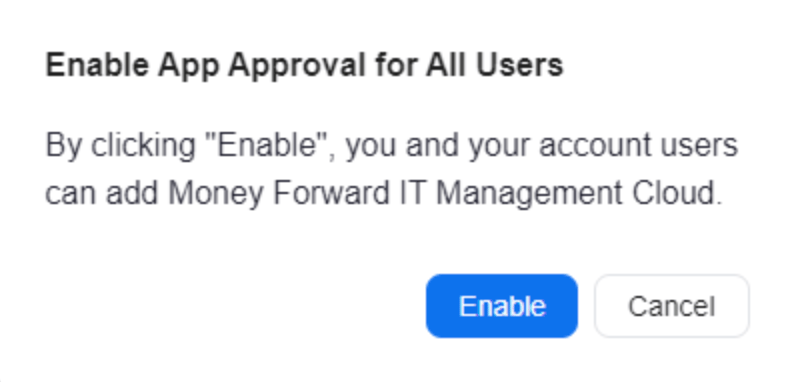
-
Click Allow.
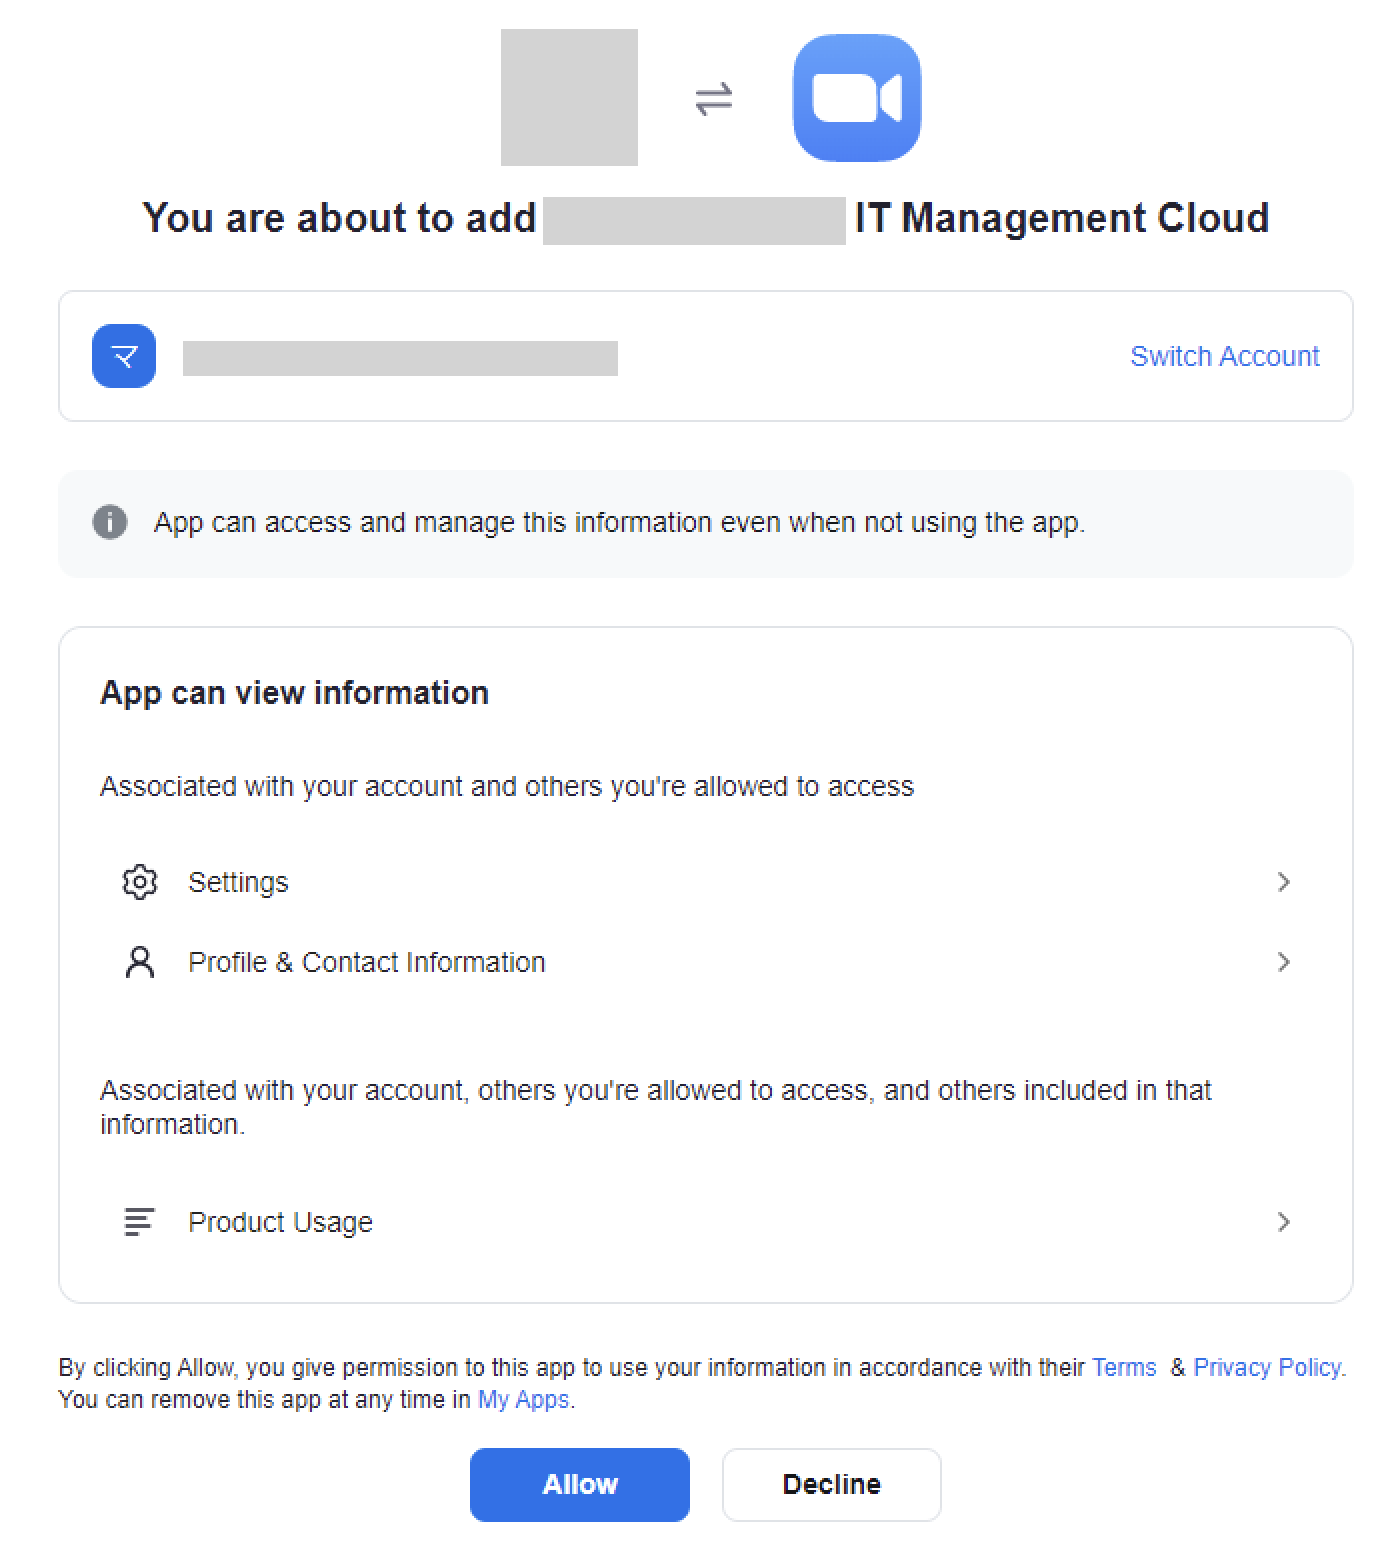
- Once the integration with Zoom is successful, the registered user information will appear in the account list. If the setup does not complete successfully, go to the status tab on the integrations screen, click Edit. Try connecting again. If the issue persists, please contact us via chat.
How to Uninstall Zoom / Disconnect
Uninstalling requires deletion on both the Zoom side and this service’s side.- Go to the integrations screen, select Zoom, and click the delete button.
- Navigate to the Zoom Installed Apps page, find this service’s app (IT Management Cloud), and click Uninstall.
App Scopes
This integration uses the following scopes:- View all user roles / role:read:admin
- View all user information / user:read and write:admin