

Microsoft Entra ID (Azure AD) is the only identity provider supported at present.
Configuration flow
After completing the prerequisites, configure the workflow in three main steps.- Identity provider integration (Entra ID): Connect Entra ID and link your apps to services.
- Configure automation mapping: Set up the mapping with Microsoft Entra ID.
- Create and publish the workflow: Create the workflow from the template. Then set the conditions, services, apps, and notifications.
How the workflow runs
The template runs the following steps from top to bottom.
Under “Services to delete accounts from”, App Unassignment follows Entra ID. App Unassignment runs after the Entra ID deprovision.
Steps to configure offboarding via Entra ID
-
Go to Automation > [Create workflow] > [Offboarding via Entra ID (App Unassignment)].

-
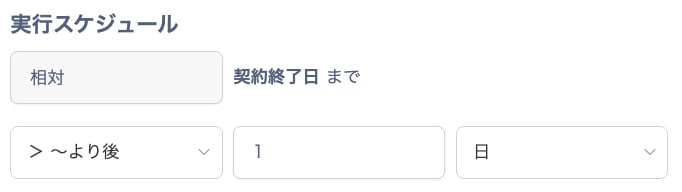
On the builder screen, click “1. Event Trigger” and set “Execution Schedule”. The template runs the workflow 1 day after the contract end date.
-
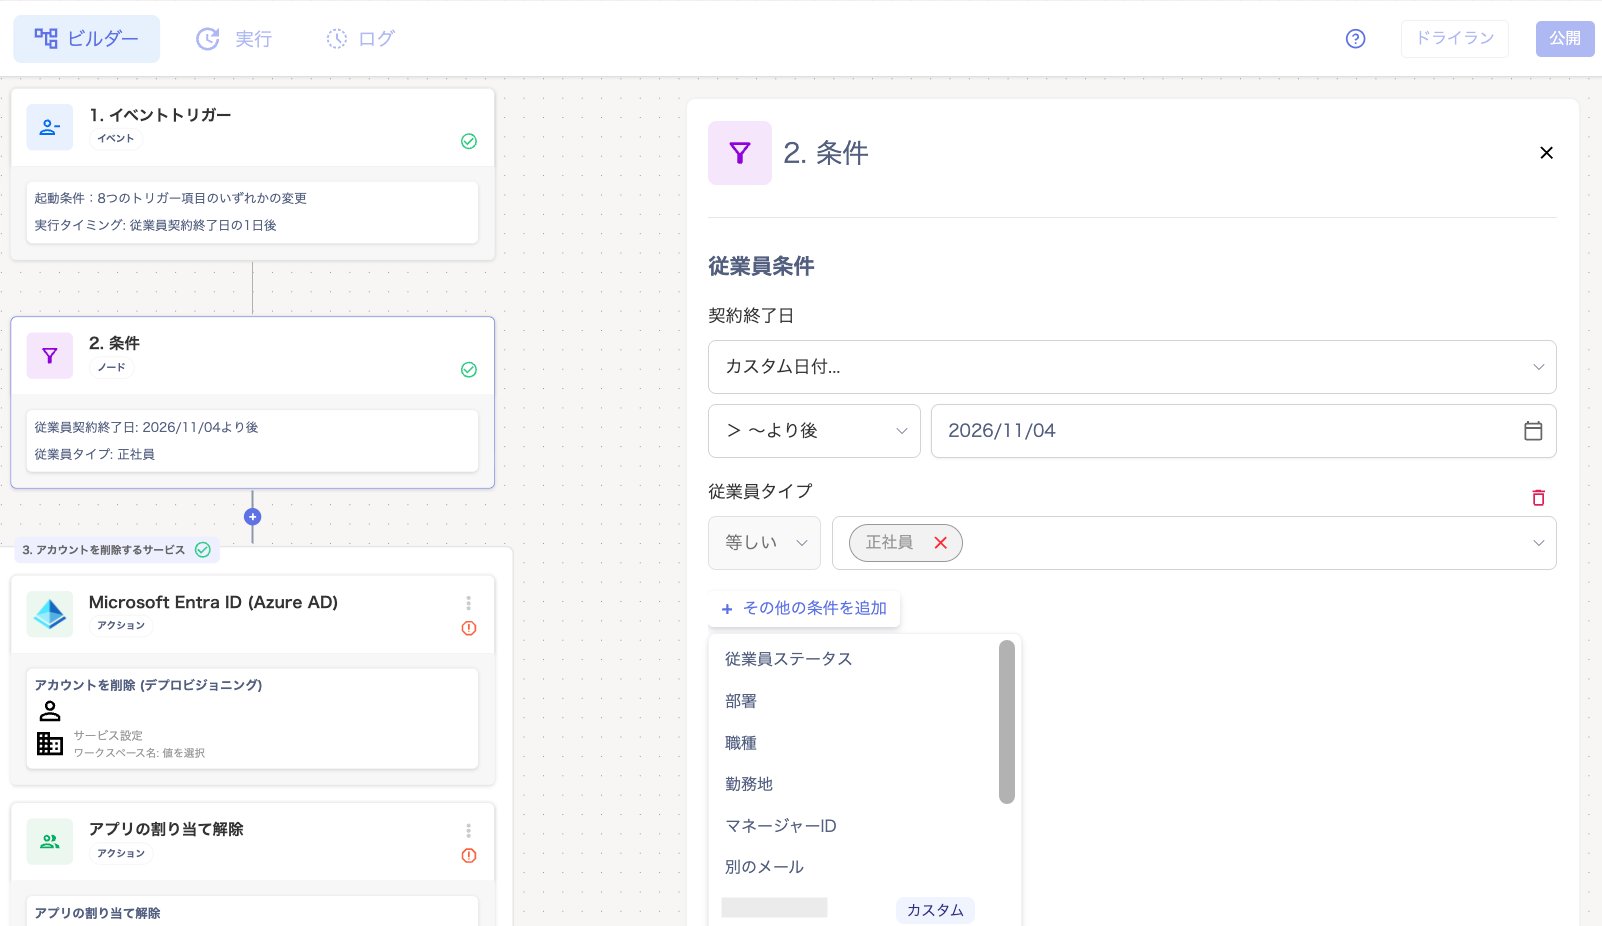
Click “2. Conditions” and set the conditions for target employees. The template targets full-time employees.
The available items are the same as in “2. Conditions” in Configure an offboarding workflow.
-
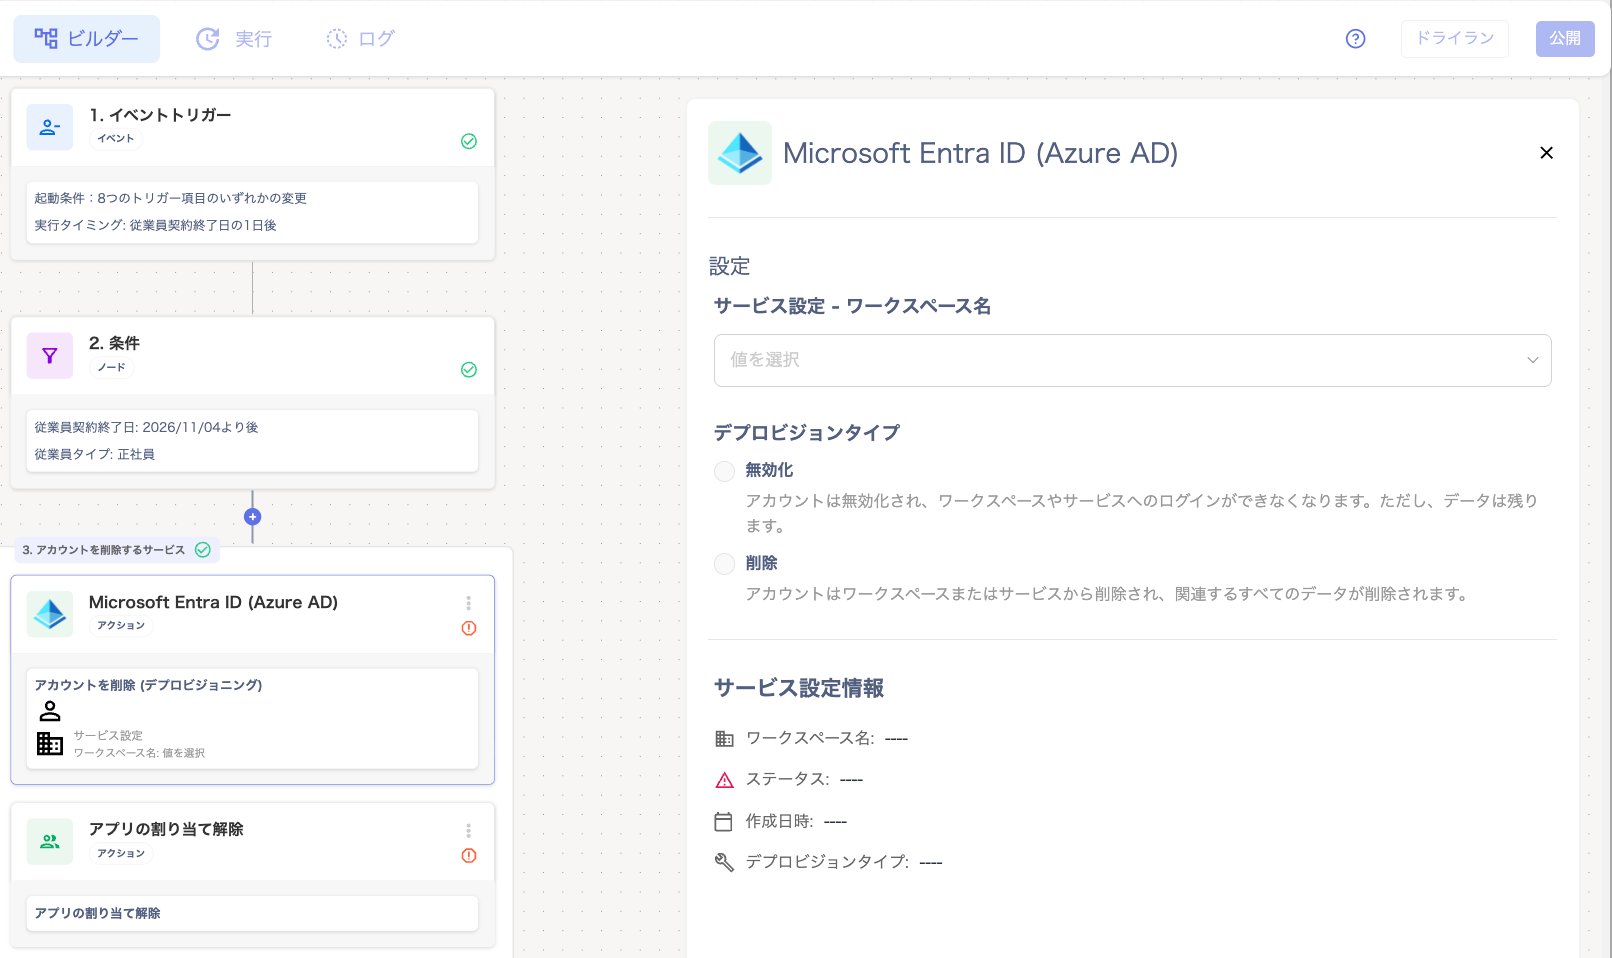
Under “3. Services to delete accounts from”, set up Microsoft Entra ID.
-
Click the Microsoft Entra ID step to open its “Settings” panel on the right. Select the workspace name from the “Service settings - Workspace name” dropdown.
-
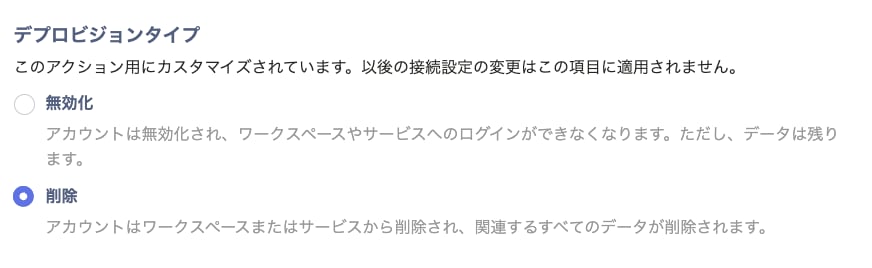
Check the “Deprovision Type”. The available types depend on the service, and unavailable types are grayed out.
If you select none here, the deprovision type set on the connection applies.
-
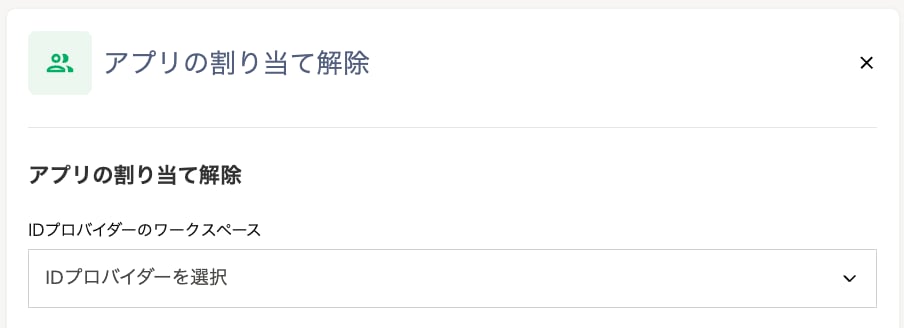
In the same group, click “App Unassignment” and set the following items.
If “No managed apps are available. Add apps to this identity provider before configuring this action.” appears, first link your apps to services in Identity provider integration (Entra ID).
-
Click the Microsoft Entra ID step to open its “Settings” panel on the right. Select the workspace name from the “Service settings - Workspace name” dropdown.
-
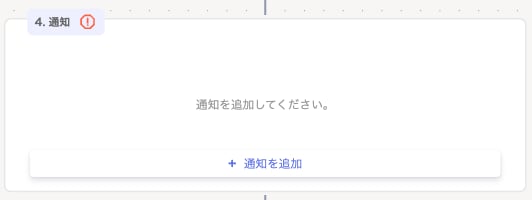
Click “4. Notification”, click [+ Add Notification], and set the notification method: Slack or Email. The steps are the same as “4. Notification” in Configure an offboarding workflow.
-
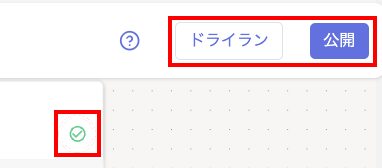
After all settings are complete, all checks in the builder turn green. Click [Publish] or [Dry Run].
For details on dry runs, see Dry-run a workflow. In a dry run, the App Unassignment result reads “Removed the app assignment from the IdP account”.
-
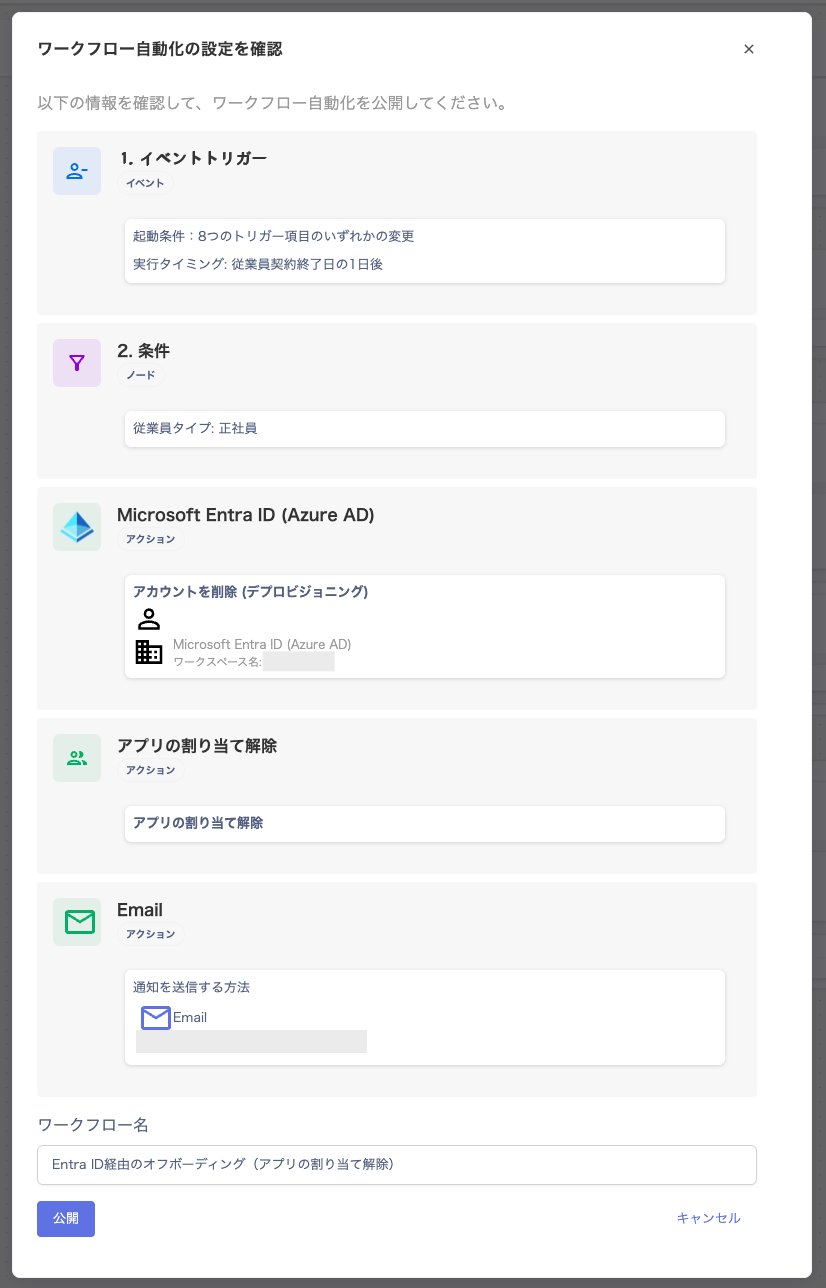
The “Confirm workflow automation settings” screen appears. Enter the workflow name and click [Publish].
Note: You cannot use a name that is already registered.
-
When “Workflow has been published” appears, click [OK].
Messages shown when you save or publish
For the messages shown when you save or publish, see Check Entra ID assignment status and errors. You cannot delete the Entra ID step of the template. To build a workflow without Entra ID, create it from scratch. For details, see Create a workflow from scratch.Check the results
When the workflow runs, it requests the unassignment for each selected app.- If one app fails, the unassignments for the other apps continue.
- An app the employee is not assigned to does not fail. The workflow completes without any change for that app.
- App Unassignment does not delete the Entra ID account itself. The Deprovision Type of the Entra ID Deprovision step decides what happens to the account.