

Integration Specifications
With Microsoft Entra ID as the employee master, the main Directory fields map to Entra ID user attributes as follows. The attribute names are Microsoft Graph property names.
You can change which fields Admina takes from Entra ID with the data sources in Directory Settings.
When you use Microsoft Entra ID as the employee master, Admina does not sync employees’ contract start dates from Entra ID. To use contract start dates, set them in one of the following ways:
- Directory CSV import (the
lifecycleContractStartAtcolumn) - API (
lifecycle.contractStartAt) - Manual entry on the User Information screen in the Directory
Attribute changes you make in Admina, such as job title or department, are not reflected in Entra ID. The operations Admina can perform on Entra ID accounts are creation (provisioning), deactivation, and deletion.If you have set up Identity Provider Integration (Entra ID), you can also assign users to apps and unassign them. For details, see Assigning and unassigning apps for Entra ID-managed users.
Admina does not integrate with on-premises Active Directory directly. Admina retrieves the users that exist in Microsoft Entra ID.How you register users in Entra ID does not matter. You can sync users with Microsoft Entra Connect or register them with a script or batch file. You can also create them directly in Entra ID. Admina retrieves all of these users under the same conditions. If you specify groups or a domain in the integration settings, Admina retrieves only the matching users.When you use Entra ID as the employee master, Admina determines each employee’s status at every sync. It uses the state of the user in Entra ID, such as whether you deleted the user or blocked sign-in. For the conditions, see Employee status conditions.
Integration Setup
Global Administrator privileges are required to set up the integration.
- On the Integration screen, search for Microsoft Entra ID.
-
Select one of the following options from the dropdown menu and click Integrate.
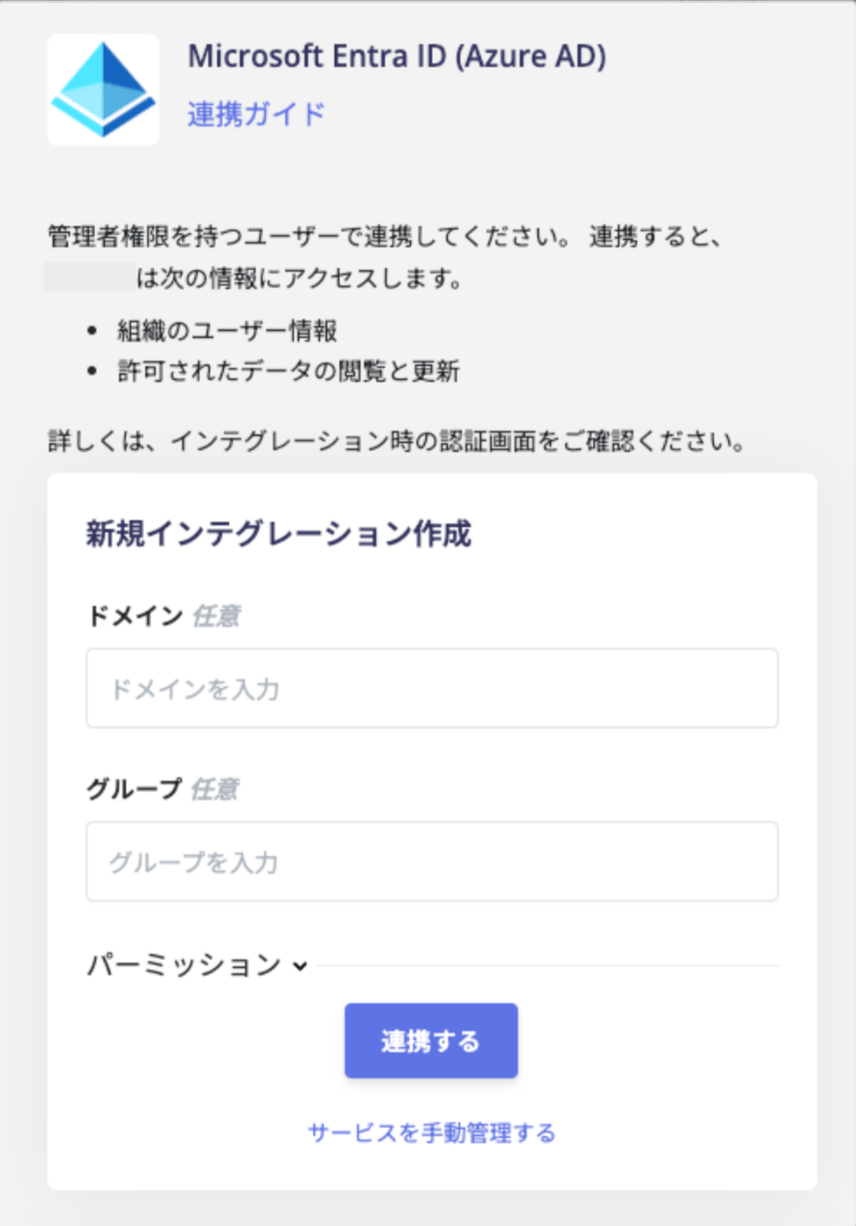
- Read and Write (Recommended): Supports account deactivation and provisioning features.
- Read Only: Allows read-only access to accounts.
Integrating with Specific GroupsYou can specify particular groups for integration. Obtain the object ID from Entra ID and enter it in the groups field.To specify multiple groups, use comma-separated group IDs without spaces (e.g.,groupID1,groupID2). Integrating by DomainEntering a domain allows you to integrate only accounts from that domain (e.g., i.moneyforward.com accounts only). Accounts outside the specified domain will not be retrieved, making this option suitable for initial verification. To integrate all domains, leave the field empty and click Integrate.
 -
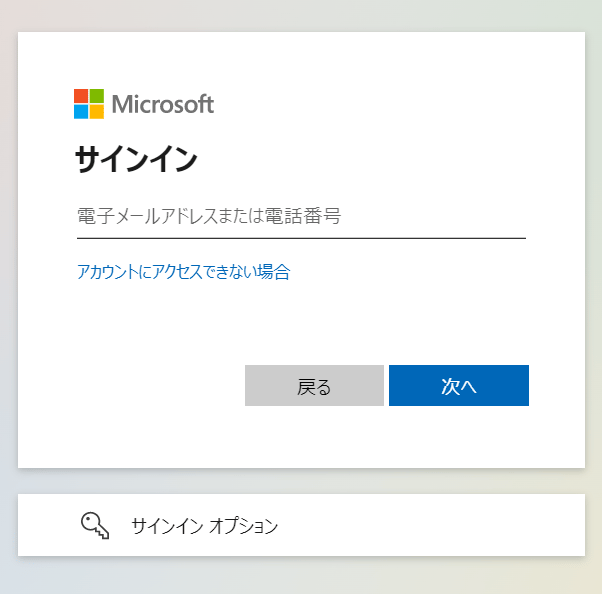
You will be redirected to the Entra ID login page. Enter your Global Administrator email address and password and click Login.
-
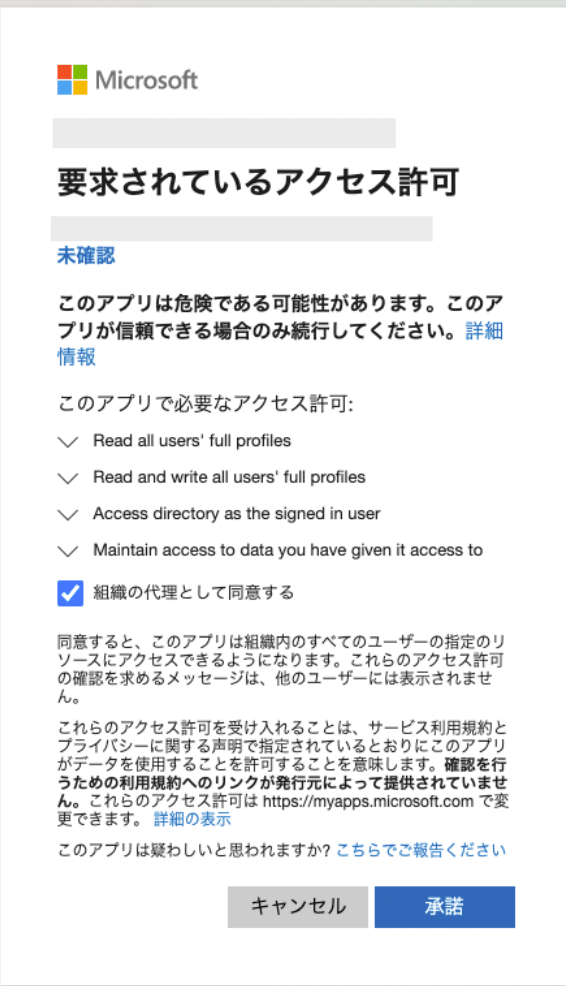
After logging in to Entra ID, a permissions request will appear. Review the requested permissions and click Accept.
- Upon successful integration with Entra ID, registered user information will appear in the account list. If the integration is not completed successfully. Click Edit from the Status tab in the Integration screen and try again. If the issue persists, please contact us via chat.