

Integration Specifications
Integration requires
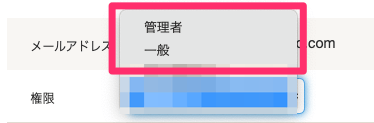
General or Administrator privileges.
For General users, the following permissions are required:- [Accounting] Business entity — View
- [Accounting] Transactions — View
- [Accounting] User-related information — View
- [Accounting] Statements — View
Integration Setup
- In the integration screen, search for freee Accounting.
-
Click Connect. You can also retrieve accounts from categories classified as
Bank accountsorCash & Other. To do so, check the respective checkboxes.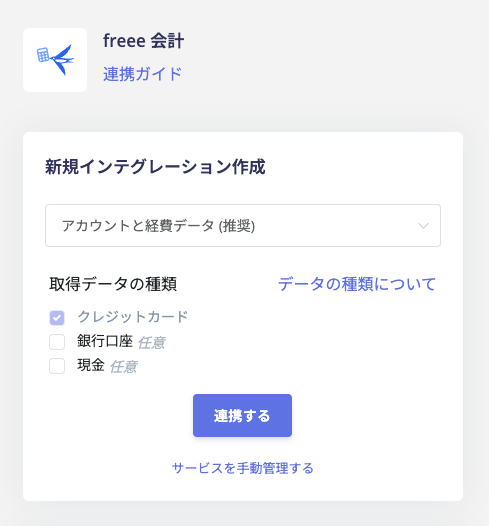 By default, both account and expense data are retrieved. Select [Account data only] from the dropdown menu to retrieve only account data without syncing cost data.
 -
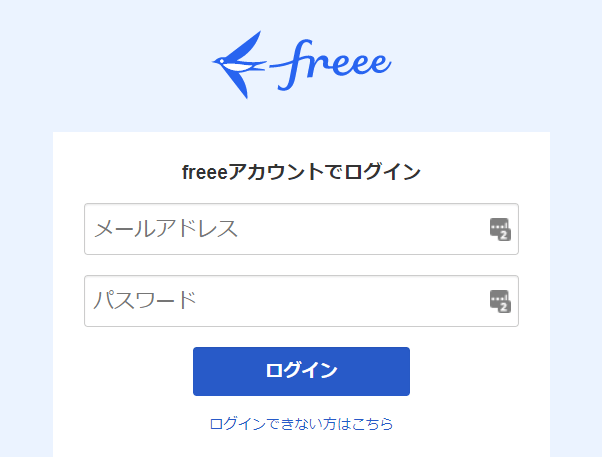
You will be redirected to the freee login screen. Enter your freee login email address and password, then click Login.
-
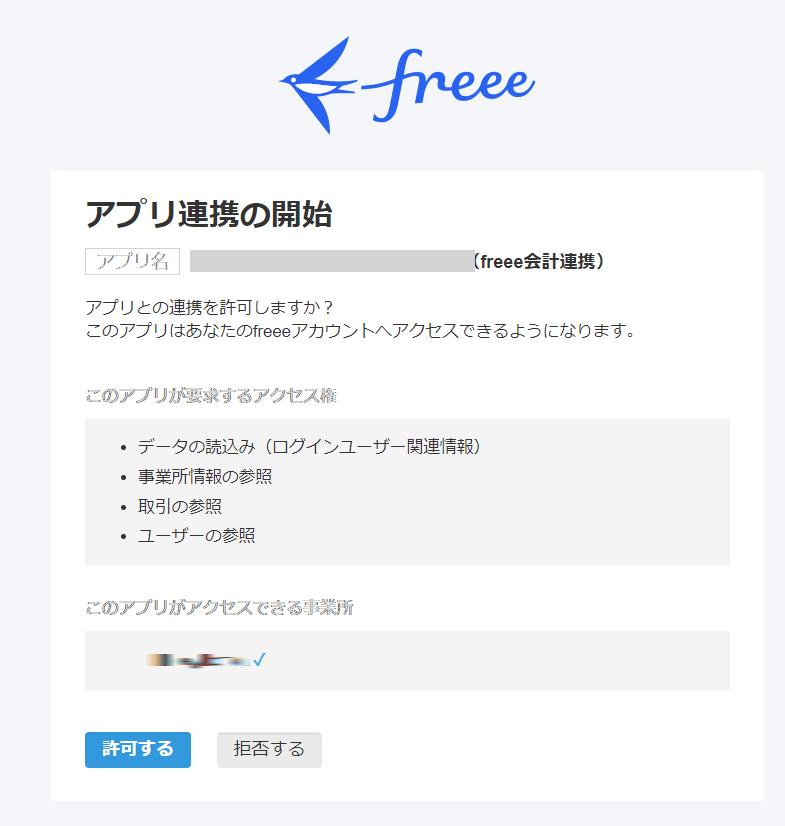
The following authorization screen will appear. Review the access permissions and click Allow.
- Once the integration with freee Accounting is successful, the screen updates. The registered user information will appear in the account list. If the process does not complete successfully. Go to the Status tab on the integration screen, click Edit, and try again. If the issue persists, please contact us via chat.
Reference 1: About Supported Account Types
freee Help Center: About Accounts Credit cards You can register the credit card you use to pay for SaaS as an “account” in freee. Then freee records its payment statements as transactions. Admina imports these statements so you can see spending by SaaS. You can also connect the card’s web service with freee’s sync feature to retrieve and record statements automatically. Cash Cash is registered in freee as an “account” by default. Cash transactions are recorded as deposits and withdrawals from this cash account. Bank accounts You can register the bank account you use to pay for SaaS as an “account” in freee. Then freee records its deposit and withdrawal statements as transactions. Admina imports these statements so you can see spending by SaaS. You can also connect to online banking through freee’s sync feature to retrieve and record statements automatically.Reference 2: How to Add Users
When using the business platform, you may need to invite multiple members. The following explains how to invite members in detail.1. Standard Invitation Method
The basic invitation steps are as follows:- Click [Settings] from the menu bar at the top of the admin screen.
- Select [Member Invitation] from the dropdown menu.
- When the “Members” tab appears, click the [Add Member] button.
2. Detailed Settings for Member Invitations
When inviting a member, enter detailed information such as email address, permissions, and group. Then click the [Send Invitation Email] button. Once a member has been invited, you can check the invitation status from the admin screen. You can view each member’s status, position, and permissions in a list. This lets you centrally manage all members in your organization. You can also change the permissions of previously invited members or remove members from this screen. However, please note that removing a member will permanently delete their data.Reference 3: How to Delete Users
- Click [Settings] → [Member Invitation].
- Click the [Edit] button for the target user on the “Members” screen.