

Integration Specifications
Prerequisites
How to Connect with Bakuraku Series
Go to the Bakuraku login page and sign in with your email address and password.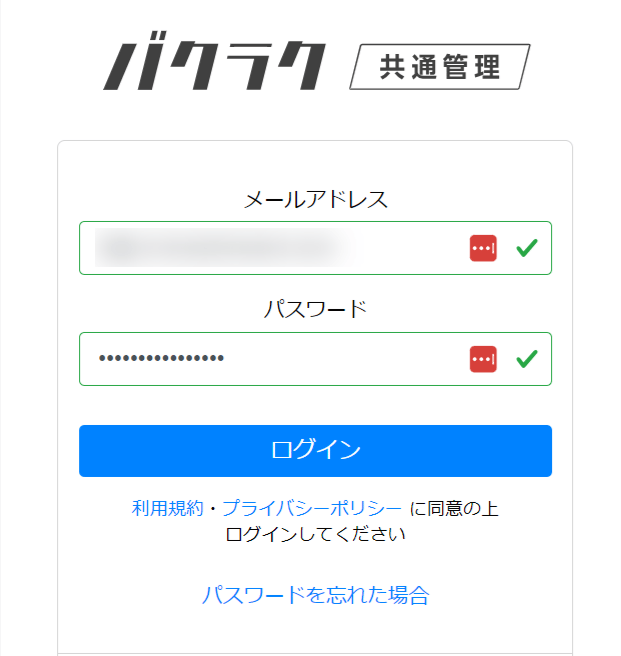
Generating an API Key
Generating an API key requires prior registration with LayerX. If you wish to set up the integration, please fill out and submit the Bakuraku SaaS Management Tool Integration Application Form.
-
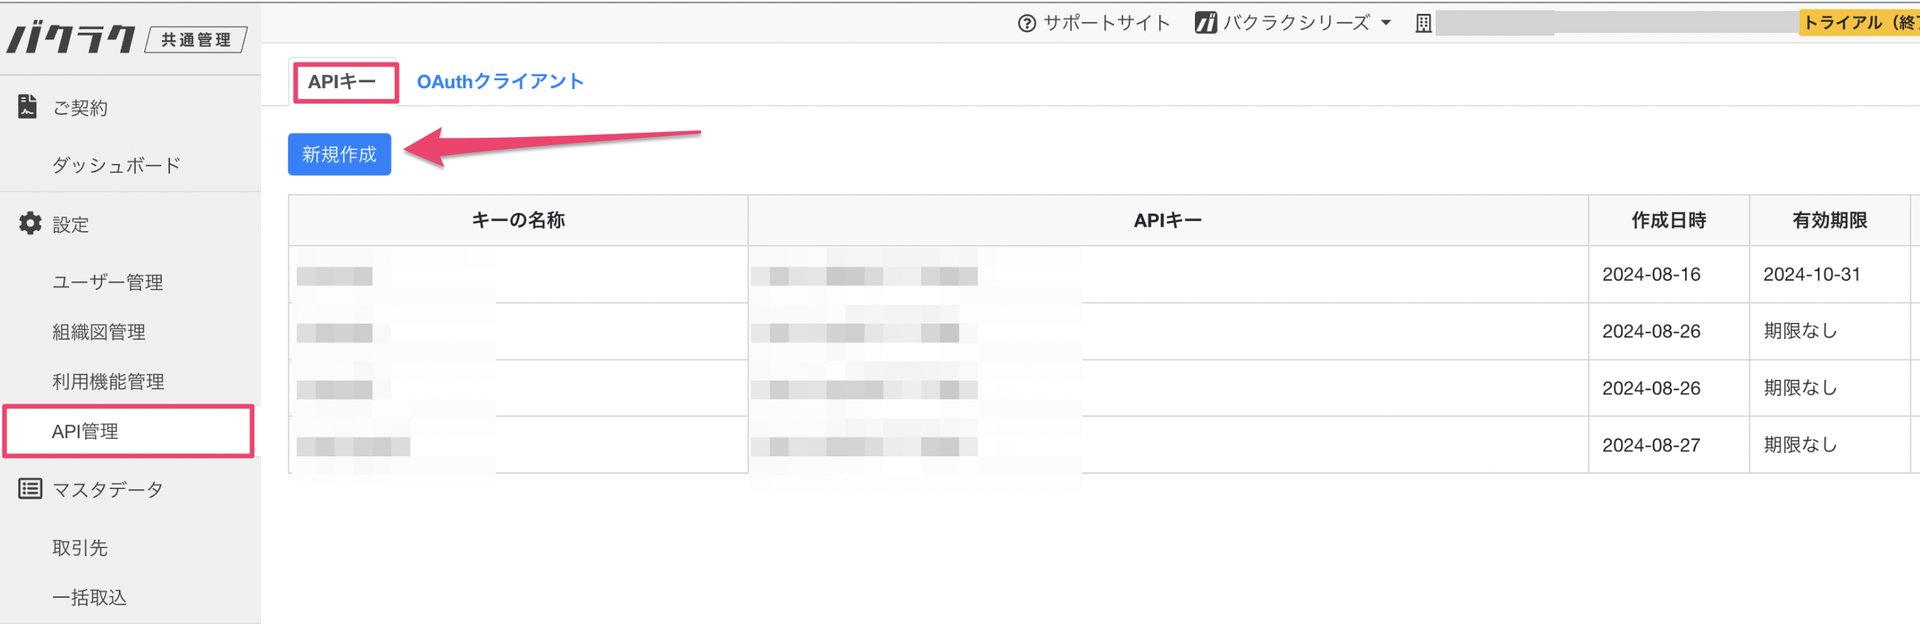
Access Bakuraku Common Administration, then go to Settings > API Management, and click [New] in the API Keys tab.
For details, refer to Bakuraku Common Administration (external site).
-
Access Bakuraku Common Administration, go to Settings > API Management, and click [New] in the API Keys tab.
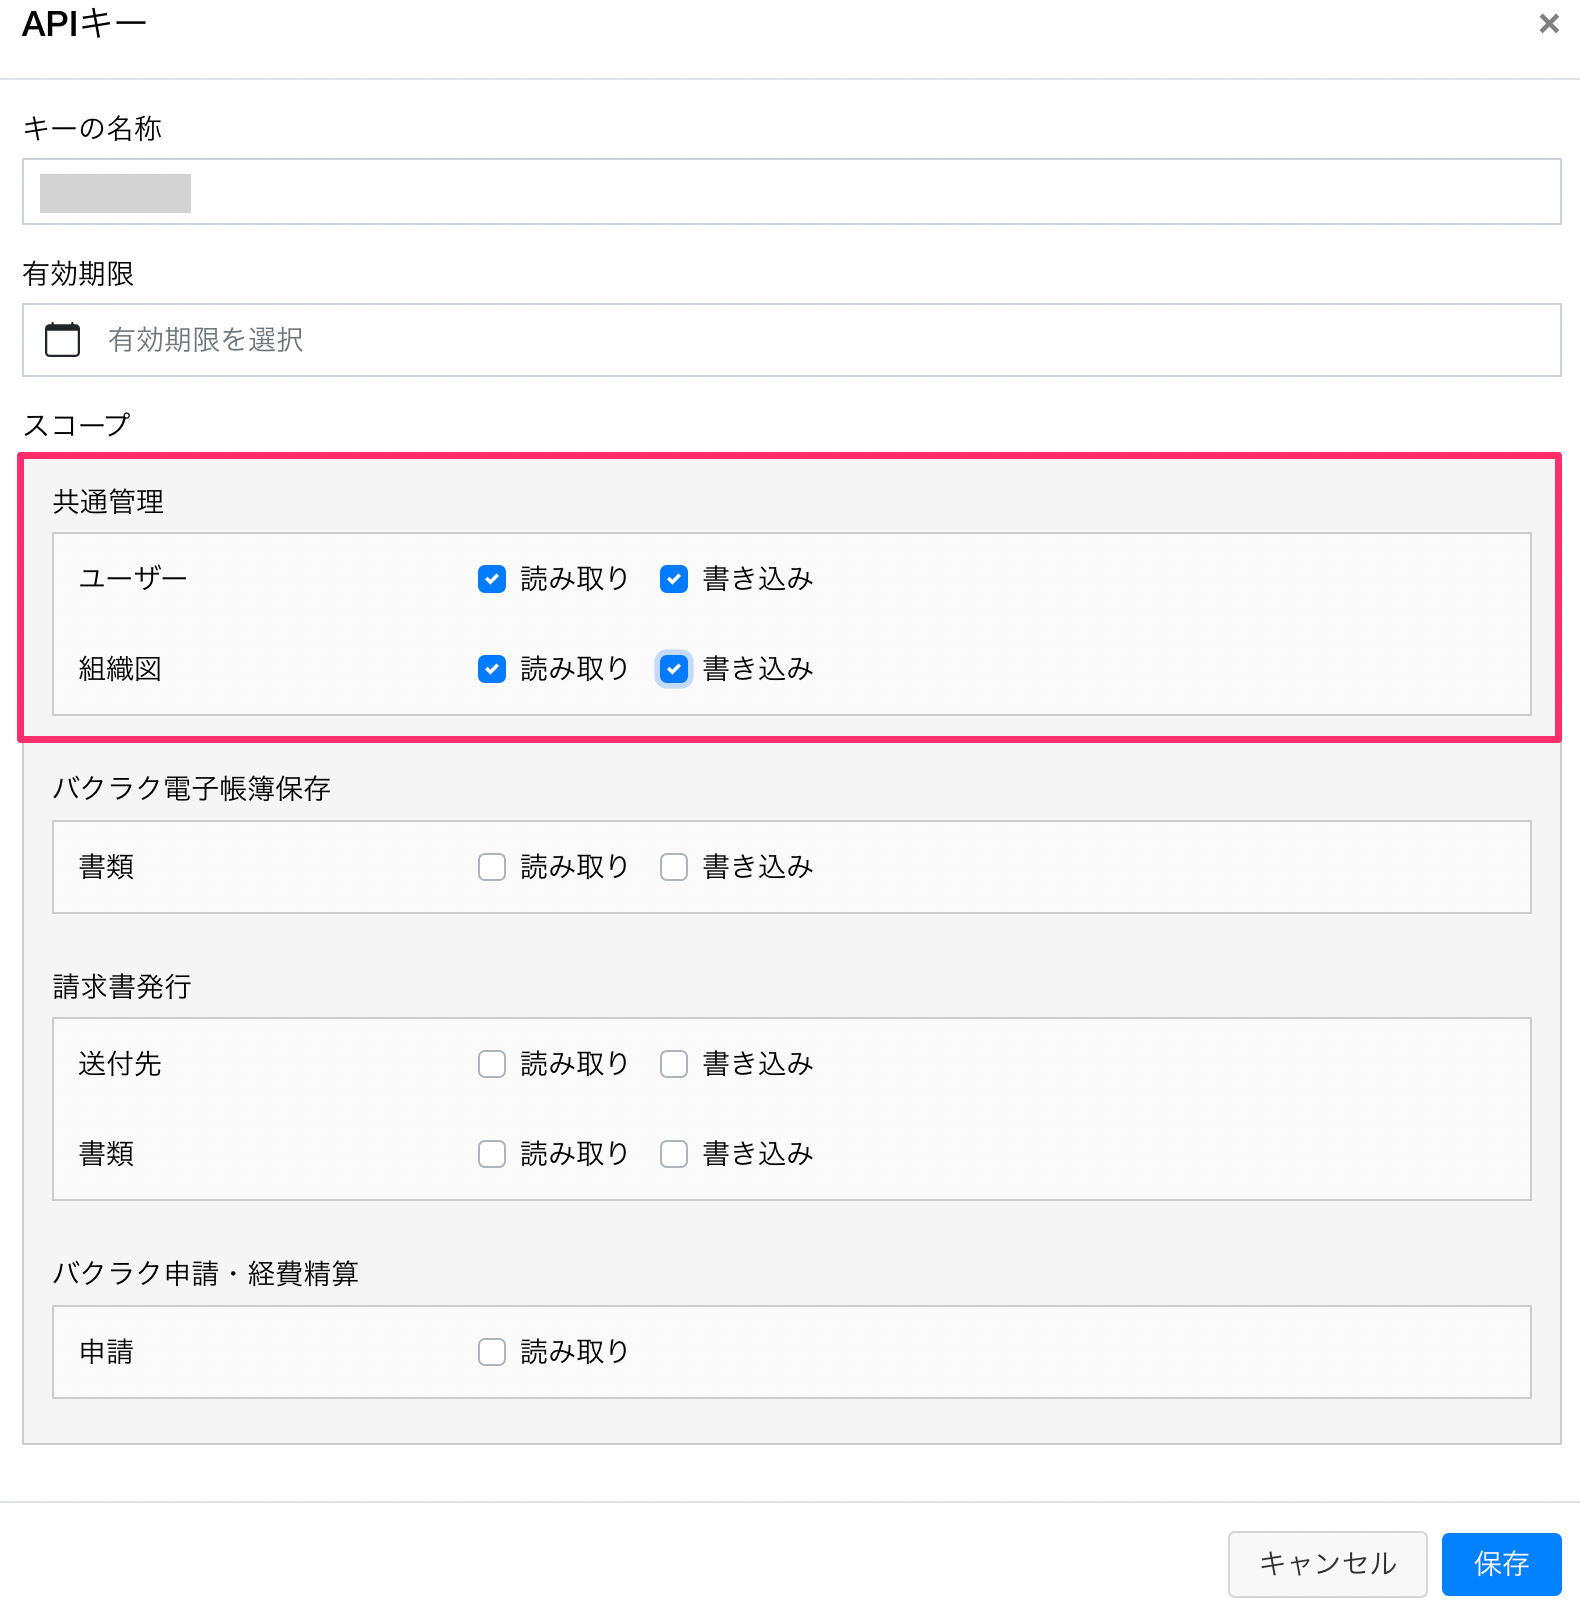
Enter any name for the API key and check the following scopes, then save.
- Users:
Read,Write - Organization Chart:
Read,Write
- Users:
-
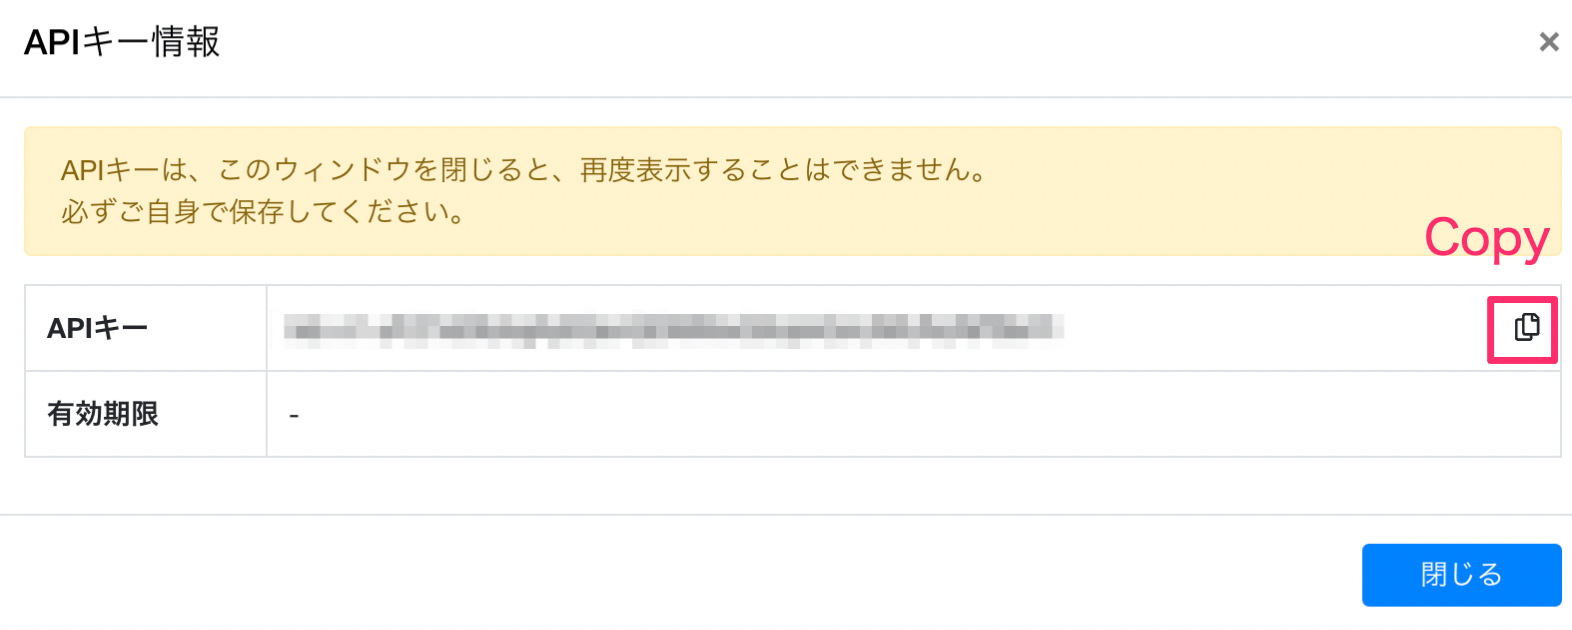
Your API key will be generated. Copy and save it. This completes obtaining the API key needed for the integration.
Integration Setup
- In the integration screen, search for “Bakuraku Series” under Integrations.
-
Enter the API key you obtained and click [Connect].
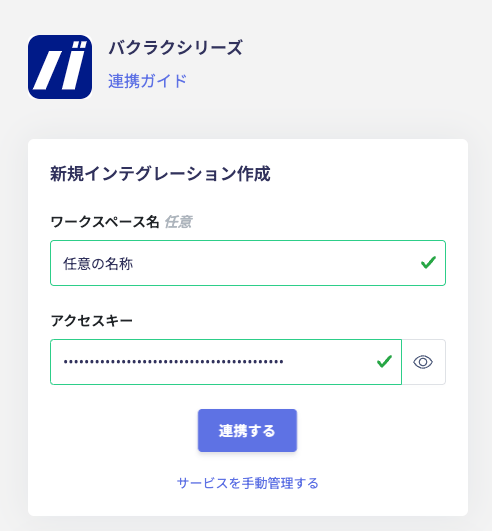
- Once the integration with Bakuraku Series is successful, registered user information will appear in the account list. If the process does not complete successfully. Go to the Status tab on the integration screen, click Edit, and try connecting again. If the issue persists, please contact us via chat.
Account Lifecycle
The following account lifecycle operations are supported.- Provisioning (new registration / additional registration)
- Deactivate (deactivation)
If the Employee ID (employeeCode) is not entered in the Bakuraku admin console or in the directory, an error will occur. When performing Provisioning/Deactivate, please make sure to enter the Employee ID.
Go to Directory > Select the target person > User Information > Employee ID to set this value.