

Integration Specifications
Prerequisites
How to obtain an API access token
-
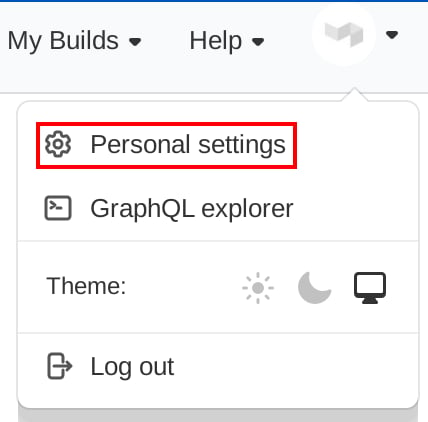
Log in to Buildkite and check that the organization to connect is selected at the top of the screen. Open the profile menu at the top right and click Personal settings.
-
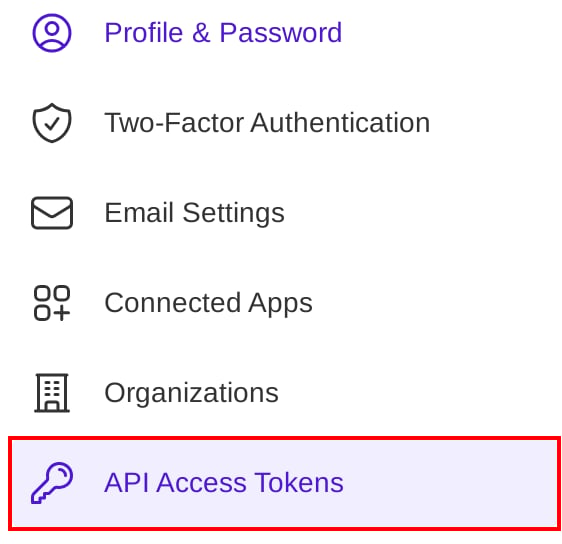
Select API Access Tokens in the left menu.
-
Click New API Access Token.

-
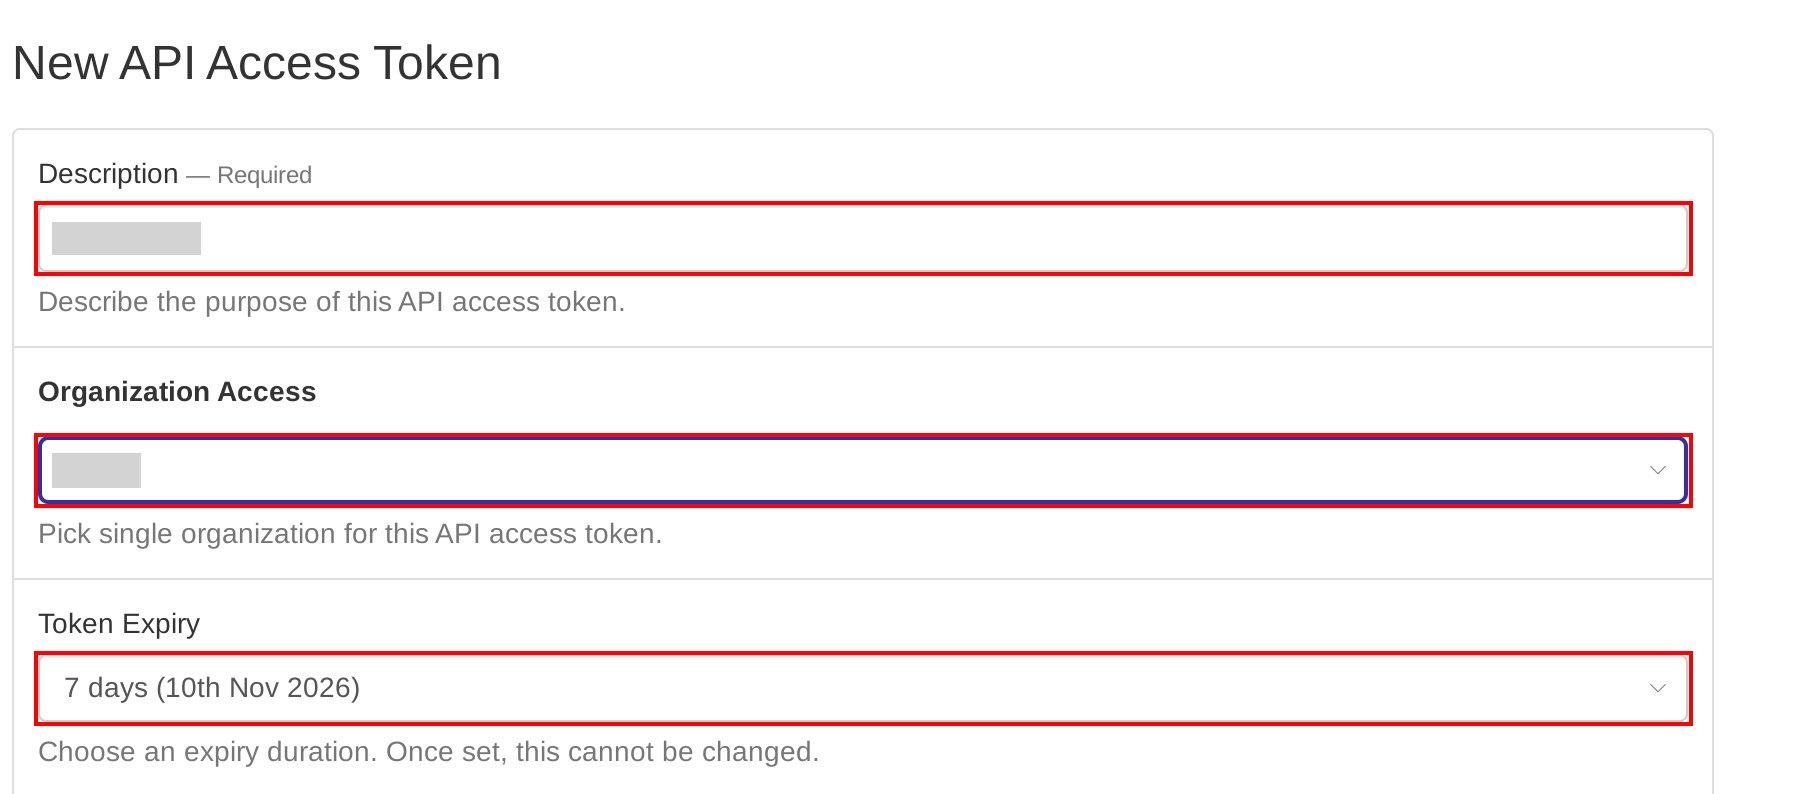
Enter a name in Description that shows what the token is for. Under Organization Access, select the organization to connect. For Token Expiry, select Never. The image shows 7 days selected. If you choose a period such as 7 days, the integration stops when the token expires.
-
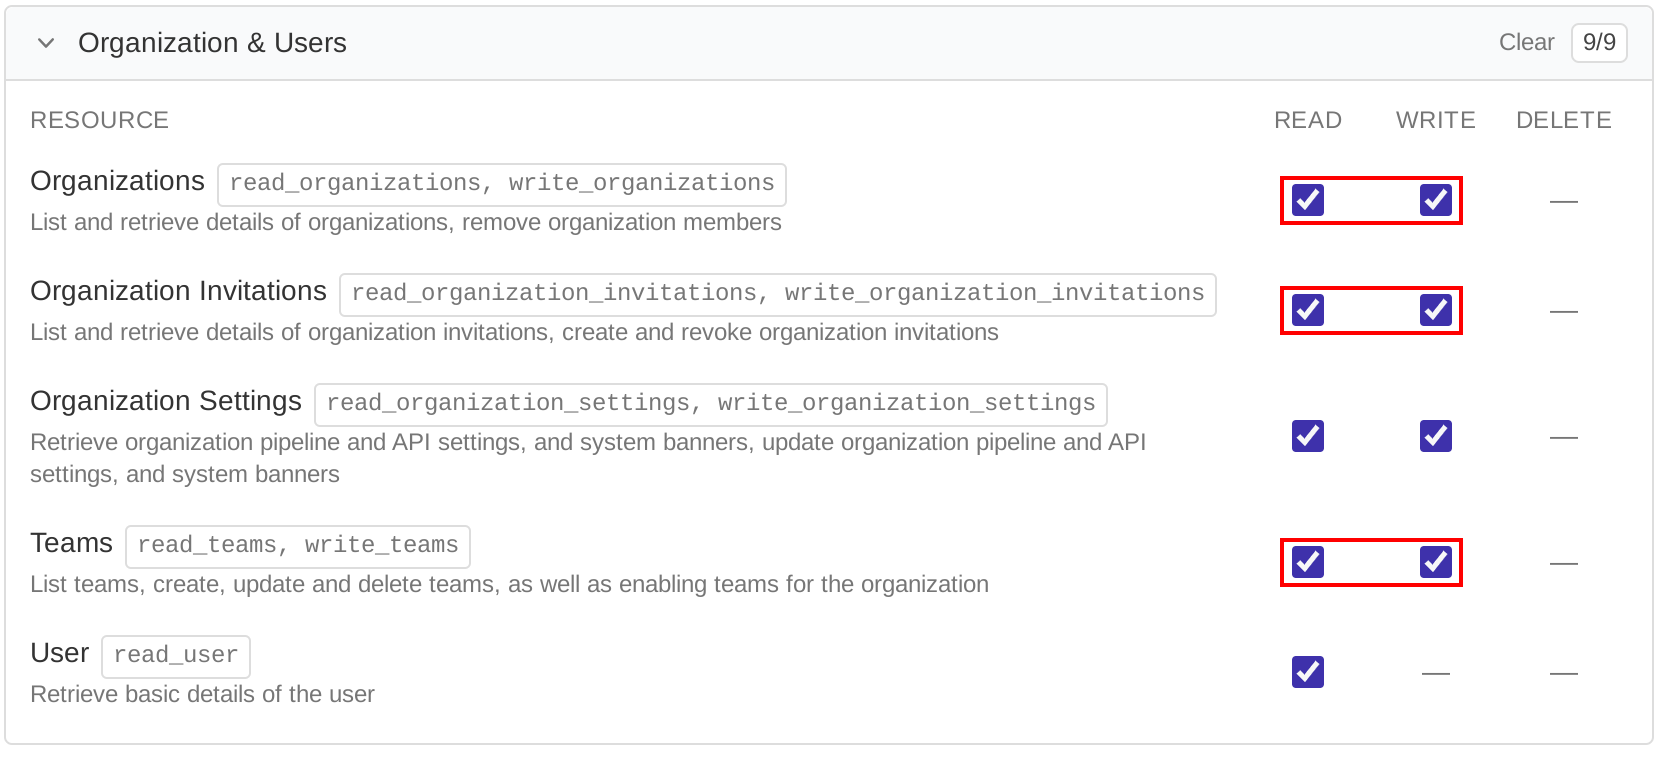
Under REST API Scopes, open Organization & Users. Select both Read and Write for Organizations and Organization Invitations, and select Read for Teams. Do not select any other item. The image shows every item selected and highlights Write for Teams, but Write for Teams is not required.
- Create the token and copy the token that appears.
Read is required for Admina to retrieve the member list from Buildkite. Write is required on Organizations to delete accounts and on Organization Invitations to create accounts (invitations). Read is enough for Teams. Write does not include Read, so select both for each item where you select Write.See Buildkite’s Managing API access tokens (external site). Write on Organizations removes members. Write on Organization Invitations creates and revokes invitations. Read on Teams lists teams.
Setting up the integration
- In the integration screen, search for Buildkite.
-
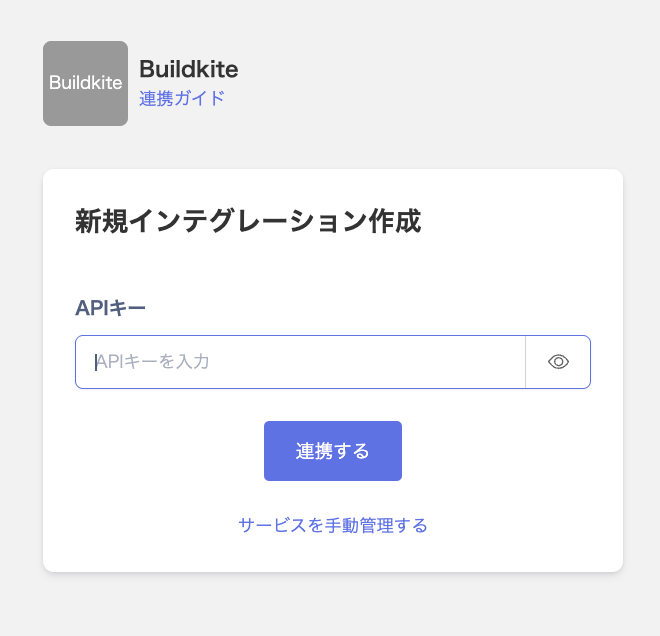
Enter the token you created in the previous step in API Key, then click Connect.
- When the integration with Buildkite succeeds, registered user information appears in the account list. If it does not complete successfully, first try the steps in Troubleshoot SaaS integration errors. If the issue persists, check Information to provide and contact Support.